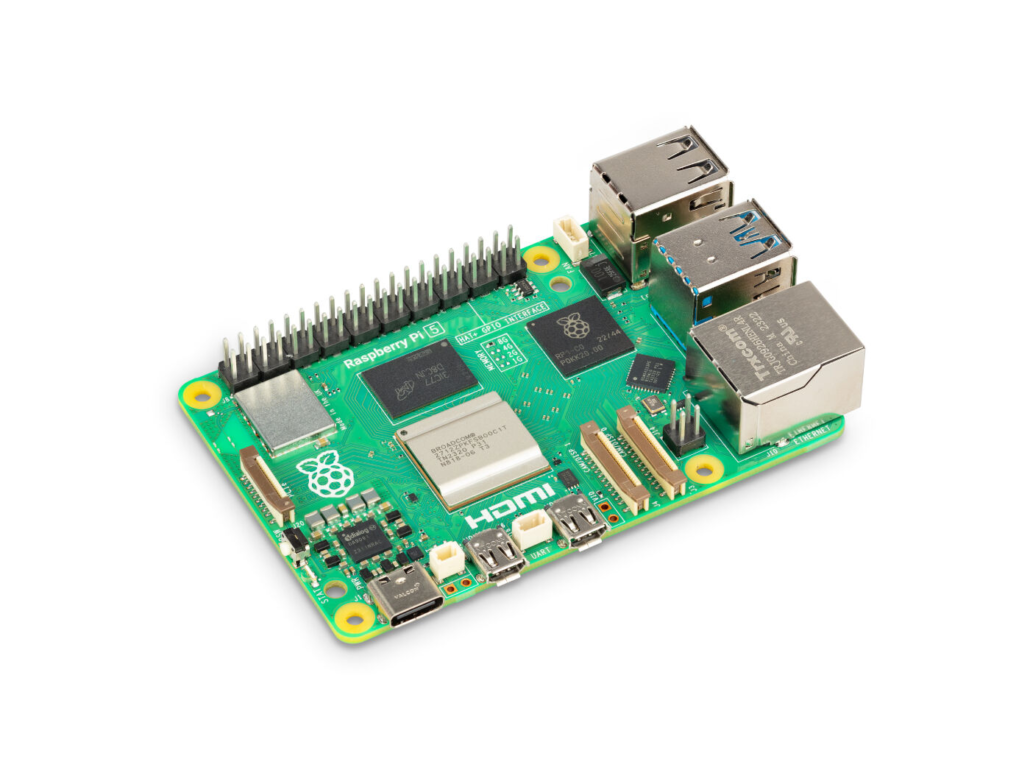
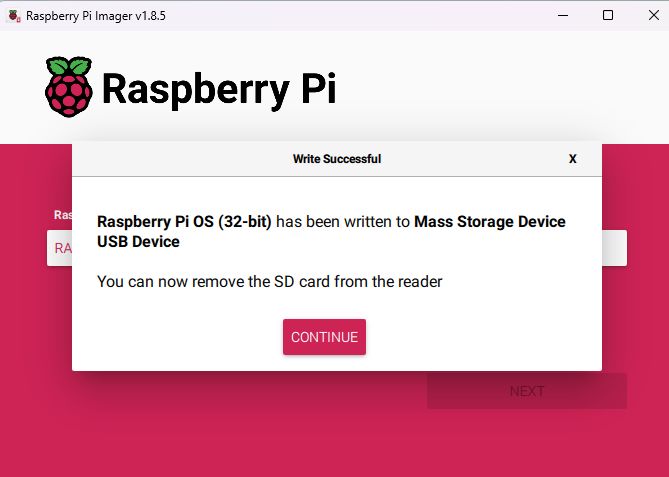
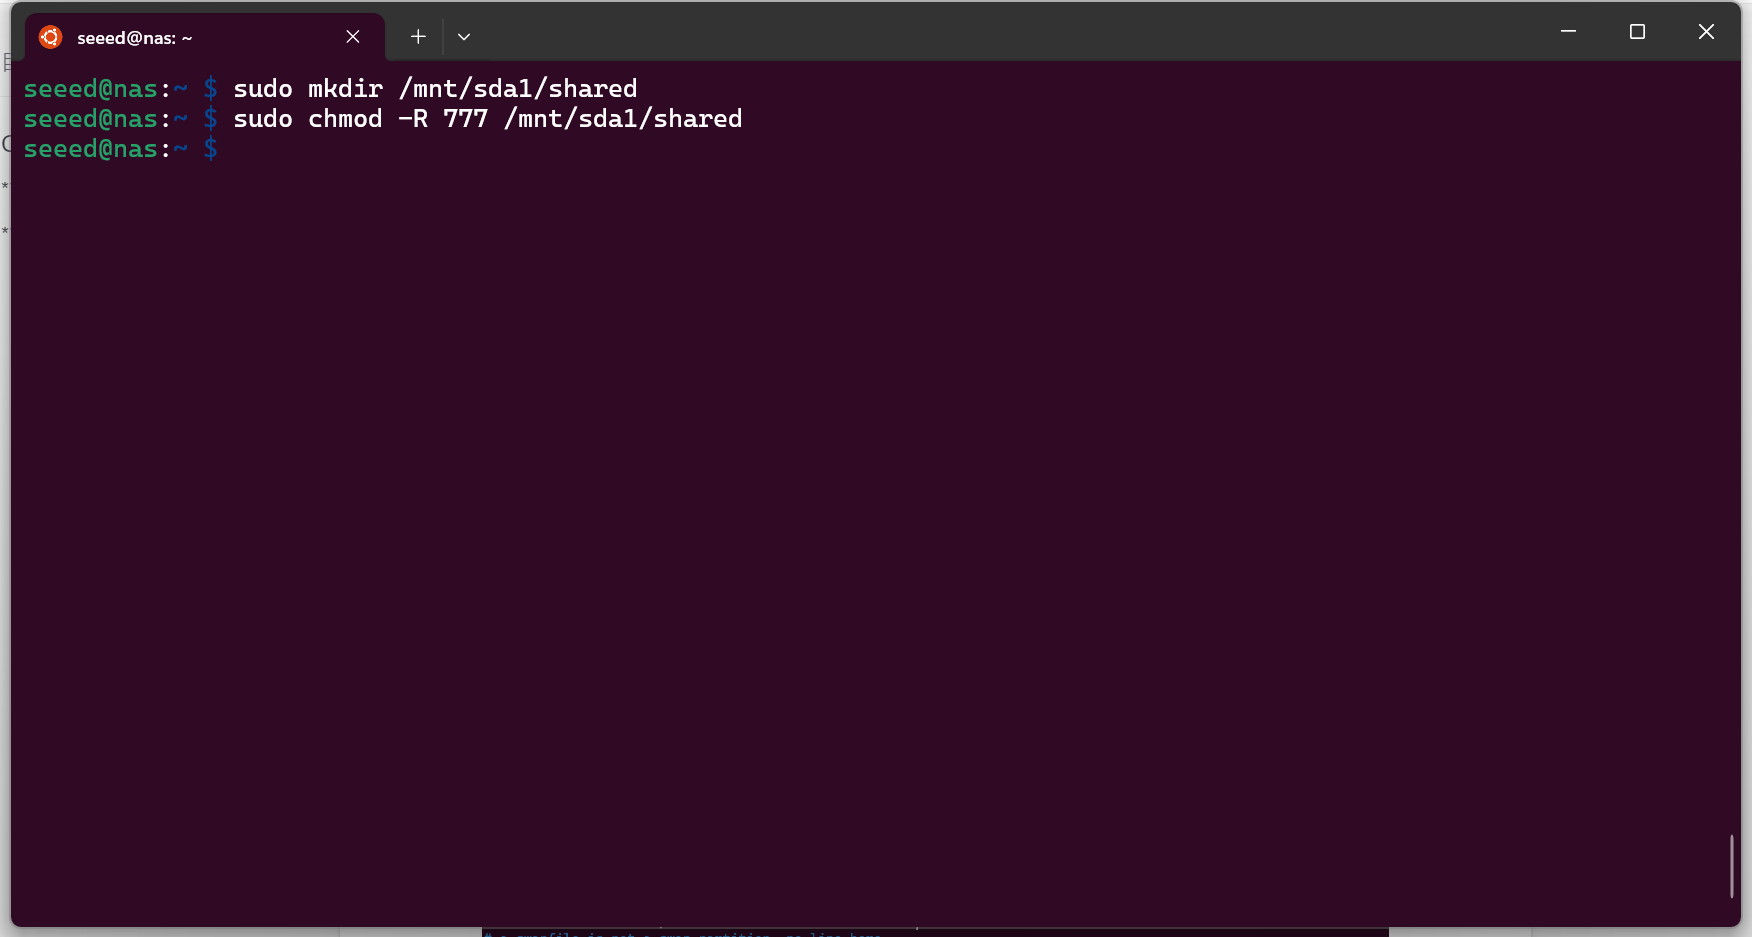
How to Build a NAS with Raspberry Pi 5: Step-by-Step Guide

The Raspberry Pi is a powerful microcomputer, popular among tech enthusiasts. It can be used for various DIY projects, including setting up a Network Attached Storage (NAS). In this blog, we will explore the following aspects:

  • Is Raspberry Pi good for NAS?
  • How to convert Raspberry Pi 5 to NAS?
  • Common Issues and Solutions When Using Raspberry Pi as a NAS

Table of Contents

Is Raspberry Pi Good for NAS?

The Raspberry Pi has strong processing capabilities and flexible configuration options, making it an ideal choice for building a NAS. Here are its advantages:

  • Cost-Effective: The Raspberry Pi is relatively inexpensive compared to traditional NAS devices.
  • Low Power Consumption: The Raspberry Pi has very low power consumption, making it suitable for 24/7 operation.
  • Flexibility and Customizability: You can install various operating systems and software to configure the NAS as needed.
  • Community Support: The Raspberry Pi has a large user community, providing abundant resources and technical support.

However, there are some limitations to consider:

  • Performance Limitations: The Raspberry Pi may have performance constraints compared to high-end NAS devices, especially when handling large amounts of data.
  • Storage Limitations: The Raspberry Pi itself does not have built-in large-capacity storage and requires external hard drives or SSDs.

How to Convert Raspberry Pi 5 to NAS?

Converting the Raspberry Pi 5 into a NAS is not complicated. Just follow these steps:

Step 1: Prepare the Hardware

  • A Raspberry Pi 5
  • A microSD card (32GB or larger recommended)
  • A stable power adapter
  • External hard drive or SSD
  • Network connection (wired or wireless)

Step 2: Install the Operating System

1、Use a tool like Raspberry Pi Imager to write the OS image to the microSD card.

2、Select “Raspberry Pi 5” -> “Raspberry Pi OS (32-bit)” -> SD card (make sure to select the correct device to avoid data loss if other USB devices are connected), then click “Next.”

Here is an example:

3、Then, edit the settings.

Here’s an example of the settings provided:

  • Enter your chosen hostname nas (recommended in this tutorial).
  • Enter a username and password, which you will need later for authentication.
  • Check the box next to “Configure WiFi” so your Pi can automatically connect to Wi-Fi.
  • Enter your network SSID (name) and password.
  • Check the box next to “Enable SSH,” so we can connect to the Pi without using a mouse and keyboard.

4、After clicking “Save,” start flashing the image.

The process may take some time. When it appears as shown in the image below, it indicates that the burning is complete.

Step 3: Remote Connection to the Pi

After inserting the SD card, power up the Raspberry Pi (if possible, connect it to the network via an Ethernet cable, but in this tutorial, we will use WiFi chosen during imaging).

Open a terminal session on your computer and access the Raspberry Pi via SSH by running the following command, replacing <username> and <hostname> with the ones set during imaging:

$ ssh @.local

For example:

$ ssh [email protected]

You will need to enter the password you created during imaging. Here is an example:

Now that we have completed the SSH connection, it’s time to turn it into a NAS.

Step 4: Install and Configure NAS

1、Locate the Drive First, connect the storage device to the Raspberry Pi, then check the connected storage devices with the following command:
$ lsblk
You will see output similar to this:

In this output, mmcblk0 is your microSD card, and the first connected USB storage device appears as sda (Storage Device A). Additional devices will be sdb, sdc, etc.

2、Partition the Drive

Next, partition the drive so that Raspberry Pi OS can recognize it as a single storage device:

$ sudo fdisk /dev/sda

Here are some relevant commands:

  • Create a new partition: n
  • List current partitions: p
  • Delete a partition: d
  • Quit without saving changes: q

In this project, we will proceed to create a fresh partition by entering ‘n’ followed by pressing the Enter key, and we will designate it as a primary partition by typing ‘p’ and then pressing Enter. For the remaining options, we will opt for the default settings by simply pressing Enter. Should an existing partition be present, we will remove it by typing ‘d’. Here is an example:

If the message “All space for primary partitions is in use” appears, it means there are already four primary partitions or three primary partitions and an extended partition on the disk, and you will need to delete a partition (d).

Note: If there are mounted partitions on the disk (like my sda1), follow these steps to unmount them:

  1. Exit fdisk: Type q and press Enter to exit fdisk and avoid accidental modifications.
  2. Unmount file systems: If there are mounted partitions on the disk, unmount them first. You can view the mounted partitions with the following command:
$ mount | grep /dev/sda
  1. Then unmount them using the umount command, for example:
$ sudo umount /dev/sda1
  1. Run:
$ sudo fdisk /dev/sda 

Here is an example:

Then, return to the partitioning step above.

3、Format the Drive

Now that the drive has been partitioned, it’s essential to format it to ensure that the Raspberry Pi OS can access and manipulate data on it. To format your drive with the ext4 file system, use the following command:

$ sudo mkfs.ext4 /dev/sda1

4、Mount the Drive

Next, mount the drive to make it available in the Raspberry Pi’s file system:

$ sudo mount /dev/sda1 /mnt

And ensure that the drive is mounted every time the system starts:

$ sudo nano /etc/fstab

Add the following line to the end of the file:

/dev/sda1 /mnt/sda1/ ext4 defaults,noatime 0 1

Press Ctrl+X, then Y, and finally Enter to save the edited file in nano. Here is an example:

5、Create a Shared Folder

Run the following command to create a shared folder on your drive:

$ sudo mkdir /mnt/sda1/shared

Grant read, write, and execute permissions to all users on the Raspberry Pi with the following command:

$ sudo chmod -R 777 /mnt/sda1/shared

Here is an example:

Step 5: Share the Drive Over the Network

Run the following command to install Samba, a tool for sharing directories over a network:

$ sudo apt install samba samba-common-bin

Here is an example:

Then, configure Samba to share the directory over the network. We can instruct Samba through the Samba configuration file. Open the configuration file in an editor: smb.conf

$ sudo nano /etc/samba/smb.conf

Add the following lines at the end of the file:

[shared]
path=/mnt/sda1/shared
writeable=Yes
create mask=0777
directory mask=0777
public=no

Press Ctrl+X, then Y, and finally Enter to save the edited file in nano. Here is an example:

Restart Samba to apply the configuration changes:

$ sudo systemctl restart smbd

Here is an example:

Step 6: Grant access to the drive

Finally, you need to grant access to the Samba share so that only authenticated users can access the files over the network. Run the following command to create a user to manage the Samba share, naming the username as pinas in this example:

$ sudo adduser 

Then, add a password for that user using the following command:

$ sudo smbpasswd -a 

Here is an example:

Step 7: Access and Use the NAS

From Windows

  1. Open File Explorer and select “Map network drive” from the Computer menu.
  2. Choose a drive letter and enter the folder path, using a domain name format to easily access the device even if the IP address changes (in this tutorial, the path is \\nas\pinas).
  3. Enter the login username and password. Here is an example:
  1. Once logged in, you can access the files on the server.

Next Step

If you want to make your hard drive and Raspberry Pi look more organized and aesthetically pleasing, you can use a 3D printer to create brackets and enclosures to secure the Raspberry Pi and the external hard drive, and then assemble them together.

Common Issues and Solutions When Using Raspberry Pi as a NAS

Here are some common issues you might encounter when using a Raspberry Pi as a NAS and how to solve them:

Question 1: How to improve Raspberry Pi NAS performance?

  • Use an SSD instead of an HDD to improve data read speeds.
  • Ensure the Raspberry Pi is connected via a wired network for more stable performance.
  • Optimize the Samba configuration file by adjusting cache settings and maximum connections.

Question 2: How to secure Raspberry Pi NAS?

  • Regularly update the system and software to patch security vulnerabilities.
  • Use strong passwords and limit SSH access.
  • Configure a firewall and use a VPN for remote access.

Question 3: How to automate backups to Raspberry Pi NAS?

  • Use the rsync tool to set up periodic backup tasks:
 rsync -av --delete /source_directory /mnt/external_hdd/backup_directory
  • Configure cron jobs for automatic backups.

With this guide, you should be able to successfully convert the Raspberry Pi 5 into a powerful NAS. We hope these insights help you address common questions about Raspberry Pi 5 NAS and build your own NAS system.

About Author

Leave a Reply

Your email address will not be published. Required fields are marked *

Calendar

August 2024
M T W T F S S
 1234
567891011
12131415161718
19202122232425
262728293031