Installation Home Assistant on Docker Container: What You Should Know about
The 10th-anniversary celebration of Home Assistant has passed for a week, and the first batch of Home Assistant green has already sold out. However, I believe everyone’s excitement and enthusiasm have not diminished yet!
Look back on Home Assistant’s 10th-anniversary Event!
In the last article, we have introduced some potential Home Assistant integrations with trending applications, such as using Home Assistant in healthcare, safety, energy management, home management, and more. ESPHome, Zigbee and Z-Wave Integrations, Home Assistant and MQTT, InfluxDB & Grafana, Frigate, and a lot of other integrations are mentioned and introduced.
Today in this article, we are going to talk about installing and running Home Assistant, especially deeper in analyzing running Home Assistant in a Docker.
Installation
The Home Assistant project offers four different installation methods to cater to various user preferences and expertise levels. Here’s a brief overview of each method:
Home Assistant Operating System (HAOS)
This method provides a minimal operating system optimized specifically for running Home Assistant. It includes the Supervisor, which is a management system for Home Assistant Core and Add-ons. HAOS is the recommended installation method for most users, especially those who prefer an all-in-one solution.

Home Assistant Container
This method involves running Home Assistant Core in a standalone container, typically using Docker.
It provides more flexibility and control compared to HAOS, allowing experienced users to manage Home Assistant as a containerized application. It’s suitable for those who want to maintain greater control over the host environment.
Home Assistant Supervised
This method is a manual installation of the Supervisor on top of a compatible Debian-based Linux distribution.
It allows users to set up the Supervisor, which can manage Home Assistant Core and Add-ons. This method is recommended for experienced users who want some control over the underlying OS but still want the benefits of the Supervisor.
Home Assistant Core
This method involves a manual installation of Home Assistant Core using a Python virtual environment.
It provides the most control and customization options but requires the user to manage all aspects of Home Assistant themselves.
It’s suitable for advanced users who want complete control over their Home Assistant installation and are comfortable managing it at a lower level.
The choice of installation method depends on the user’s level of expertise, preferences, and the degree of control they want over their Home Assistant setup. The recommended methods for most users are HAOS and Home Assistant Container, while Supervised and Core are suitable for more experienced users who want greater control and flexibility.

Install Home Assistant on Docker Container
Benefits
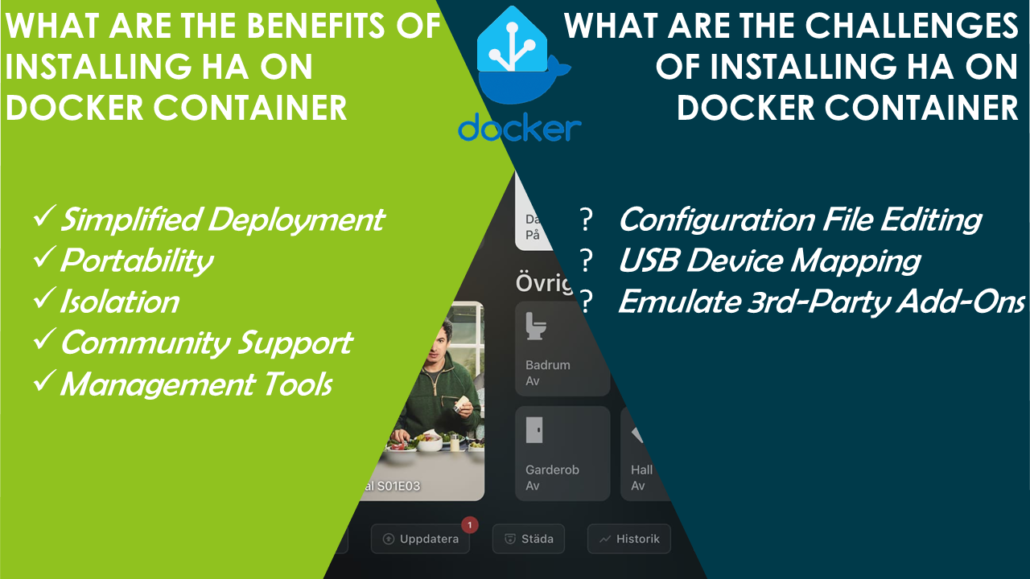
Running Home Assistant on Docker offers several benefits compared to other installation methods like supervised, Home Assistant Operating System (HAOS), or Home Assistant Core (formerly Hass.io). Here are some reasons why Docker installation can be advantageous:
- Simplified Deployment: Docker simplifies the deployment process by encapsulating Home Assistant and its dependencies into a single container. Users can set up Home Assistant on Docker with just one command, eliminating the need to manually install dependencies and configure the host operating system.
- Portability: Docker containers are platform-independent, meaning you can run the Home Assistant Docker image on various platforms that support Docker, such as Linux, Windows, macOS, and even on NAS devices. This provides flexibility and hardware compatibility, allowing users to switch between different hardware setups easily.
- Isolation: Docker containers provide isolation from the host system and other containers. This isolation prevents conflicts with other software running on the same host, ensuring that Home Assistant and its dependencies run consistently without interfering with other applications.
- Management Tools: Docker provides a range of built-in tools for managing containers. Users can easily start, stop, update, and monitor resources for Home Assistant containers using Docker’s command-line interface (CLI) or graphical user interfaces (GUIs). This simplifies maintenance and troubleshooting tasks.
- Community Support: The Docker community is vast and active, offering ready-made Docker images, templates, tools, and extensive documentation to help users set up and run Home Assistant in Docker containers. This community support can be invaluable for beginners and experienced users alike.
Challenges
However, there are still some challenges users may have.
Here we summarize and list the top three challenges that many users in the Home Assistant Container community often encounter:
- Simplified Configuration Editing: One common challenge is efficiently editing the Home Assistant Configuration file without relying on the File Editor or Studio Code Server Add-Ons. A practical solution involves using Visual Studio Code, which can be directly connected to your Ubuntu server through SSH, providing a streamlined method for configuring Home Assistant.
2. USB Device Mapping: Another hurdle that users face is mapping a USB device from their host computer to the Docker container. This becomes essential when integrating technologies like ZHA, Zigbee2MQTT, or Z-WaveJS2MQTT. To achieve this, you’ll need to update your docker-compose.yaml file by including a ‘Devices’ key, enabling seamless communication between your host and container.
3. Emulating 3rd-Party Application Add-Ons: Replicating the functionality of third-party application add-ons, such as Zigbee2MQTT, Mosquitto, Wireguard VPN, or Plex Media Server, presents its own set of challenges. Overcoming this requires editing your Docker Compose file to recreate the desired functionality within your Docker environment. This process empowers users to extend Home Assistant’s capabilities according to their specific requirements.
Conclusion
In conclusion, running Home Assistant in a Docker container streamlines the installation and management processes, enhances portability across different platforms, ensures isolation from other software, and benefits from the robust Docker community support. While it may require some initial setup, the advantages often outweigh the complexities, making Docker a popular choice for Home Assistant enthusiasts looking for a flexible and efficient deployment method.
Home Assistant launched the latest device: Home Assistant Green, which is the easiest and most privacy-focused way to automate your home, and can make everything into the Home Assistant world easy! It offers an effortless setup and allows you to control all the smart devices with just one system, where all the data is stored locally by default. This board benefits from the thriving Home Assistant ecosystem and it will be improved every month by open source.
Get a Home Assistant Green, start your first step to Home Assistant easily!
More Resources
Find Seeed Studio’s products related to the Home Assistant and tons of projects based on it to achieve high-privacy, versatile, sustainable home automation on this wiki page.