Run SDR Software on reTerminal and Visualize on LCD
Introduction
This blog will talk about how you can easily install SDR software on your reTerminal so that you can visualize radio signals on the reTerminal LCD! Also, this only works for RSP family of SDR receivers which are manufactured by SDRplay and this is because the software we are going to install is offered by them. We will be able to easily install the SDRplay-specific software on top of the existing Raspberry Pi OS installation on the reTerminal just by running a few scripts. Finally, we will run CubicSDR software which is used to capture the radio signals, and then analyze the signals as graphs on the reTerminal LCD!
What is SDR?
SDR stands for Software Defined Radio in which RF communication is done using software or firmware, in order to carry out signal processing tasks which are normally processed by hardware. This hardware includes mixers, filters, amplifiers, modulators, demodulators, etc. Therefore, SDR only uses an ADC and DAC to do Analog to Digital and Digital to Analog signal conversion along with antennas, without needing many hardware components. This, in turn, makes SDR much flexible and makes it easy to fix issues if a problem arises since most of the processing is done on the software rather than on the hardware. The software can be run either on a personal computer or an embedded system.
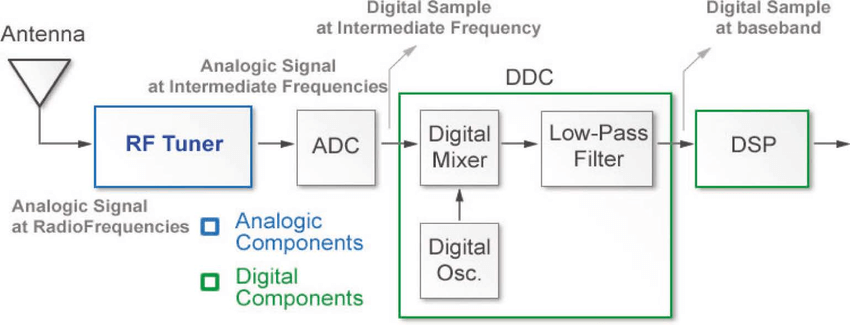
ref: www.researchgate.net/
If you want to learn more about SDR, you can check this blog.
What is reTerminal?
reTerminal is an HMI device powered by a Raspberry Pi Compute Module 4 (CM4) which has a Quad-Core Cortex-A72 CPU running at 1.5GHz. Also, it has a 5-inch IPS capacitive multi-touch screen with a resolution of 1280 x 720. It has a sufficient amount of RAM (4GB) to perform multitasking and also has a sufficient amount of eMMC storage (32GB) to install an operating system, enabling fast boot-up times and a smooth overall experience. It has wireless connectivity with dual-band 2.4GHz/5GHz Wi-Fi and Bluetooth 5.0 BLE.

For an initial getting started guide for the reTerminal, please click here.
Set up SDR software on reTerminal
First, we need to download some files onto a PC, transfer the files to reTerminal and start the installation on the reTerminal. Let’s get started!
Download Files to PC
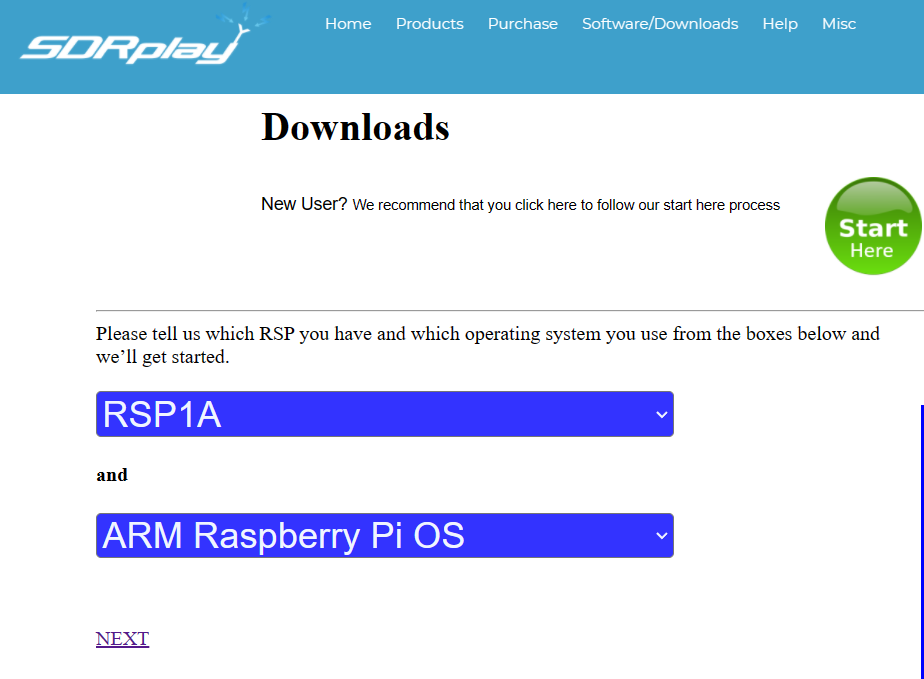
Step 1: Open this link and select the “RSP model” you have and select “ARM Raspberry Pi OS” as the operating system
Step 2: Click “NEXT” and select “API” under “Other Software”

Step 3: Tick the checkbox next to “Build Scripts” and click “Select one download from the list below and then click here”
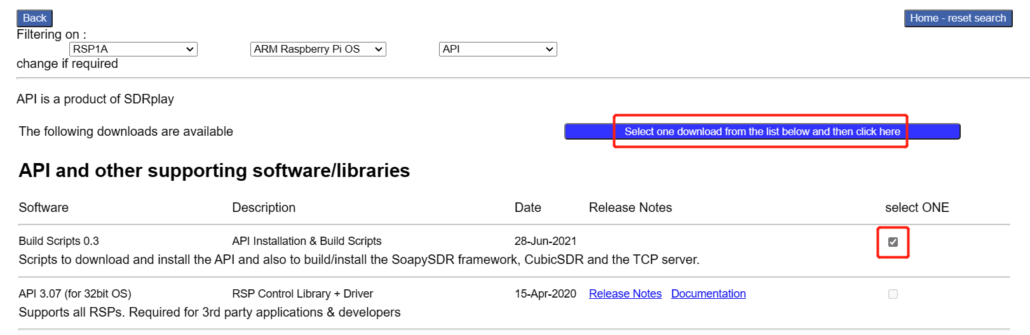
Now you will see a file named “SDRplay_RPi_Scripts_v0.3” downloaded on the PC
Transfer the downloaded files to reTerminal
Step 1: Turn on and login to reTerminal via SSH, VNC, HDMI, onboard LCD
Step 2: Type the following to create a new directory
mkdir SDRStep 3: Come back to the PC, open a command prompt and navigate to the location of the previously downloaded .zip file
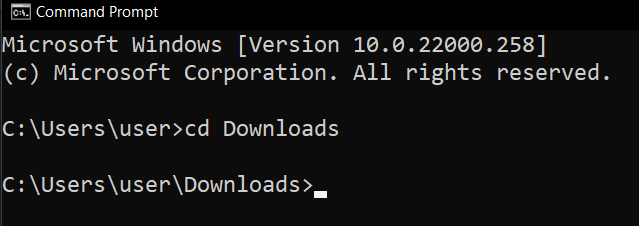
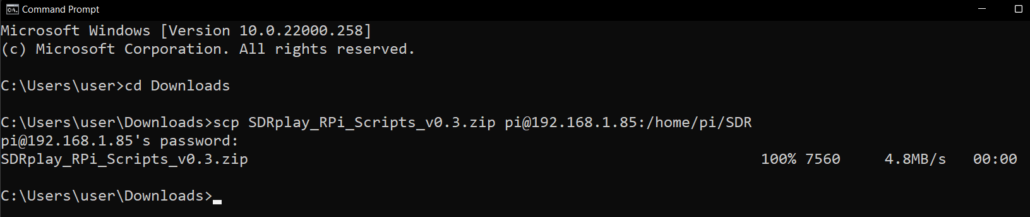
Step 4: Execute the following to transfer the .zip file from PC to reTerminal
scp SDRplay_RPi_Scripts_v0.3.zip pi@192.168.1.85:/home/pi/SDRNote: Here “pi” is the username and 192.168.xxx is the IP address of reTerminal
Step 5: On the reTerminal, navigate to SDR directory
cd SDRStep 6: Extract the .zip file
unzip SDRplay_RPi_Scripts_v0.3.zip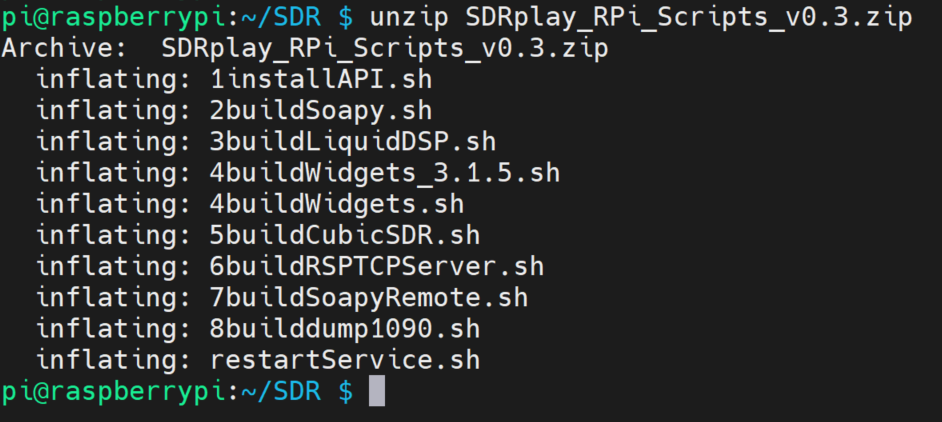
Step 7: Execute the following command to list all the files inside the directory
ls -l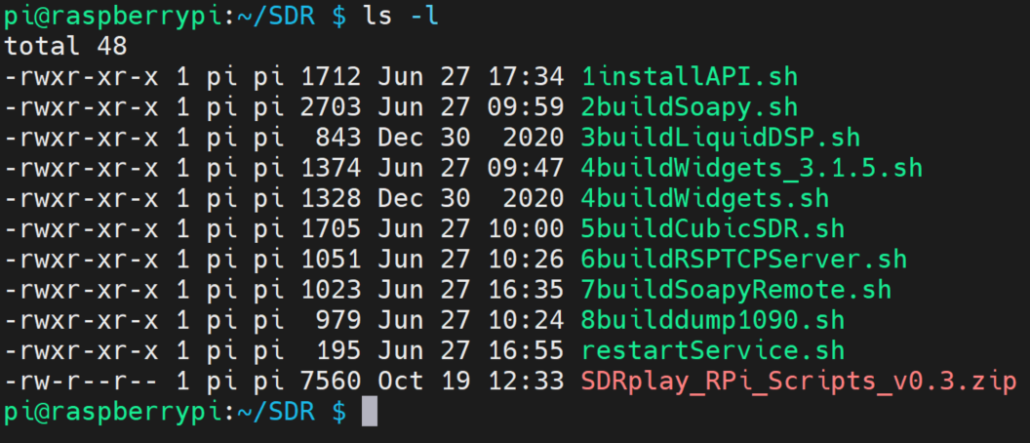
As you can see, now we will be running these scripts one-by-one in order to install the SDR software on the reTerminal
Install the SDR software on reTerminal
Step 1: On the reTerminal, navigate to the SDR directory
Step 2: Execute the following to install the first script
./1installAPI.shStep 3: Press “ENTER” and type “y” to all the prompts which appear on the installation screen
Step 4: Install the following scripts as well, one-by-one
./2buildSoapy.sh
./3buildLiquidDSP.sh
./4buildWidgets.sh
./5buildCubicSDR.sh
Note: After installing ./2buildSoapy.sh, it will ask you to plug your RSP. But however, you can skip this by pressing “n”
Note: Installing the ./4buildWidgets.sh will be the longest and it will take around one hour to complete. The other scripts will take around 10 minutes.
Step 5: After installing the ./5buildCubicSDR.sh, there will be a message which asks to restart the reTerminal by pressing “y”. Continue to press “y” here and the reTerminal will restart
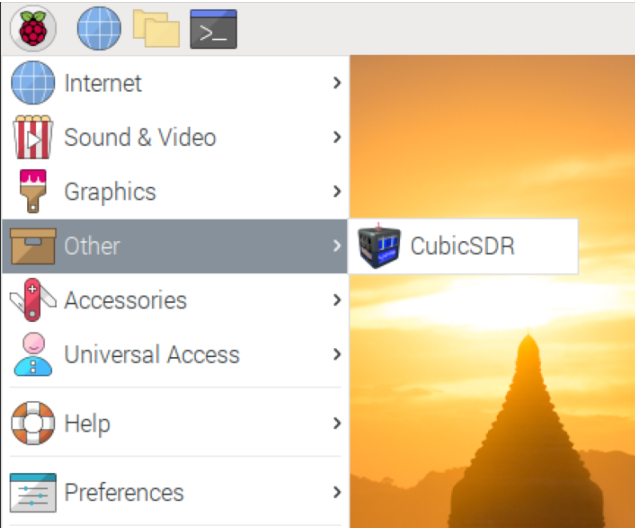
Step 6: On the reTerminal LCD, click on the Raspberry Pi icon on the top left corner and navigate to Other > CubicSDR and open it
Step 7: Select your RSP from the window
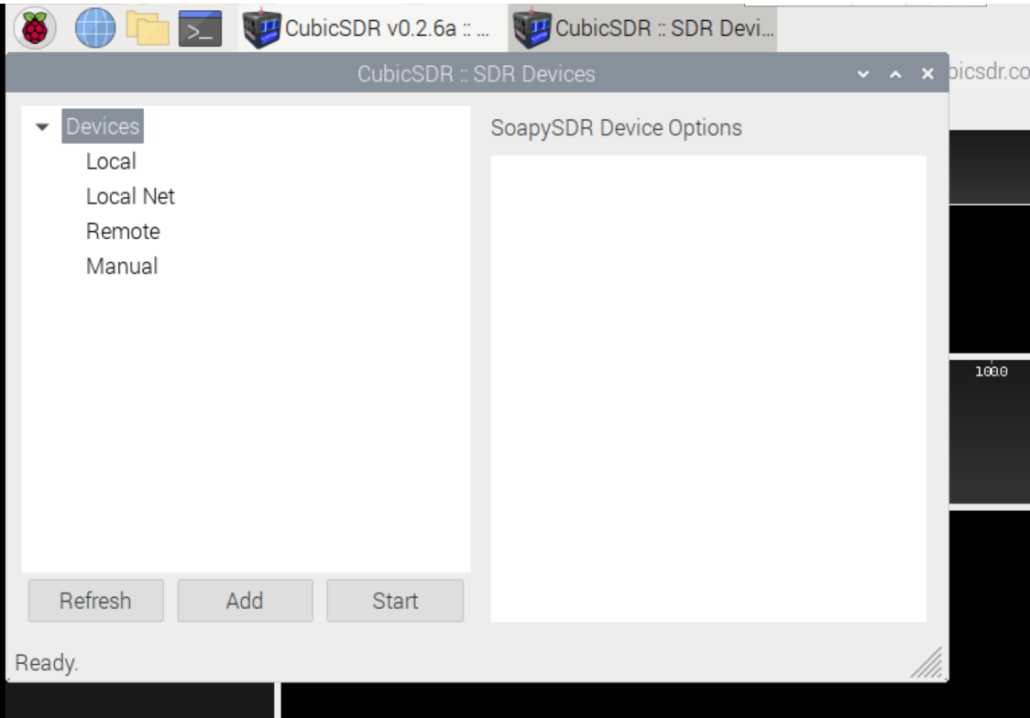
Note: Here I have not connected any RSP, so I will close the window
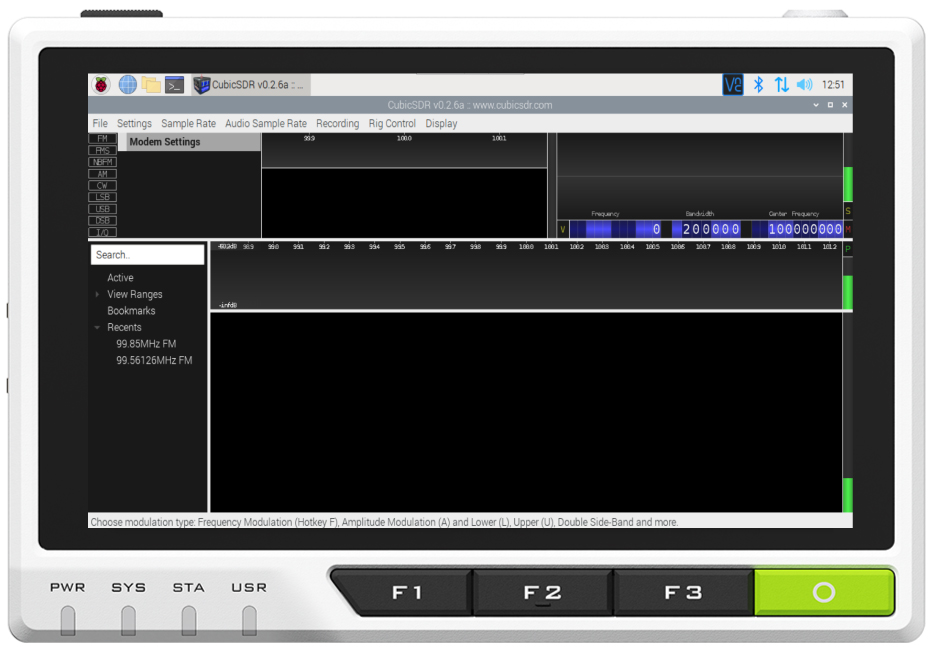
Now you can see the CubicSDR software successfully running on the reTerminal!
Conclusion
I hope this blog helped you to install SDR software on the reTerminal and easily visualize onboard. You can play around with different SDR hardware and reTerminal together in the future!