How to Setup an Intelligent Meeting Room Reservation System on reTerminal

Introduction
This blog will talk about how to setup an Intelligent Meeting Room Reservation System on the reTerminal. Basically, reTerminal LCD can be used to create meetings and visualize the current meeting status. Also, it is linked with a cloud calendar as well so that it syncs all upcoming meeting information and visualize them on the display.
What is reTerminal?
reTerminal is an HMI device powered by a Raspberry Pi Compute Module 4 (CM4) which has a Quad-Core Cortex-A72 CPU running at 1.5GHz. Also, it has a 5-inch IPS capacitive multi-touch screen with a resolution of 1280 x 720. It has a sufficient amount of RAM (4GB) to perform multitasking and also has a sufficient amount of eMMC storage (32GB) to install an operating system, enabling fast boot-up times and a smooth overall experience. It has wireless connectivity with dual-band 2.4GHz/5GHz Wi-Fi and Bluetooth 5.0 BLE.
Setup the Application
Obtain OAuth JSON file from Google
First, we need to obtain an OAuth JSON file from Google authorization server. This is needed because we need to have access to Google APIs. Specifically, we need to use the Google Calendar API in order to access the Google Calendar events (meetings) that we will create later in this guide.
Step 1: Open this link and login to Google Cloud Platform with your Google account
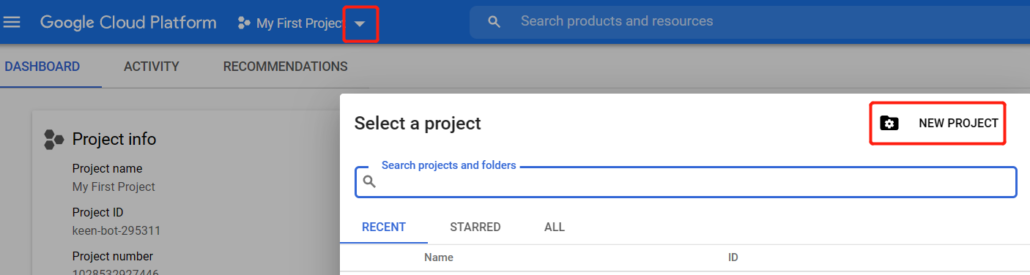
Step 2: Next to Google Cloud Platform, click the Down arrow and click “NEW PROJECT” to create a new project
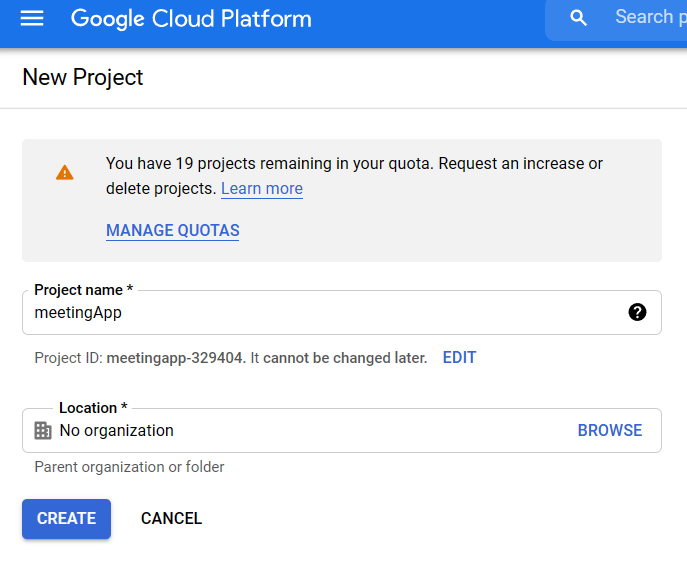
Step 3: Enter a “Project Name” and click “CREATE”
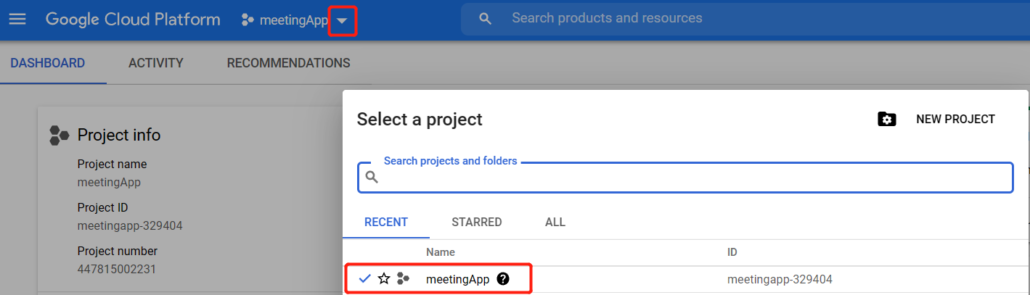
Step 4: Click the down arrow again and select the newly created project
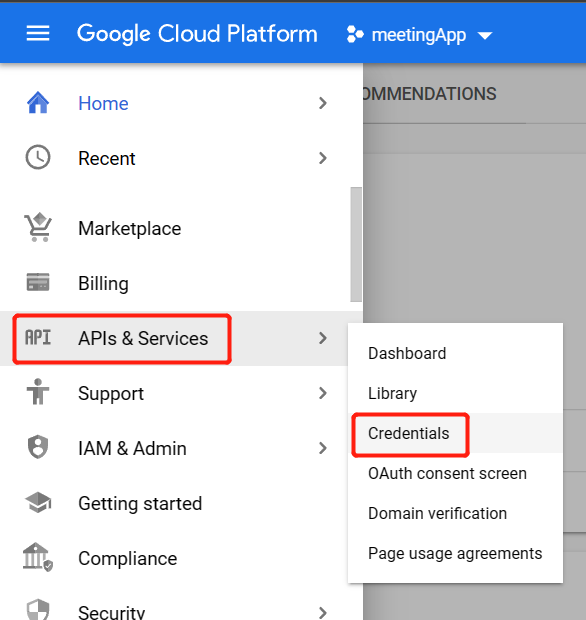
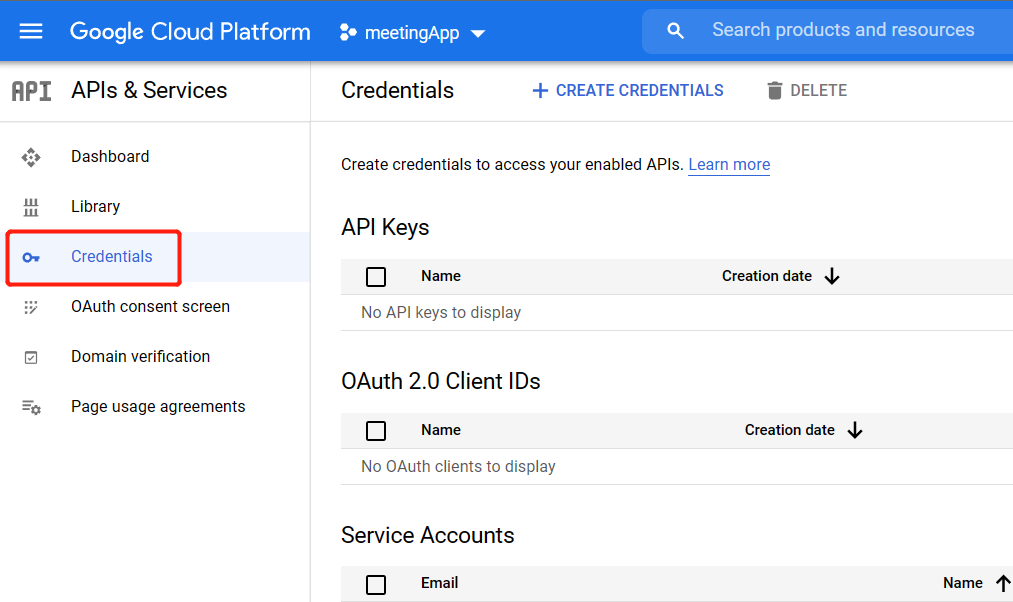
Step 5: From the left menu, navigate to APIs & Services > Credentials
Step 6: Click “CONFIGURE CONSENT SCREEN”

Step 7: Select “External” under “User Type” and click “CREATE”
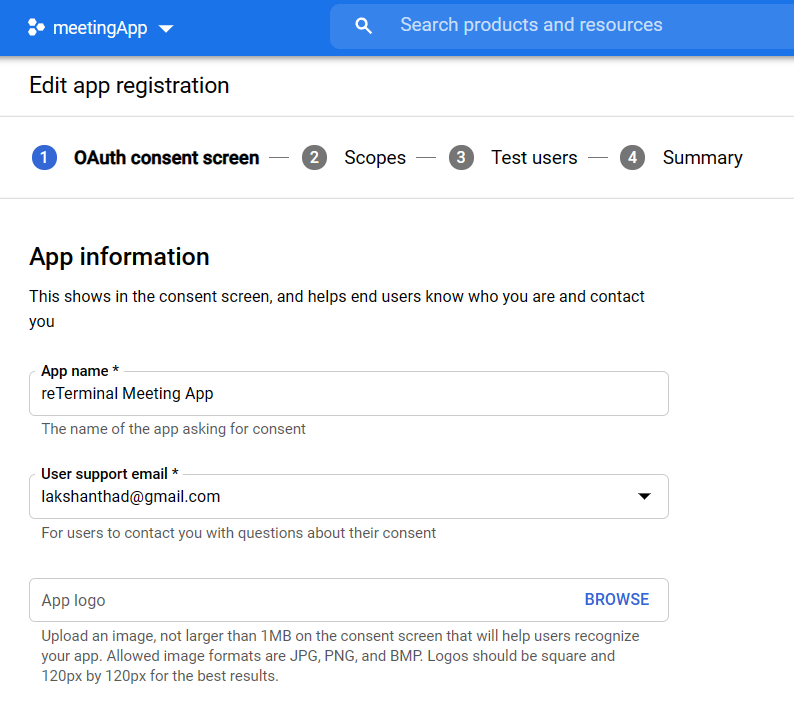
Step 8: Fill in “App name”, “User support email” and “Developer contact information” because they are compulsory fields
Step 9: Scroll down to the bottom and click “SAVE AND CONTINUE”
Step 10: On the “Scopes” page, scroll down to the bottom and click “SAVE AND CONTINUE”
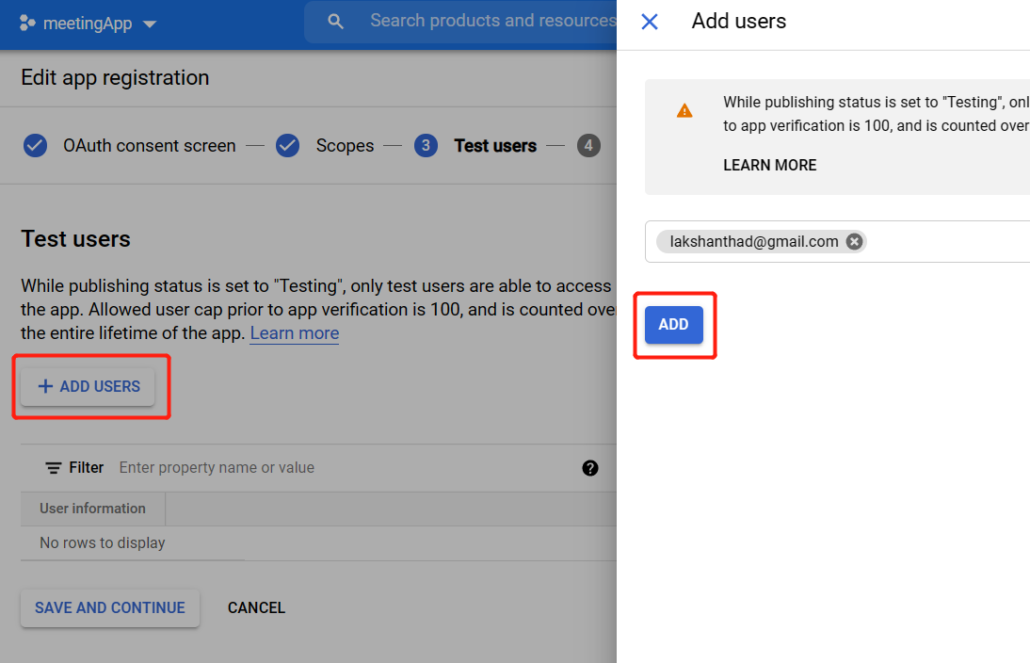
Step 11: On the “Test users” page, click “+ ADD USERS”, enter your Gmail and click “ADD”
Step 12: Click “SAVE AND CONTINUE”
Step 13: On the “Summary” page, scroll down and click “BACK TO DASHBOARD”
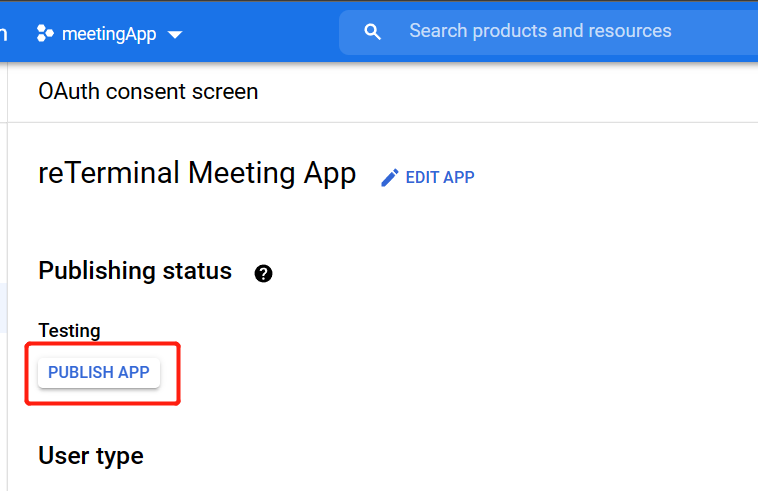
Step 14: If you wish to grant access to this for any user, you can click “PUBLISH APP” and then “CONFIRM”
Step 15: Next, click “Credentials” from the left navigation menu
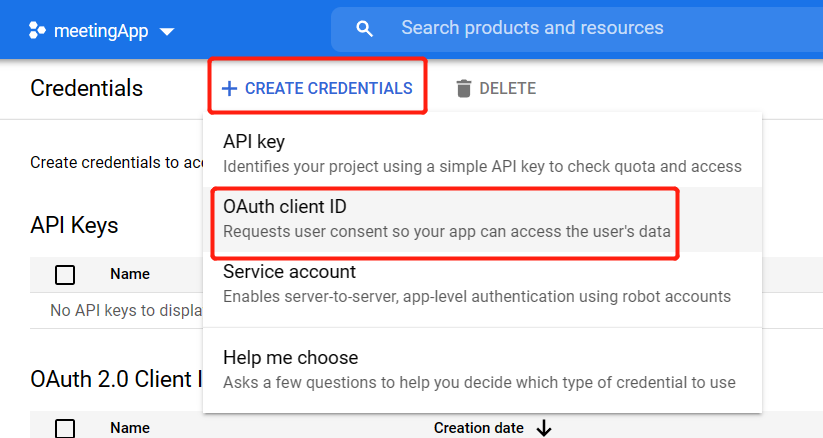
Step 16: Click “+ CREATE CREDENTIALS” and select “OAuth client ID”
Step 17: Under “Application type”, select “Desktop app” and click “CREATE”
Step 18: Click “DOWNLOAD JSON” to download this file to your computer
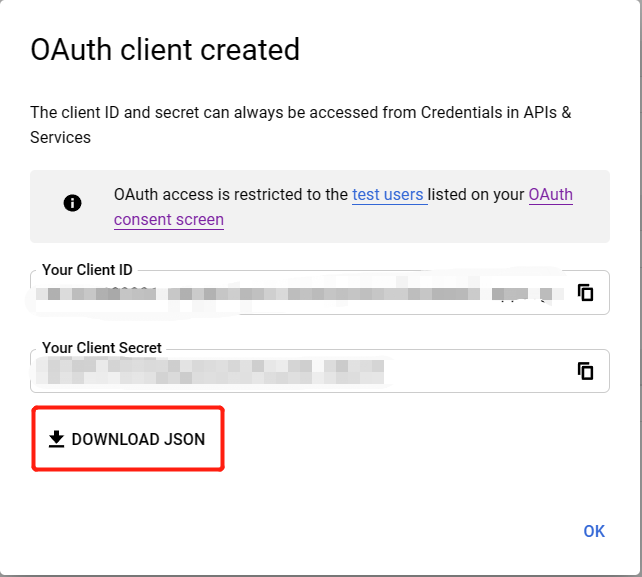
Step 19: Rename the file to “client_secret.json”
Now we have successfully obtained the OAuth JSON file from Google!
Enable Google Calendar API
Now we need to enable the Google Calendar API so that we can access it
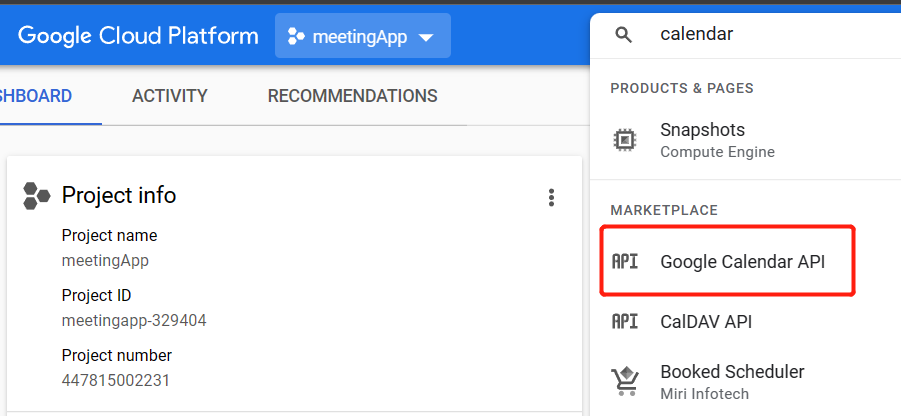
Step 1: On the Google Cloud Platform page, search for “Calendar” and select “Google Calendar API”
Step 2: Click “ENABLE”
Configure the application on reTerminal
Now let’s move on to setting up the application on the reTerminal!
Step 1: Follow this wiki for an initial getting started guide for the reTerminal
Step 2: Login to reTerminal and execute the following command to update the packages list
sudo apt updateStep 3: Execute the following to install the needed dependency
sudo apt install libgconf-2-4Step 3: Install the application
curl -ssL https://github.com/simplificator/sitincator/raw/master/scripts/automatic_updates.sh | bashNote The above install command will install the application and start running the initial configuration. But first we need to copy the previously obtained JSON file to the app’s directory
Step 4: Press Ctrl + C to come out of initial configuration
Step 5: Open command prompt on the computer and navigate to the location of the downloaded “client_secret.json” file
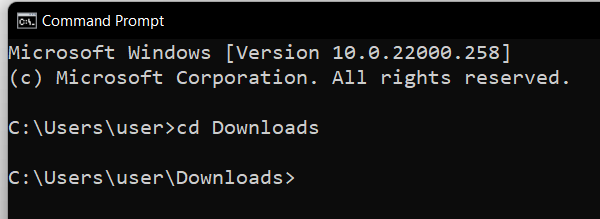
Note Here, “cd” command can be used to open directories
Step 6: Type the following to transfer the “client_secret.json” file to “/Sitincator/resources/app/config” directory on the reTerminal
scp client_secret.json pi@192.168.1.85:/home/pi/Sitincator/resources/app/config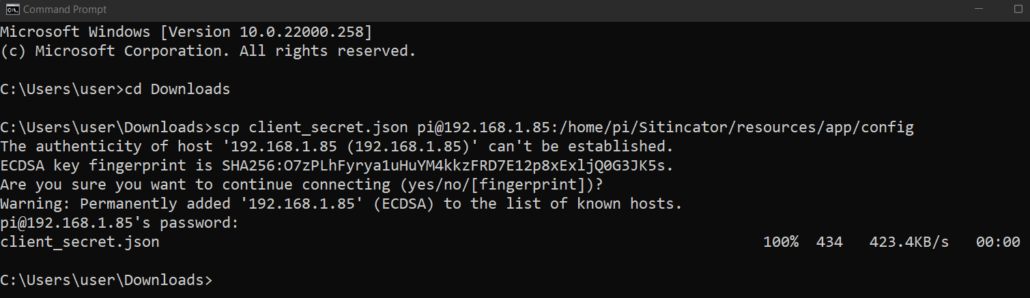
Note Here “pi” is the username and 192.168.xxx is the IP address of reTerminal
Step 7: Come back to terminal window of reTerminal and run the application
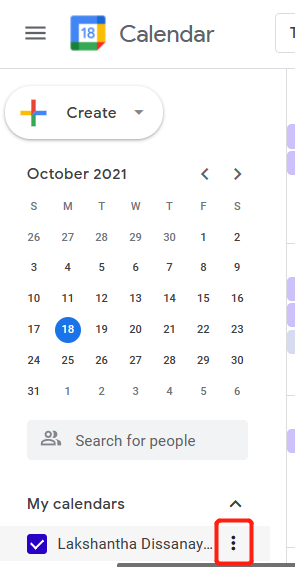
/home/pi/Sitincator/SitincatorStep 8: When it asks for the calendar ID, find the calendar ID, by first visiting Google Calendar
Step 9: After that, under “My calendars”, next to your calendar name, click on the 3 dots and select “Settings and sharing”
Step 10: Click on “Integrate Calendar” and find the ”Calendar ID”
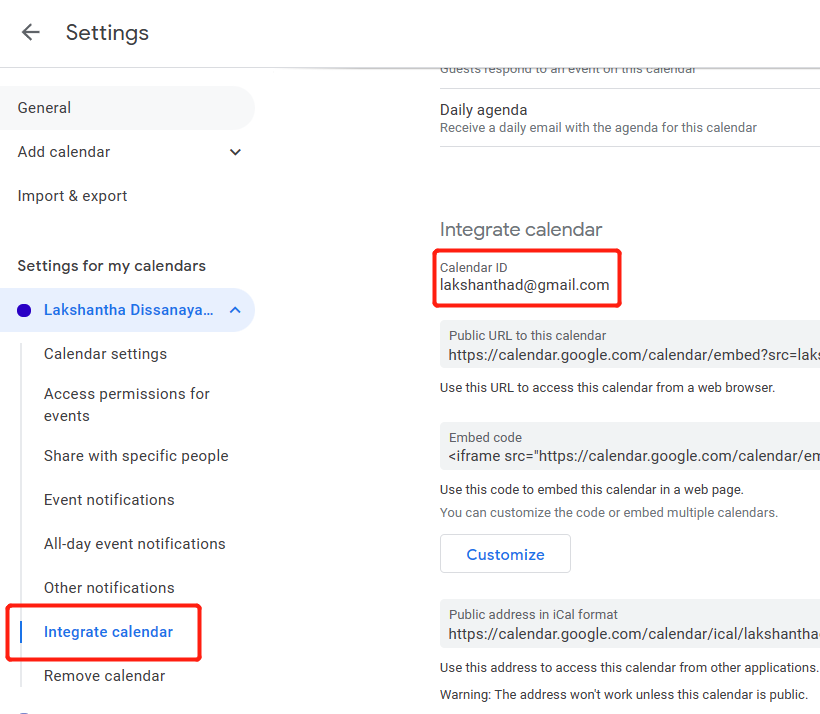
Step 11: On the reTerminal, type this calendar ID and press enter
Step 12: Copy the generated URL and paste on a browser

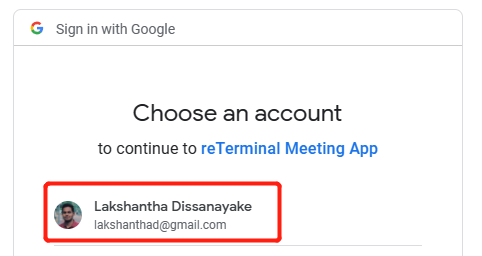
Step 13: Select you Google account
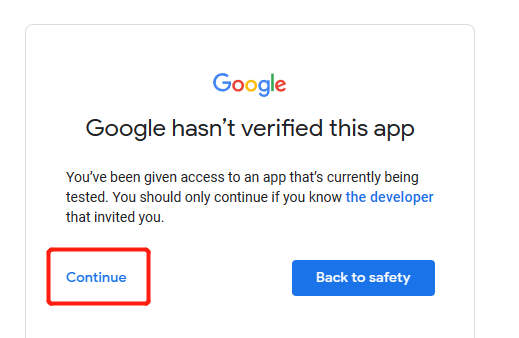
Step 14: Click Continue and then Continue again to allow access to your Google Account
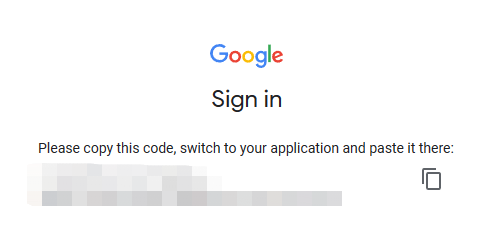
Step 15: Copy the generated code and paste inside the terminal window of reTerminal
Step 16: Press Ctrl + C to come out of the configuration
Run the Application
There are different methods of running the application
Method 1: Via VNC
If you are logged into reRerminal via VNC, you can open a terminal and execute the following:
/home/pi/Sitincator/SitincatorMethod 2: Via SSH
If you have logged into reTerminal via SSH, you can type the following in the SSH client
DISPLAY=:0 /home/pi/Sitincator/SitincatorMethod 3: Via reTerminal LCD
You can also use the reTerminal itself, open a terminal and type the following using the on-screen keyboard
/home/pi/Sitincator/SitincatorNote: Click on the Raspberry Pi logo, Universal Access > Onboard, to access the on-screen keyboard
Method 4: Using desktop shortcut
We can also create a desktop shortcut so that we can easily double-click on the shortcut to open the application
Step 1: Navigate to the Desktop directory
cd DesktopStep 2: Create a new .desktop file
sudo nano meetingApp.desktopStep 3: Copy and paste the following inside the file
[Desktop Entry]
Encoding=UTF-8
Name=meetingApp
Comment= Intelligent Meeting Room Reservation System
Exec=/home/pi/Sitincator/Sitincator
Type=Application
Categories=Application;
Step 4: Press “Ctrl + x”, “y” and ENTER, to save and close the file
Now you will see a shortcut name meetingApp, on the reTerminal desktop and you can open the app by double clicking on it.
After we run the application, it will look like below:

How to use the application?
Now let’s go through the application and find out how the application can be used.
You can watch the video below to learn all about how to use this application.
Also, I will explain again the usage of this application in this guide.
Start a quick meeting
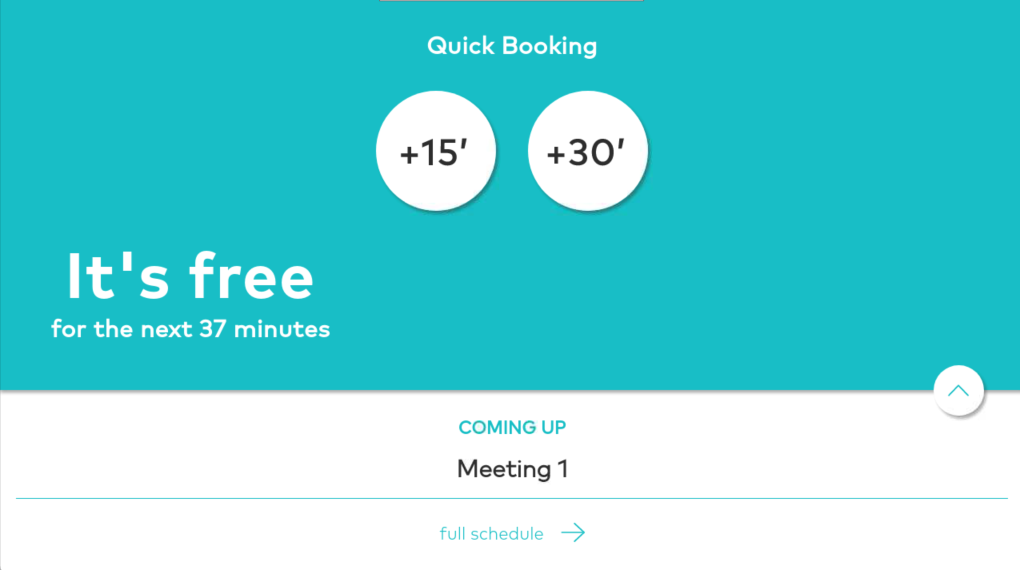
When you open the application, you will see there are 2 big buttons. They can be used to start a quick meeting. Left button is to start a 15 minutes meeting, whereas the right button is to start a 30 minutes meeting

Also, once you start a meeting (example: 15 minutes), the display will change to the following and change the status from “Free” to “Booked”. Also, it will show the remaining meeting time
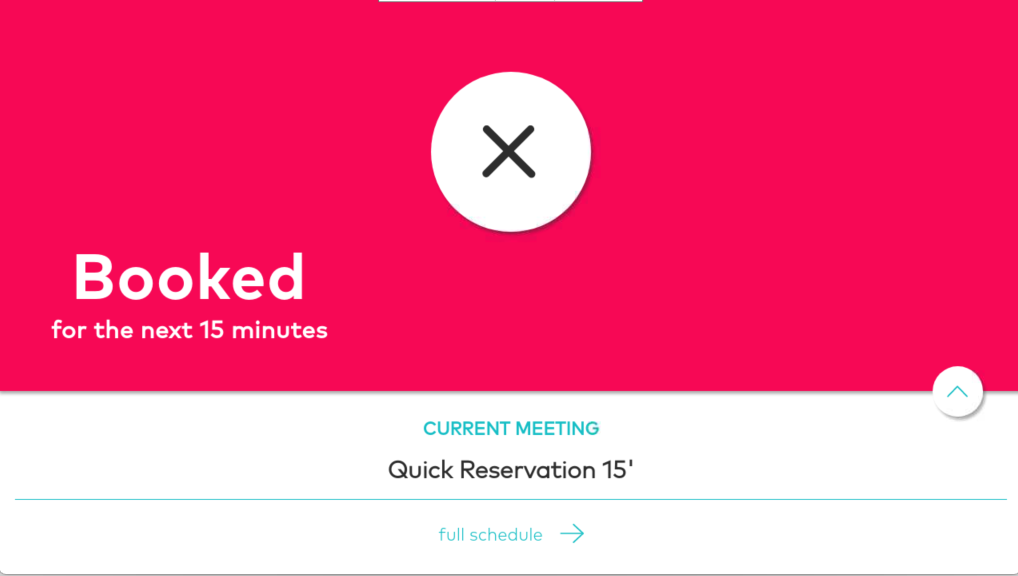
If you have finished the quick meeting before the time runs out, you can press the big X button to end the meeting right away.
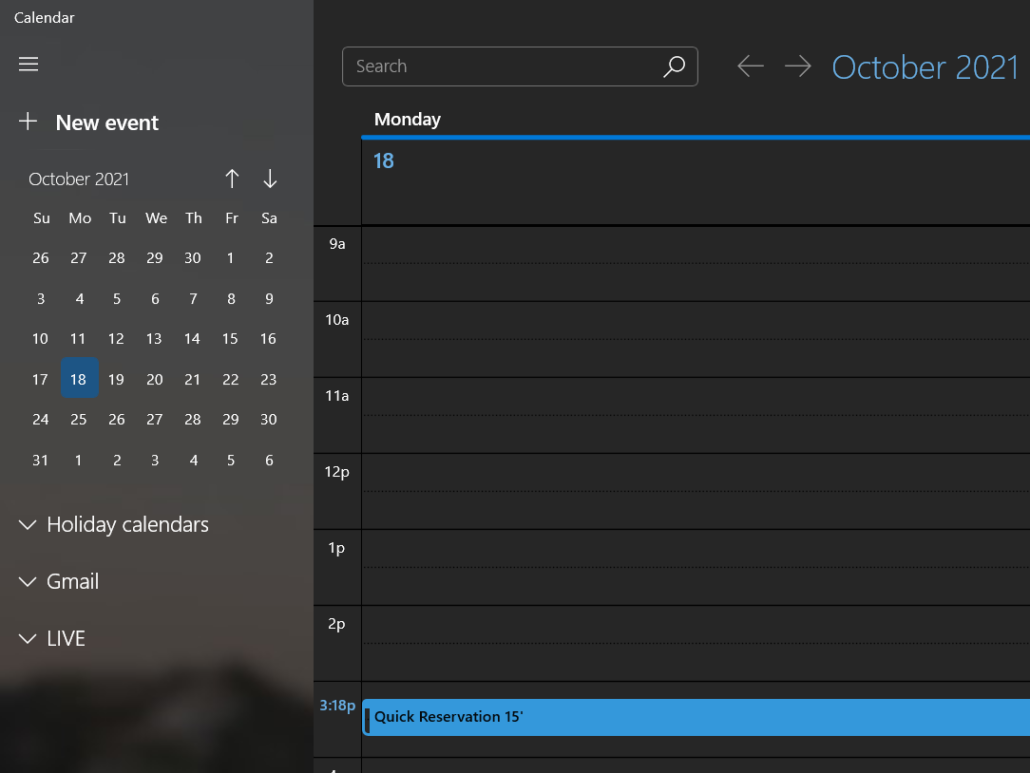
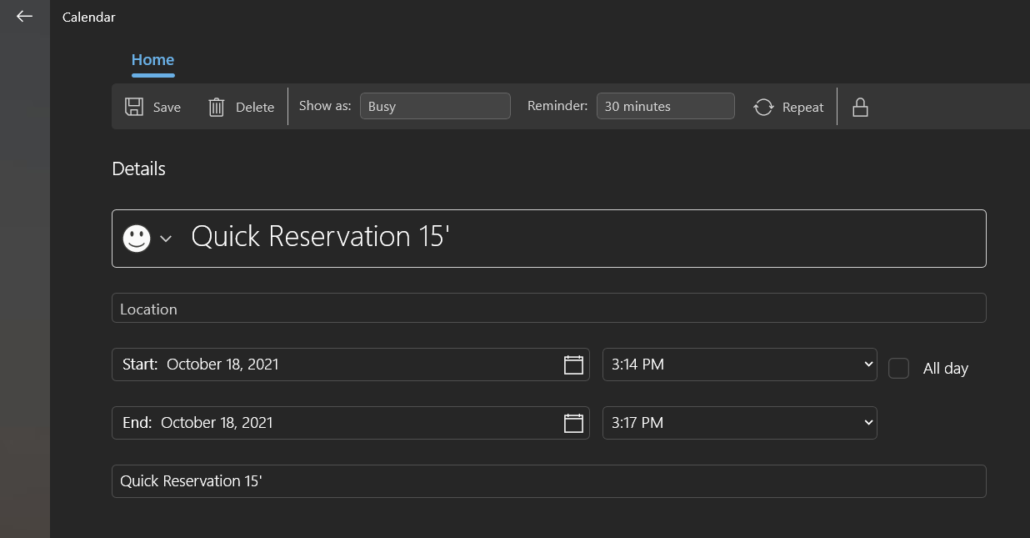
Now, when you go to your Google Calendar, you will see that an event is automatically created with the correct start and end time of the meeting that we just had.
Schedule a meeting
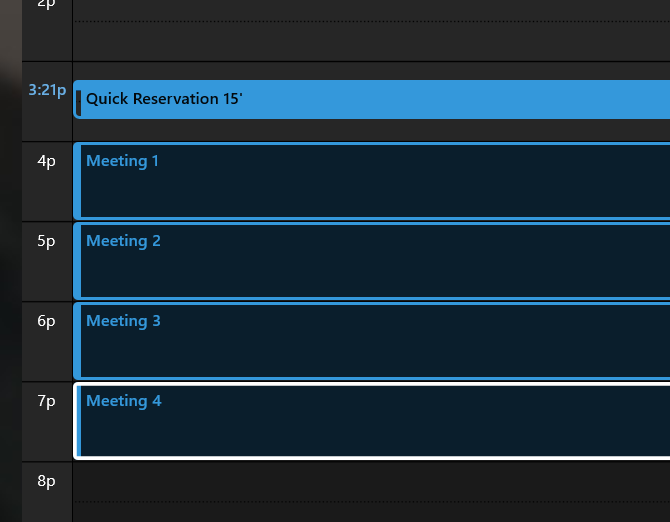
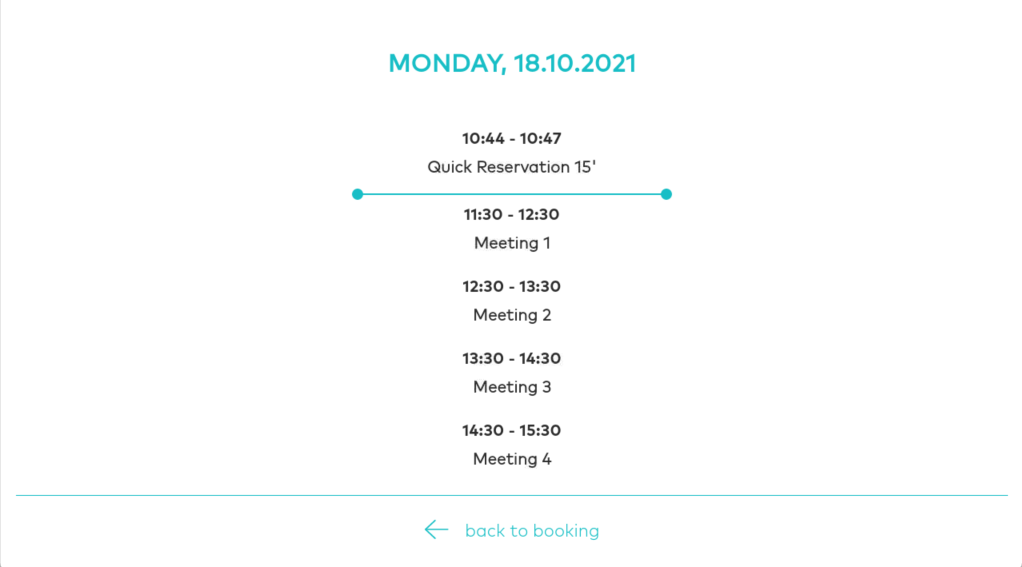
Start by creating multiple meetings on the Google Calendar. Here I have created 4 meeting, each lasting for one hour
Now when we come back the reTerminal, we can see the information for the next meeting that we have created
You can press the UP arrow button to view more information about the meeting

When you click the “Full schedule” button, you will see all the meetings that we created before. So, these meetings will show up on the reTerminal when they start one-by-one
Conclusion
I hope this blog helped you understand how you can use reTerminal as an intelligent meeting room reservation system. In this way you can setup multiple reTerminals on multiple meeting rooms so that you can have your own intelligent meeting room reservation system to make the meeting scheduling better!