4 Steps to Deploy IoT Devices – SenseCAP LoRaWAN
Deploying IoT devices can be very simple! We will show you how via the example of deploying SenseCAP LoRaWAN devices with ease!
Deploying IoT devices can be very simple! We will show you how via the example of deploying SenseCAP LoRaWAN devices with ease!
SenseCAP is one of the industrial IoT (IoT) product series developed by Seeed. It consists of hardware products (sensors & data-loggers, and gateways, etc.), software services (SenseCAP portal, mobile App, open dashboard), and the API for device & data management.
Among different categories of SenseCAP products, SenseCAP LoRaWAN wireless sensor network series is especially suitable for wireless environmental sensing applications: smart agriculture, precision farming, climate studies, and smart city, etc.

Before designing the products, we’ve talked to partners, users, and potential users, as well as industry experts, to gather information about the pains that they have come across while monitoring and collecting environmental data in the outdoor field. We have users’ pains in mind and design the products to be equipped with the following features:
- Robustness, suitable to be used in outdoor severe environments such as sharp temperature differences during day and night or across different seasons year-round.
- Ultra-long distance communication, suitable to be deployed in the outdoor field.
- Ultra-low-power consumption, suitable for long-term deployment.
- Easy deployment, use out-of-the-box, without complex provisioning.
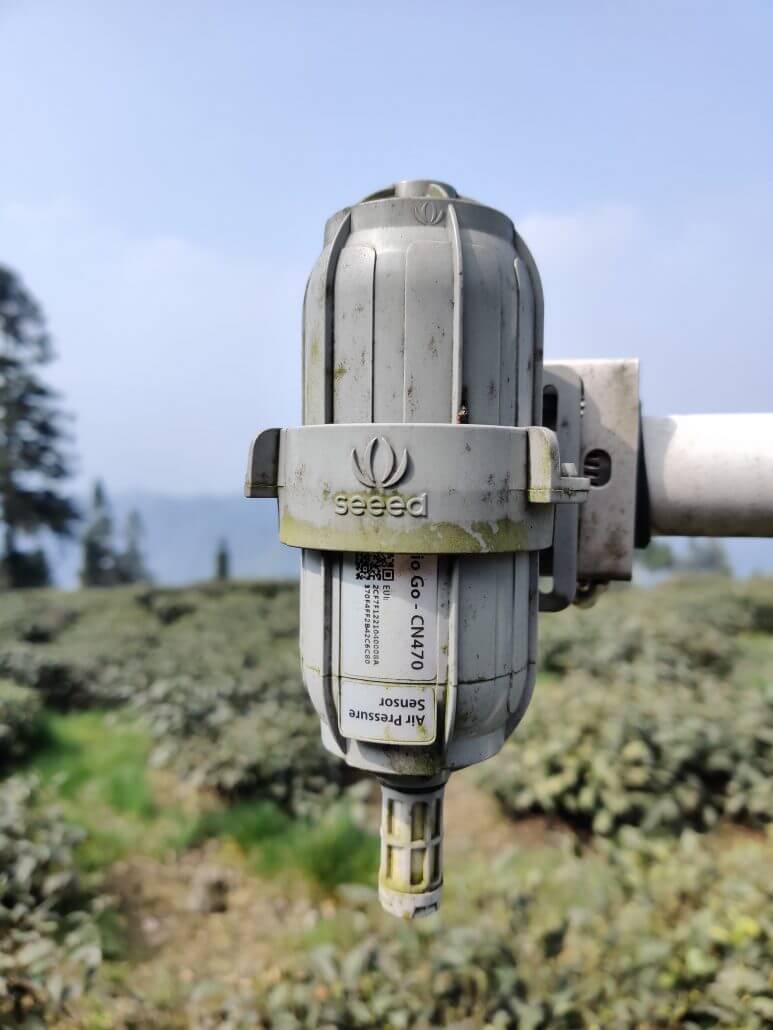
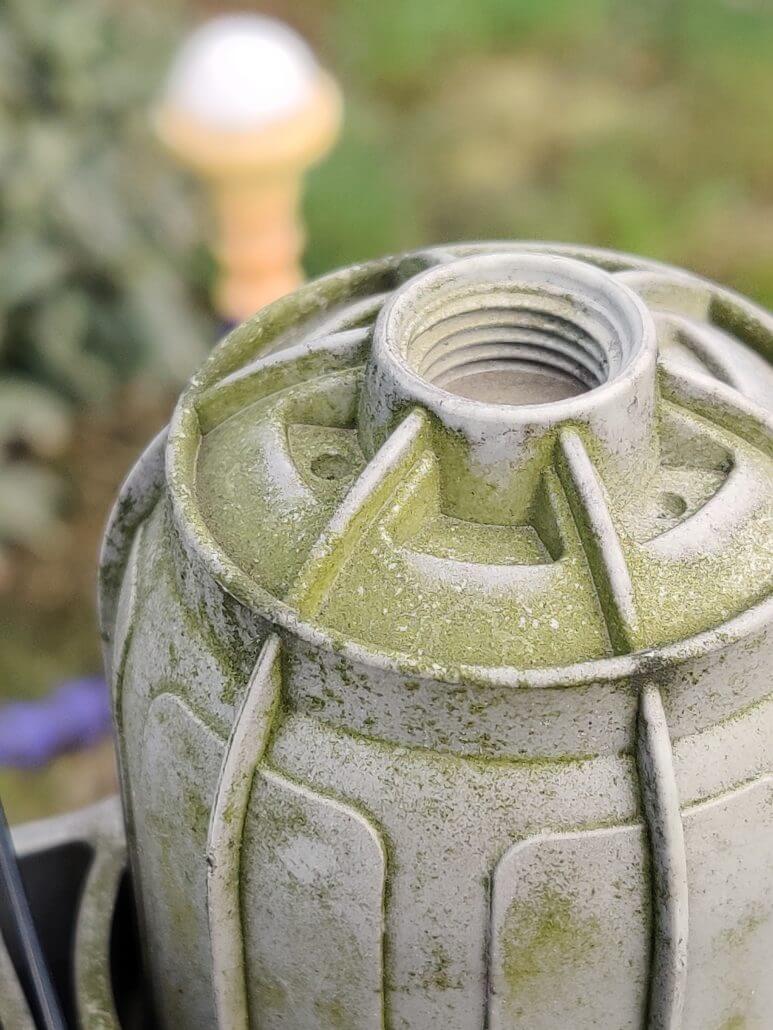
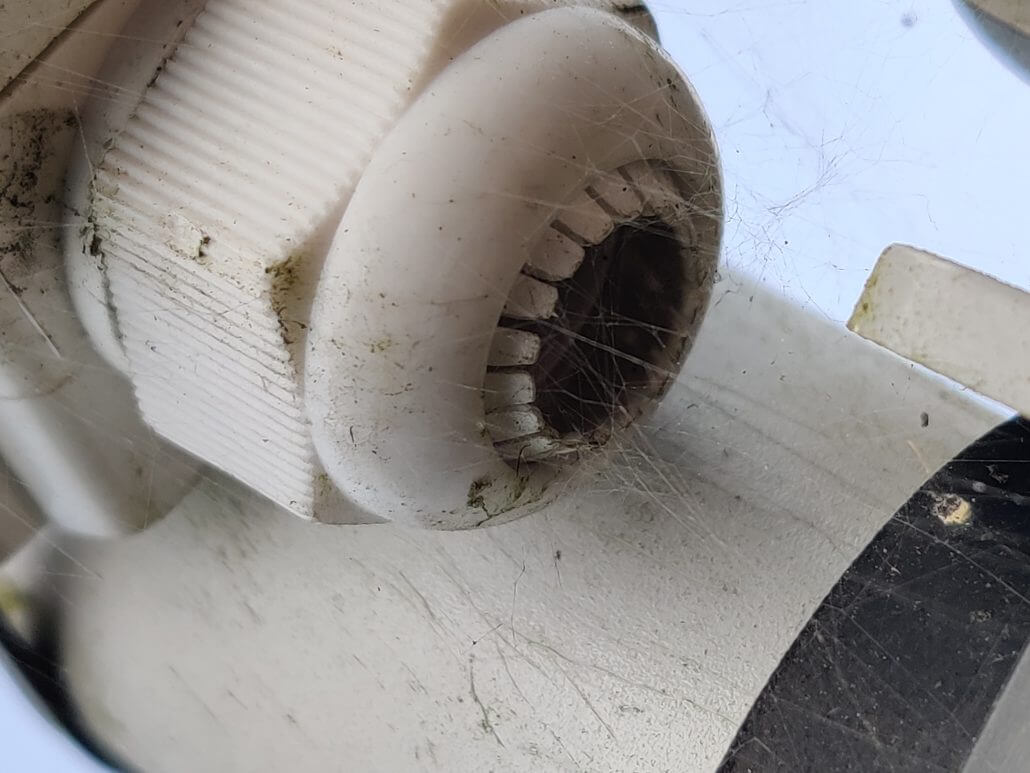
For the robustness, ultra-long distance communication, and ultra-low-power consumption features, you can check out our SenseCAP product testing episodes of blogs. And during this blog, we will walk you through the process of deploying SenseCAP LoRaWAN devices rapidly.
Now, let’s get started!
Step 1: Create an account at the SenseCAP portal. Download SenseCAP App (iOS & Android versions are available), log in with your account. Scan the QR code on the devices to bind the gateway and sensor to your account.
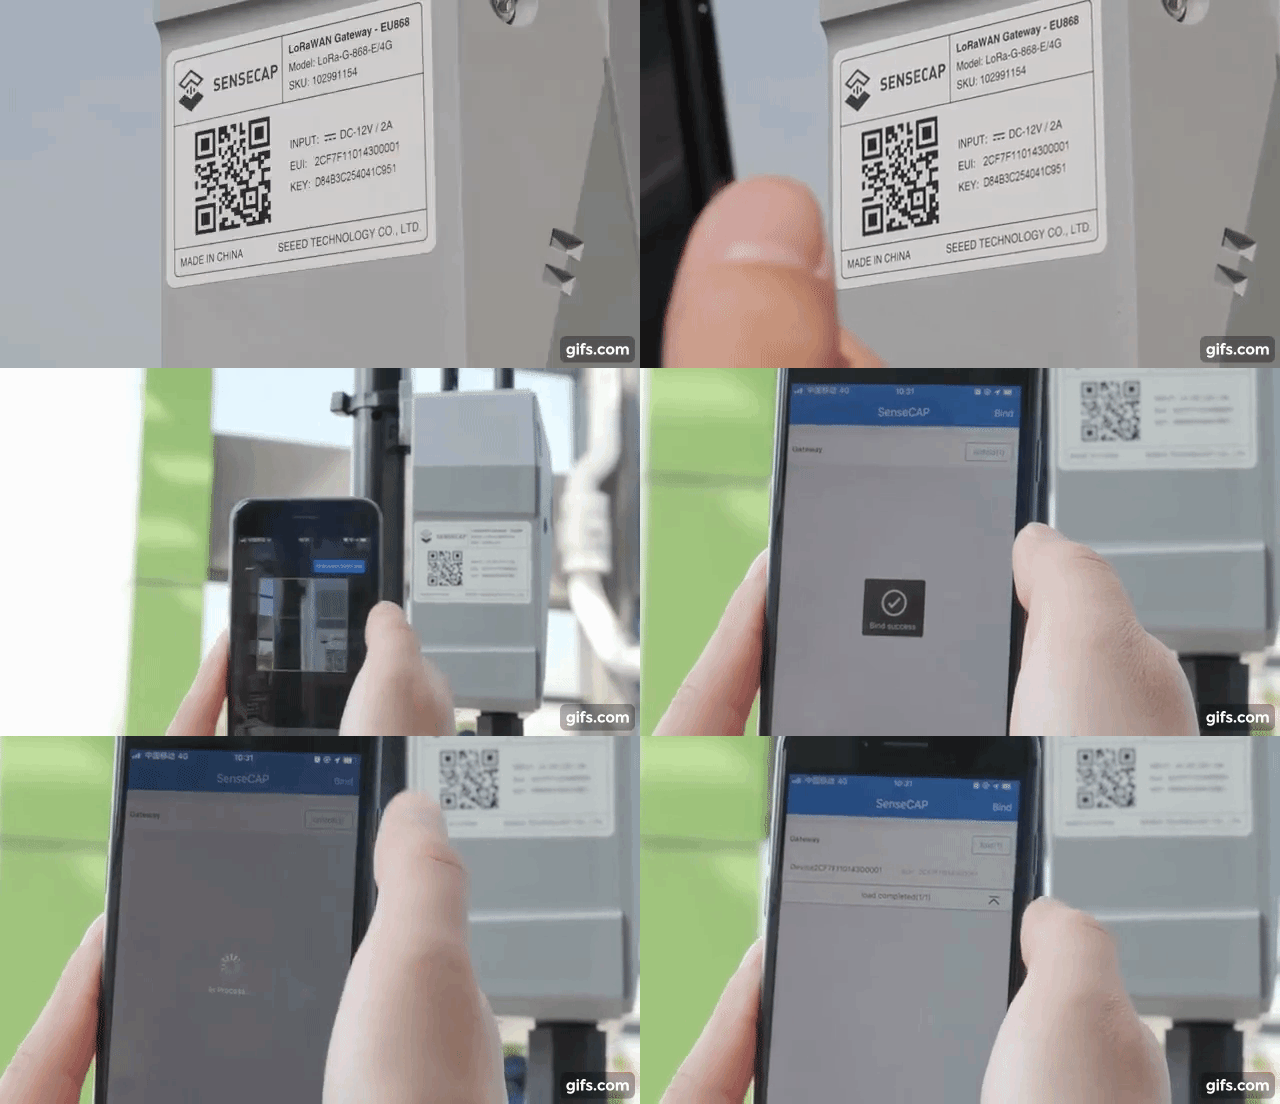
Step 2: Power on the device and connect to the network.
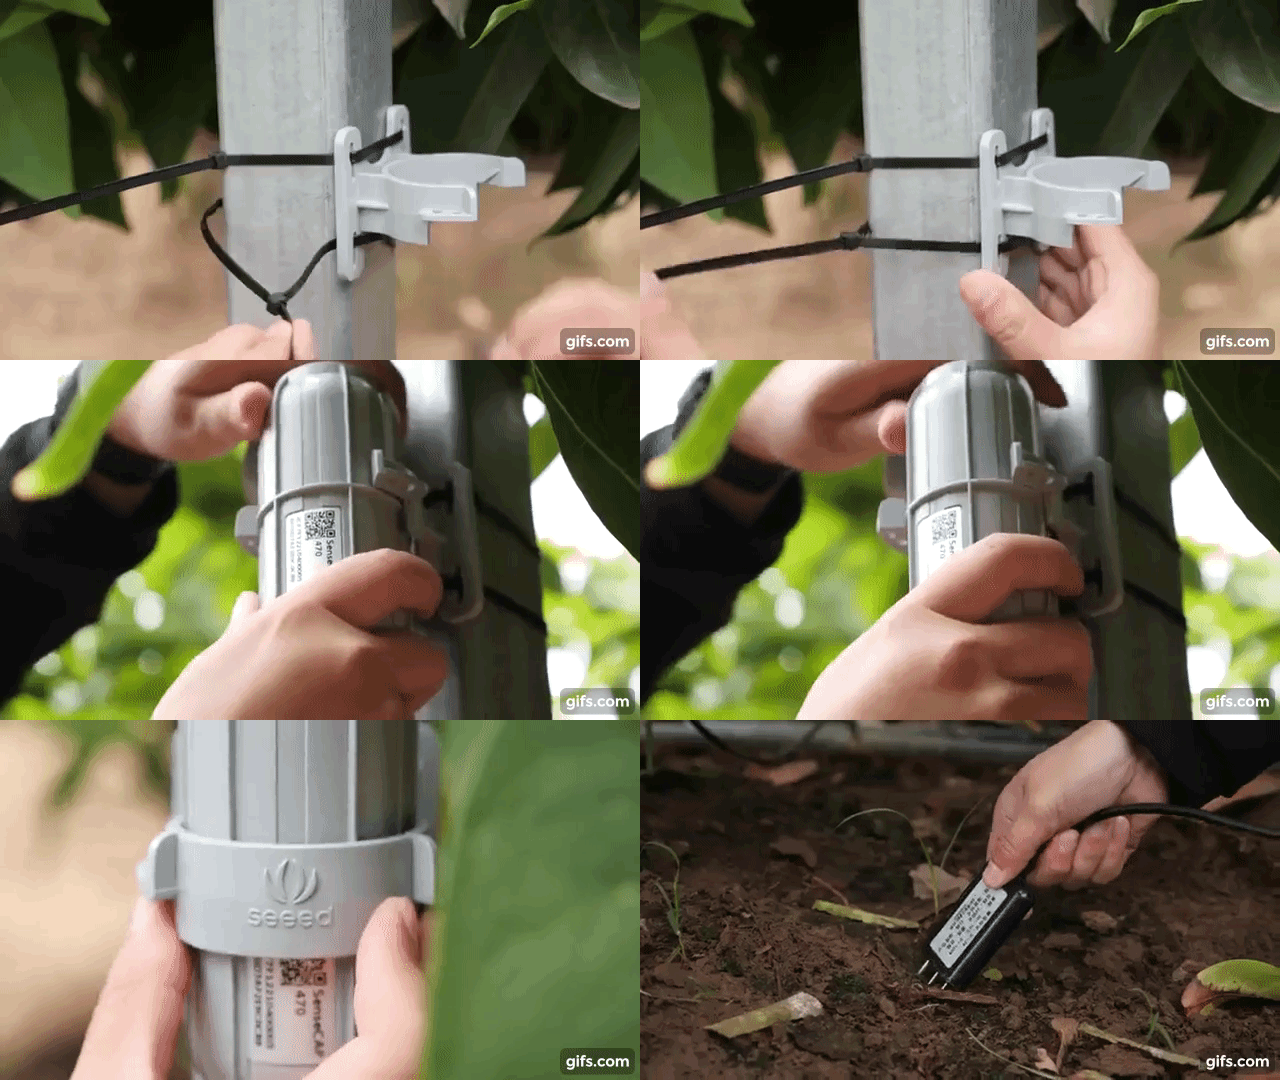
Step 3: Mount the device on the wall or pole. The bracket adopts a buckle design. Just press the node into the bracket in the right position, and you will hear a click/snap sound, indicating it’s installed successfully. It’s consisted of a bracket and a sliding cap. With designated screw-holes, the bracket can help fasten the Sensor Nodes firmly onto a pole or wall.
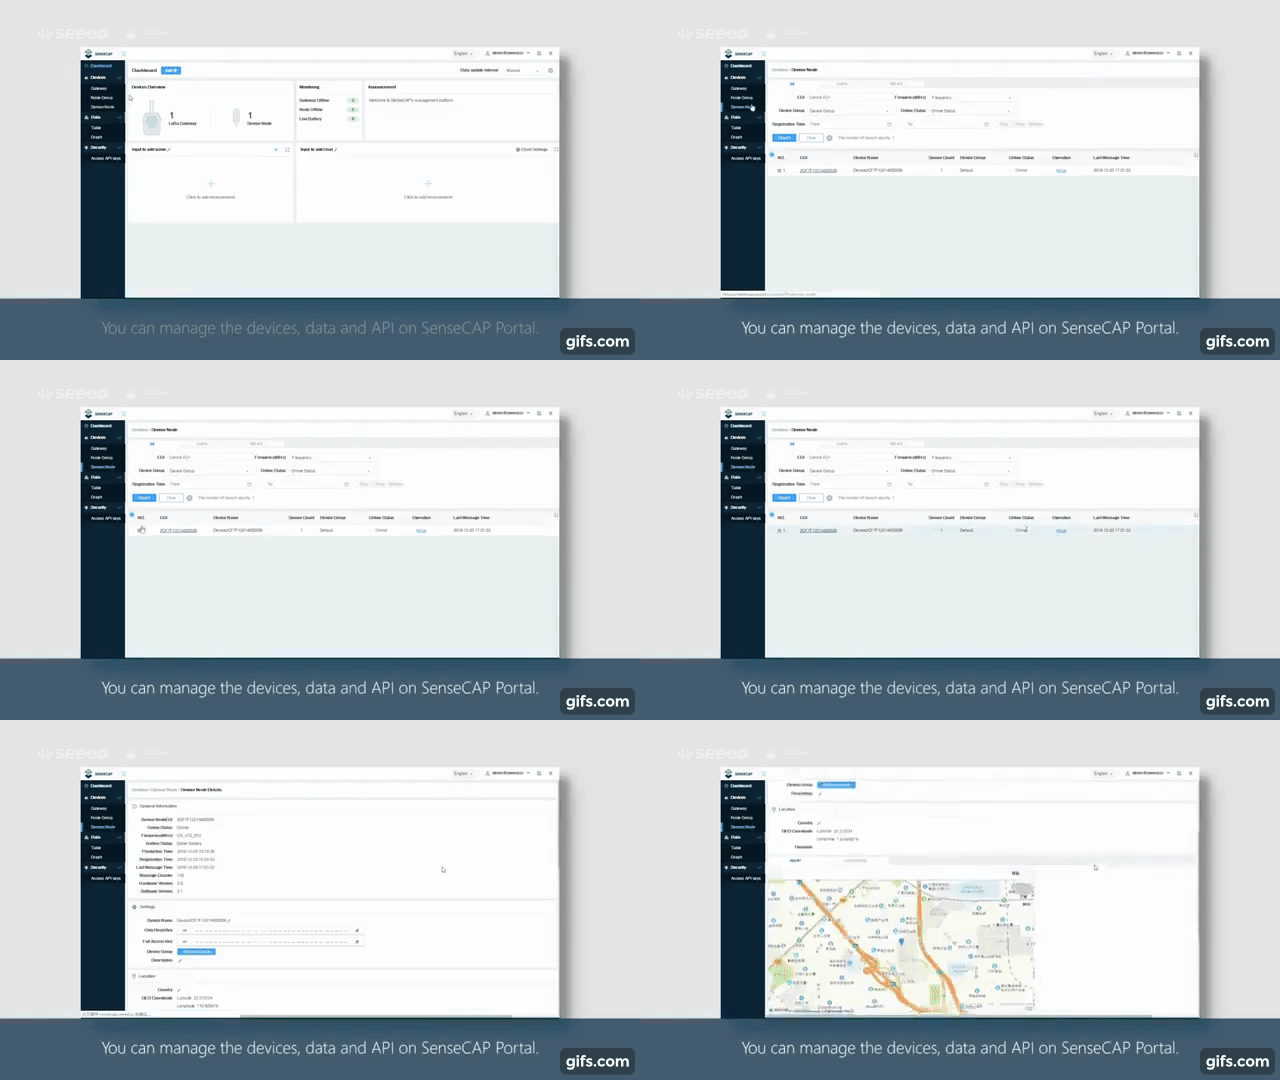
Step 4: log in to the SenseCAP web portal and you will see the data. You can manage the data and device here conveniently.
That’s it! See how easy it is for you to install the SenseCAP LoRaWAN devices in a few minutes. For more detailed instructions, please refer to SenseCAP User Guide. SenseCAP LoRaWAN sensors can work with any standard LoRaWAN Gateways, please refer to this link for detailed instructions.
That’s all for this week’s update about Seeed industrial IoT products. Stay tuned for our next updates.