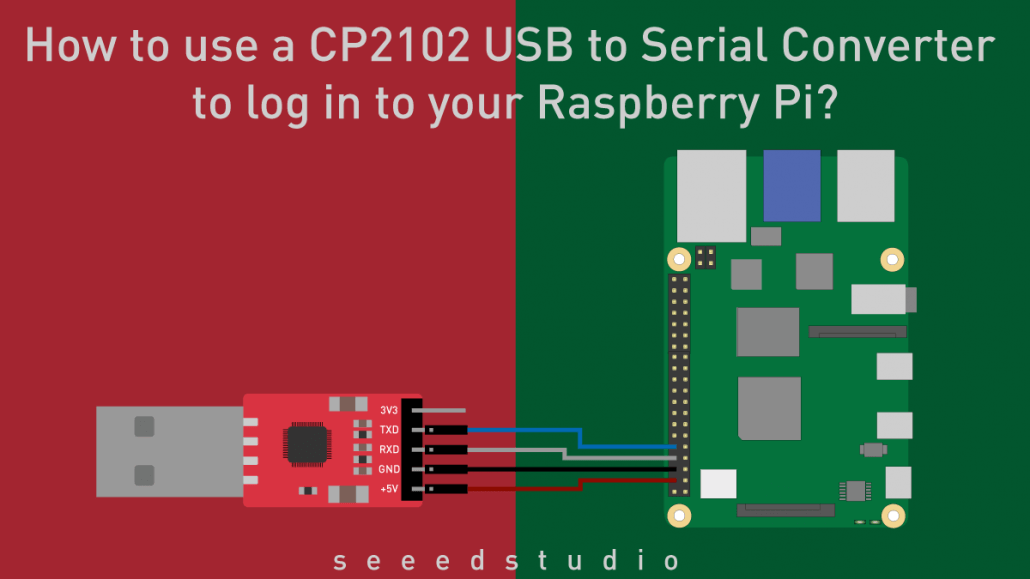
How to use a CP2102 USB to Serial Converter to log in to your Raspberry Pi?
Background
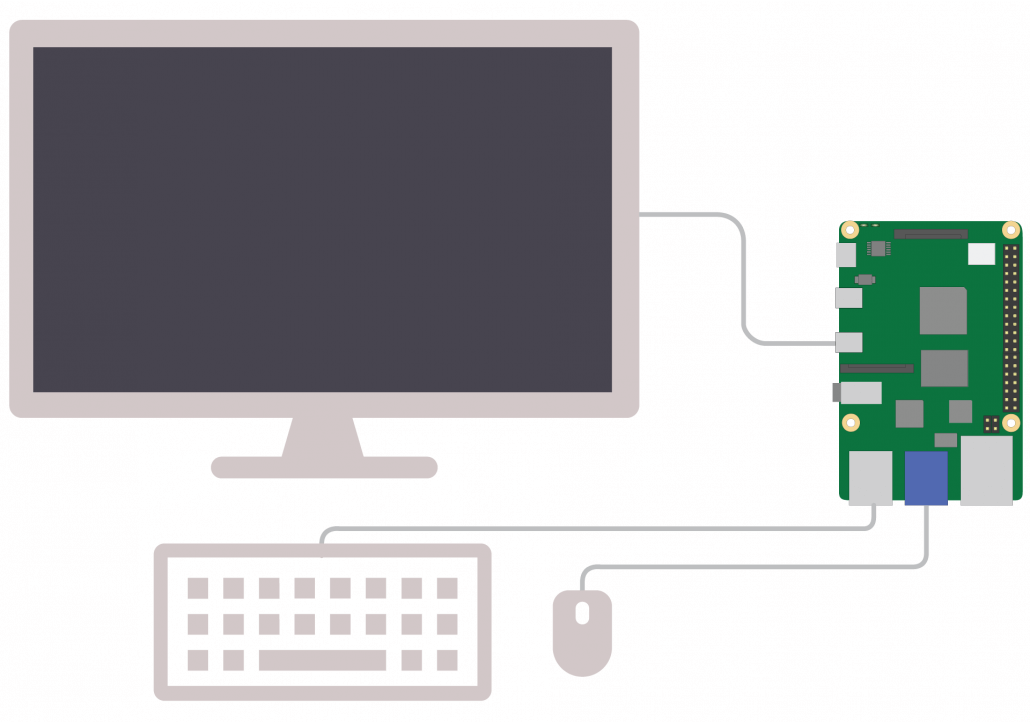
When you buy a Raspberry Pi for the very first time and want to configure it, the most common method would be to connect a keyboard, mouse, and display to the Raspberry Pi. But this can be a very troublesome option since you might have to carry them with you when you are traveling.
So, the alternative option which makes it a more simple process is by using a USB to Serial adapter to establish a connection between the Raspberry Pi and your computer. In this blog, we will show you how to use a CP2102 USB to Serial Converter to log in to your Raspberry Pi quickly and easily!
However, if you have a Seeeduino XIAO with you, we recommend you follow our blog A new way to log in to your Raspberry Pi – no USB to Serial cable required to learn about logging in to your Raspberry Pi in a brand-new way!
What is Serial Communication?
Before moving on, let’s have a quick introduction to serial communication. Serial communication is a communication method used in telecommunications where data is transmitted one bit at a time in sequential order over a communication channel. It has different protocols such as CAN, ETHERNET, I2C, SPI, RS232, USB, UART, 1-Wire, and SATA.
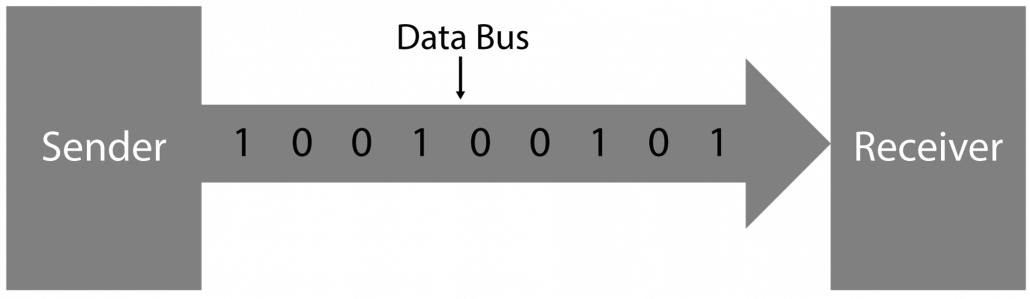
It is the simplest form of communication between a sender and a receiver and advantageous in long-haul communications.
Hardware Setup
CP2102 USB to Serial Converter Pin Map
Here we use a CP2102 USB to Serial Converter to establish a connection between your PC and your Raspberry Pi. We will now look at its pin layout.
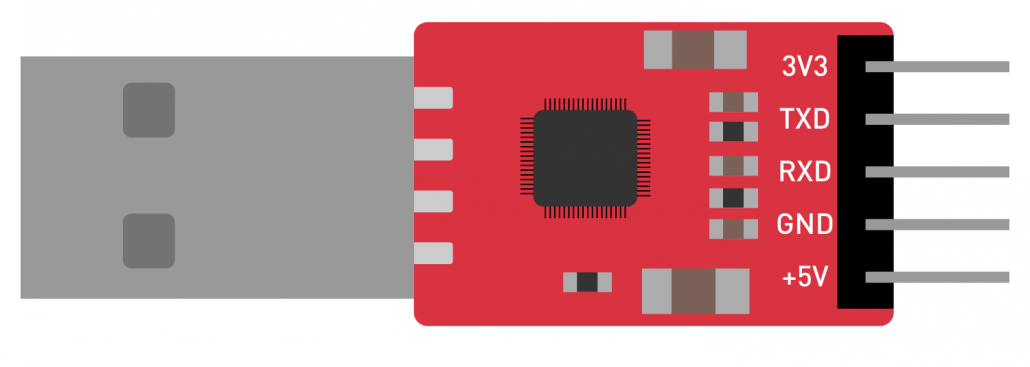
- 3v3: 3.3V voltage output
- TXD: Serial Output
- RXD: Serial Input
- GND: Ground
- +5V: 5V voltage output
Connecting CP2102 USB to Serial Converter to Raspberry Pi
There are two ways to connect this to your Raspberry Pi
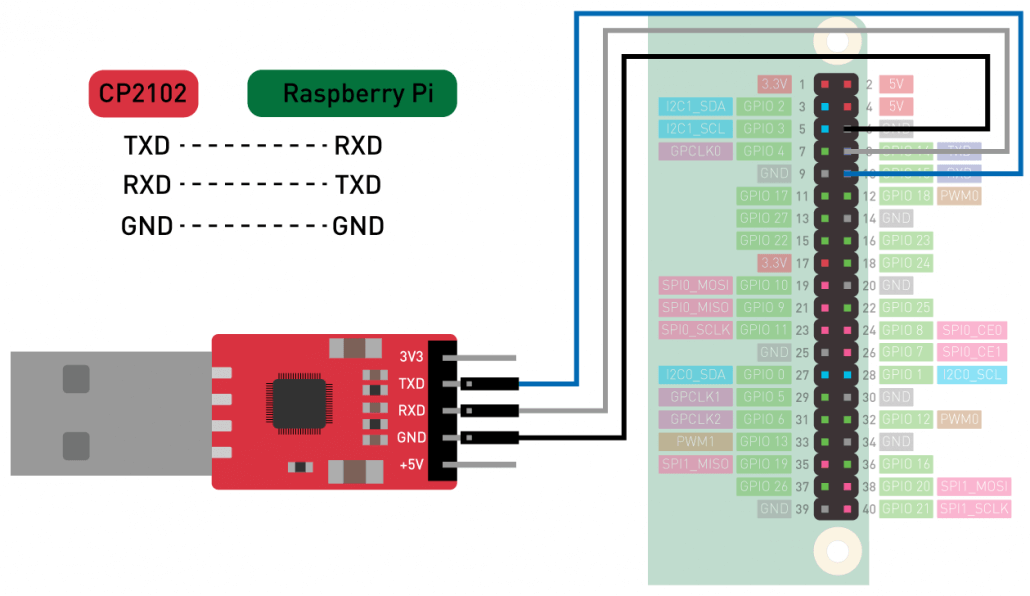
Method 1
Connect only the data communication pins (TX and RX) and the ground pin (GND) to the Raspberry Pi by powering the Raspberry Pi separately. We recommend this method because the current from the +5V pin will not be enough if you want to connect more peripherals to your Raspberry Pi.
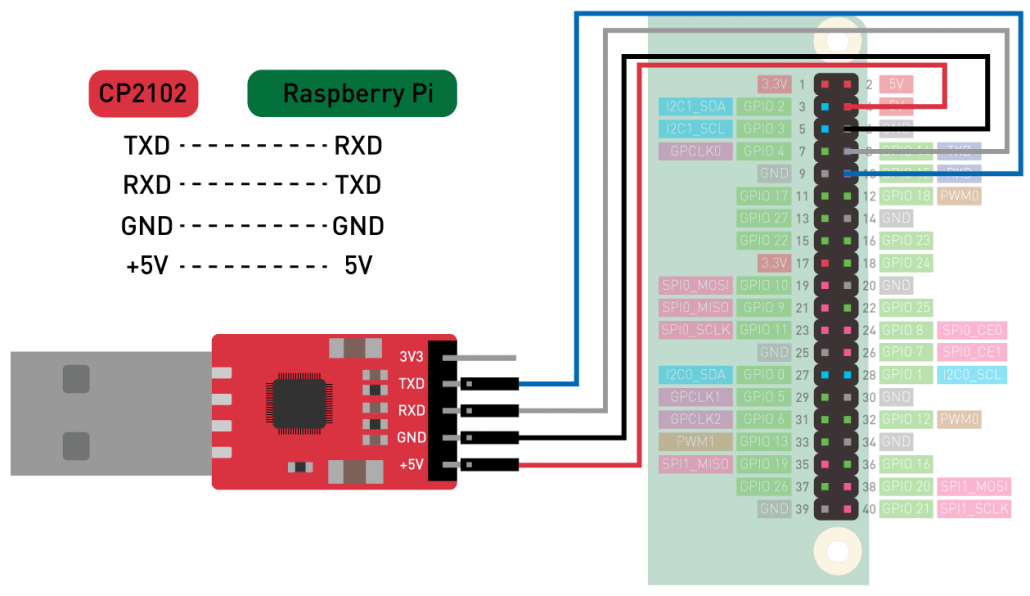
Method 2
However if you only need to connect to your Raspberry Pi without it being connected to other peripherals, you can connect as follows.
Software Setup
Now that we have finished setting up the hardware, let’s set up the software.
Configuring the Raspberry Pi for initial boot
When you buy a Raspberry Pi, there is no operating system installed on it out of the box. So, you need to burn an operating system into a micro-SD card and then boot the Raspberry Pi from that card. However, if you have a Micro-SD card with an operating system already installed, you can directly jump to “Installing CP2102 USB drivers”.
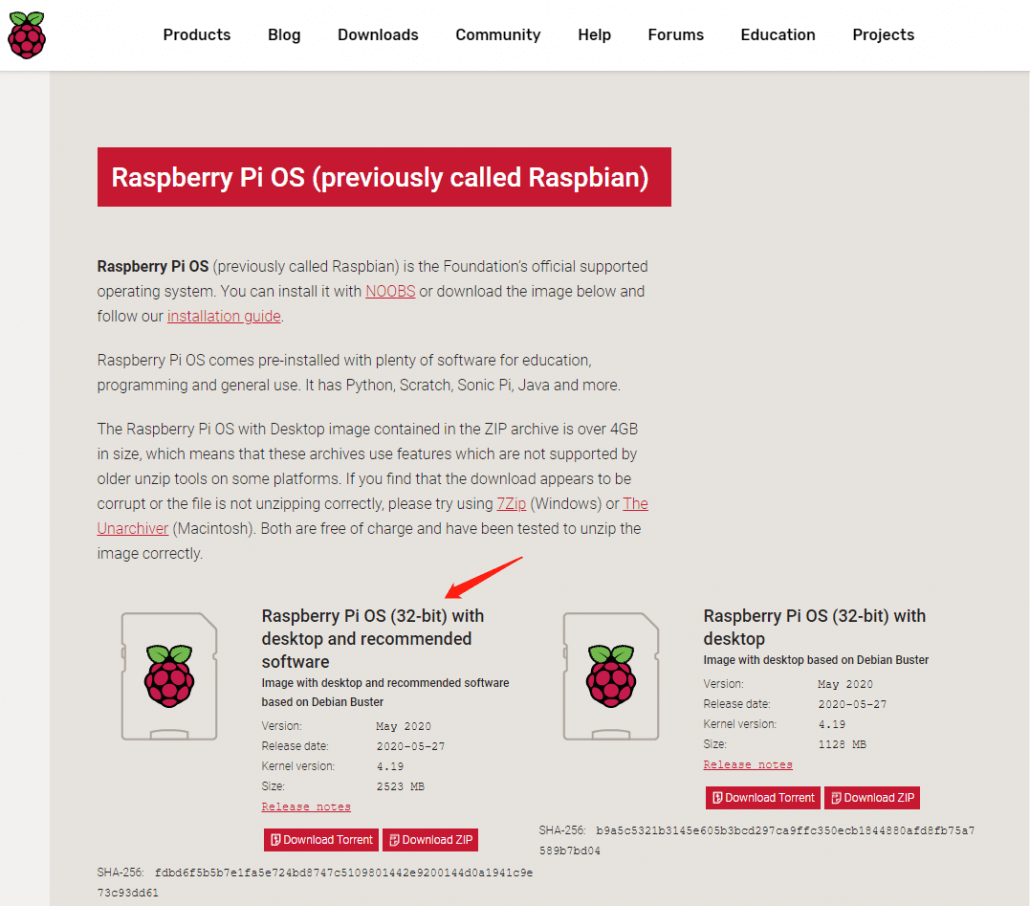
Step 1
First, we must download a Linux-based operating system. Raspberry Pi supports various Linux distributions such as Ubuntu, but in this guide, we will use the official OS from the Raspberry Pi Foundation, which is the Raspberry Pi OS. Download it here by selecting “with desktop and recommended software” version.
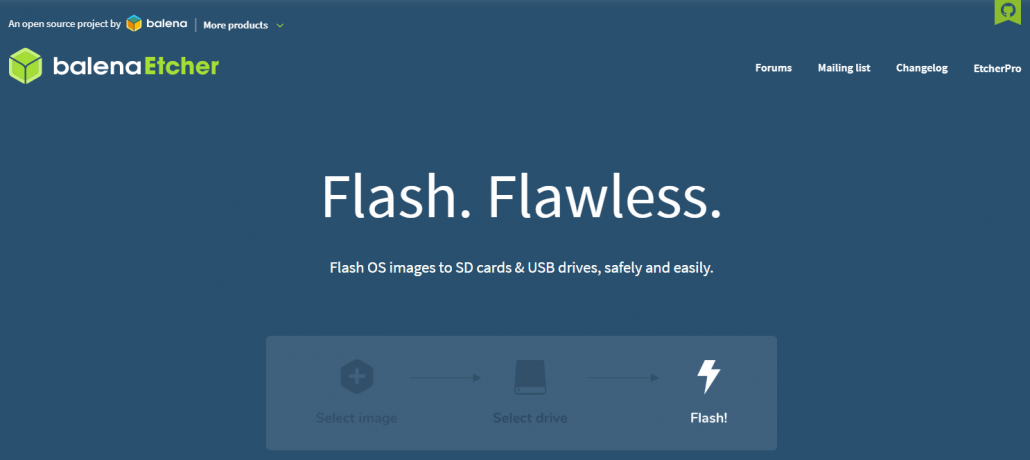
Step 2
Then you need to download a software called “balenaEtcher” which is used to burn the downloaded image above and make the Raspberry Pi boot from the Micro-SD card. Click here to download the latest version of this software.
Step 3
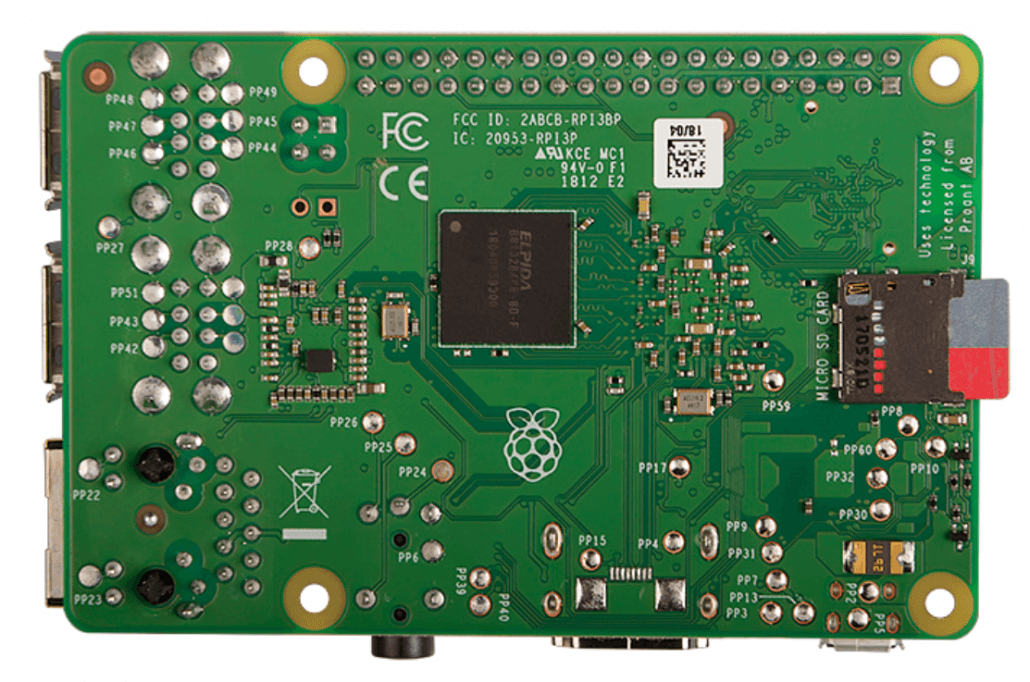
Then connect a micro-SD card into the micro-SD card slot of a PC by using a micro-SD to SD card adapter. You can also use a USB Micro-SD card reader.
Step 4
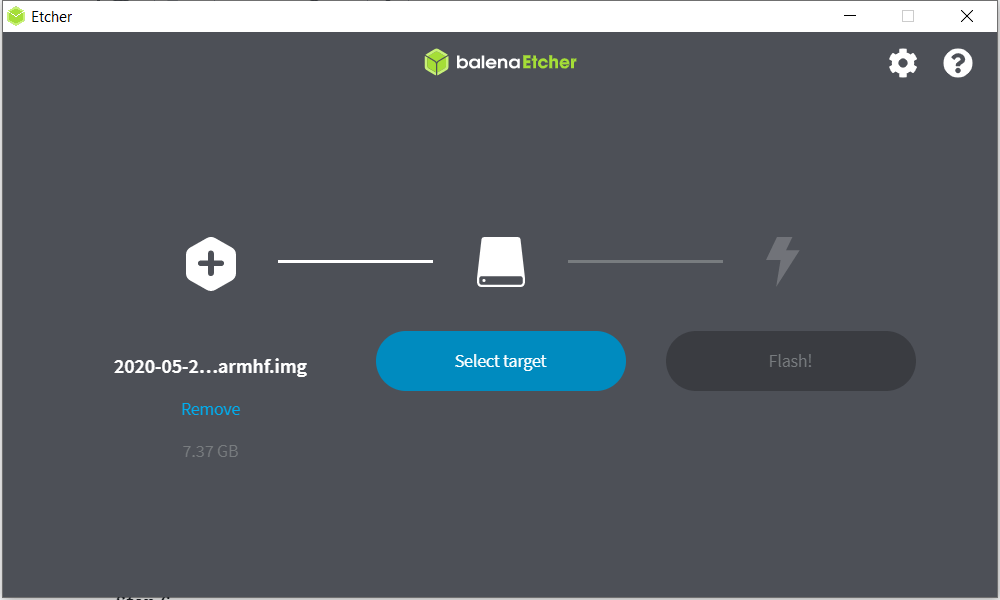
After that open the “balenaEtcher” software. Then point to the location of the downloaded image, select the connected micro-SD card, and press “flash”. It will take a few minutes to complete this process.
Step 5
Navigate to Raspberry Pi root folder from your PC and create a blank file called “ssh” in this directory
Step 6
Then eject the micro-SD card from PC and insert it into the Raspberry Pi.
Installing CP2102 USB drivers
Now that you can configure your Raspberry Pi for initial boot, let’s install the necessary drivers for the CP2102 to function properly.
Step 1
Navigate to this URL and download the CP2102 drivers corresponding to your operating system.
Step 2
Then open the installer and follow the installation wizard to complete the installation.
Installing Putty
You need SSH client software on your PC to communicate with your Raspberry Pi. So we are going to use “Putty” in this tutorial. Go ahead and install Putty by downloading from this link.
Log in to your Raspberry Pi
We have now set up everything necessary to log in to your Raspberry Pi using the CP2102 USB to Serial Converter.
Step 1
First, connect your Raspberry Pi to the CP2102 USB to Serial Converter as we have explained before, and open the Putty software on your PC.
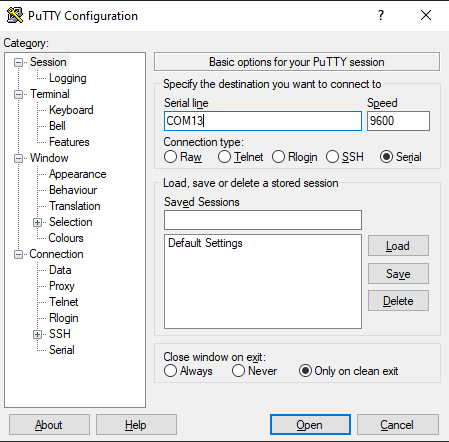
Step 2
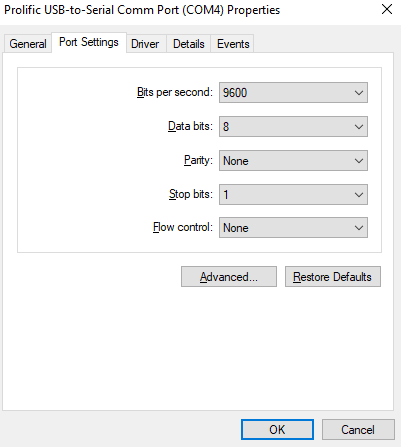
Then, set the serial port baud rate and the port (serial line) accordingly.
You can check for the above information by following the steps below.
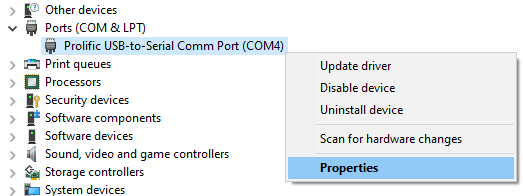
- Search for “Device Manager” on your computer
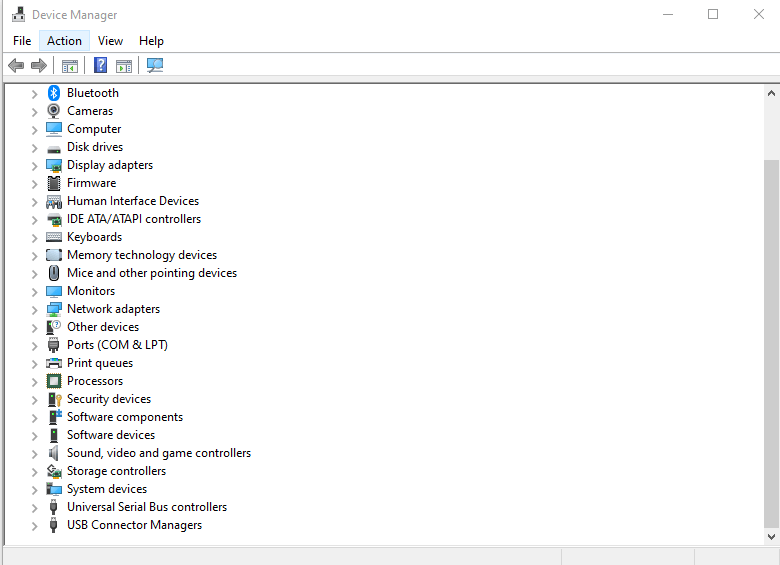
- Then head over to Ports (COM & LPT). From the drop-down menu, right-click on the USB to Serial Converter and choose “Properties”.
Then go to the “Port Settings” tab and note the information and enter them on the Putty software.
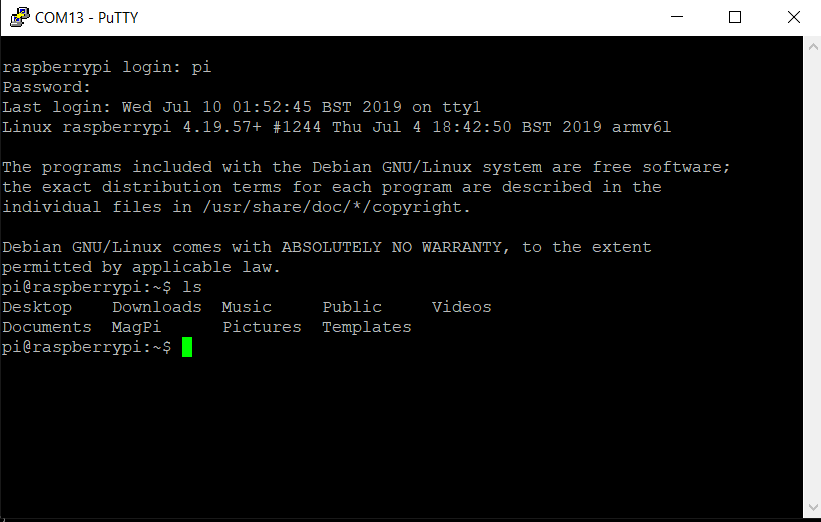
Step 3
After that, you will see the startup information in the terminal window.
Conclusion
We hope this blog helped you to understand about using a CP2102 USB to Serial Converter to easily log in to your Raspberry Pi without hassle!