A new way to log in to your Raspberry Pi – no USB to Serial cable required
Background
When you buy a Raspberry Pi for the very first time and want to configure it, the most common method would be to connect a keyboard, mouse, and display to the Raspberry Pi. But this can be a very troublesome option since you might have to carry them with you when you are traveling.
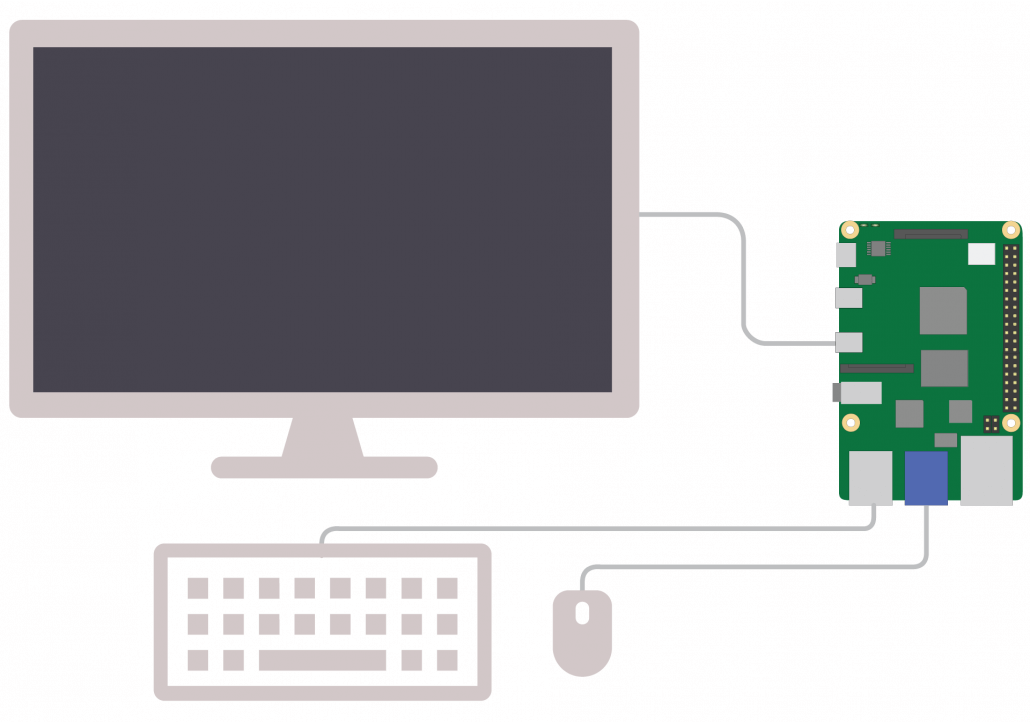
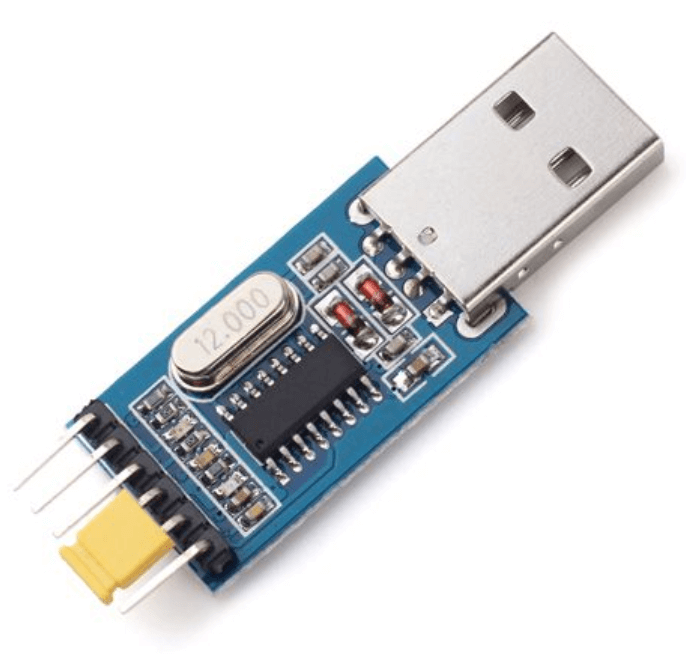
So, the alternative option which makes it a more simple process is by using a USB to Serial adapter to establish a connection between the Raspberry Pi and your computer.
What if there is a new method to connect to your Raspberry Pi?
Using Seeeduino XIAO is the way to go. But one might think it is an Arduino compatible development board and might be confused about how it can be used to connect to a Raspberry Pi.
Seeeduino XIAO will allow you to connect to your Raspberry Pi through a serial connection and establish this connection just by using Arduino IDE! Normally when you use a USB to Serial cable to connect with your Raspberry Pi, you need to install additional software drivers for that cable to work. But if you already own a Seeeduino XIAO and want to use it to configure your Raspberry Pi, it will be a very easy process. Also, when you are done using Seeeduino XIAO to communicate with your Raspberry Pi, you can continue to work on your other Arduino projects with the Seeeduino XIAO!
What is Seeeduino XIAO?
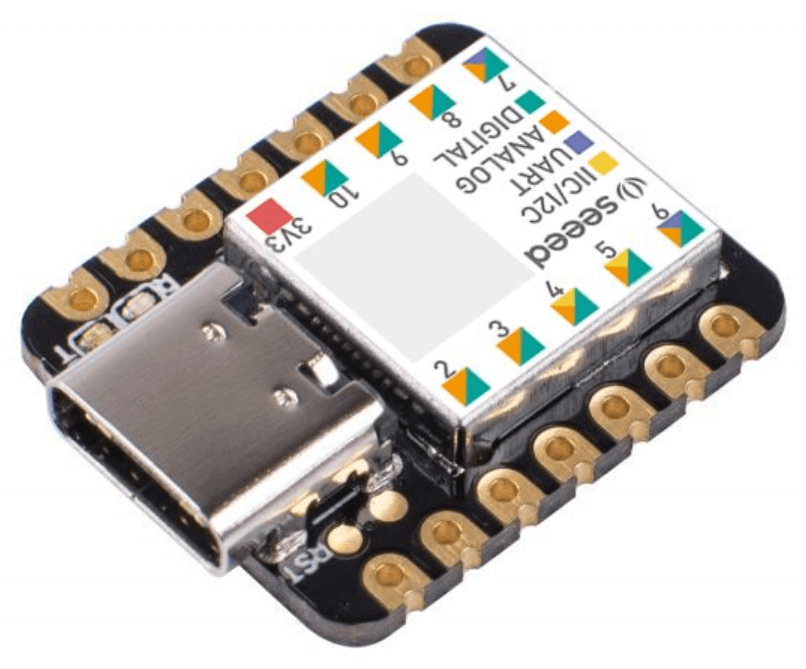
Seeeduino XIAO is the smallest member of the Seeeduino family. It carries a powerful Arm® Cortex®-M0+(SAMD21G18) CPU which is a low-power Arduino microcontroller. On the other hand, this little board has good performance in processing with less power needed. As a matter of fact, it is designed in a tiny size and can be used for Arduino wearable devices and small projects.
What is Serial Communication?
Serial communication is a communication method used in telecommunications where data is transmitted one bit at a time in sequential order over a communication channel. It has different protocols such as CAN, ETHERNET, I2C, SPI, RS232, USB, UART, 1-Wire, and SATA.

It is the simplest form of communication between a sender and a receiver and advantageous in long-haul communications.
How to use Seeeduino XIAO to log in to your Raspberry Pi?
Now let’s dive into setting up Seeeduino XIAO to communicate with your Raspberry Pi.
Hardware
Materials Required
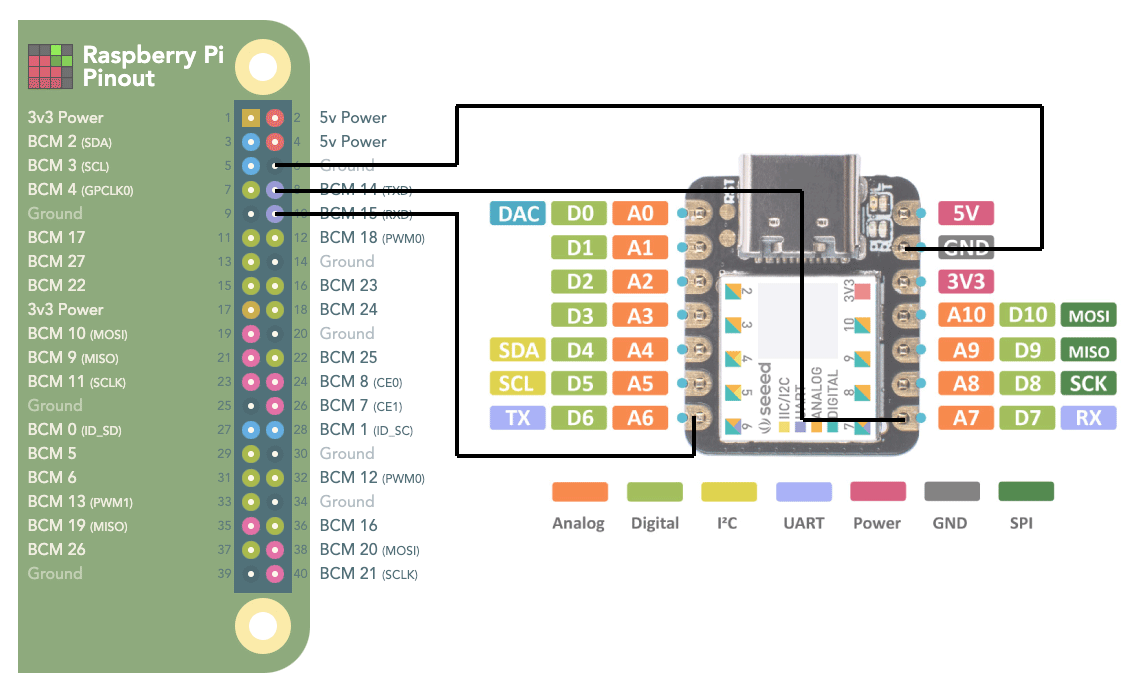
Hardware Connection
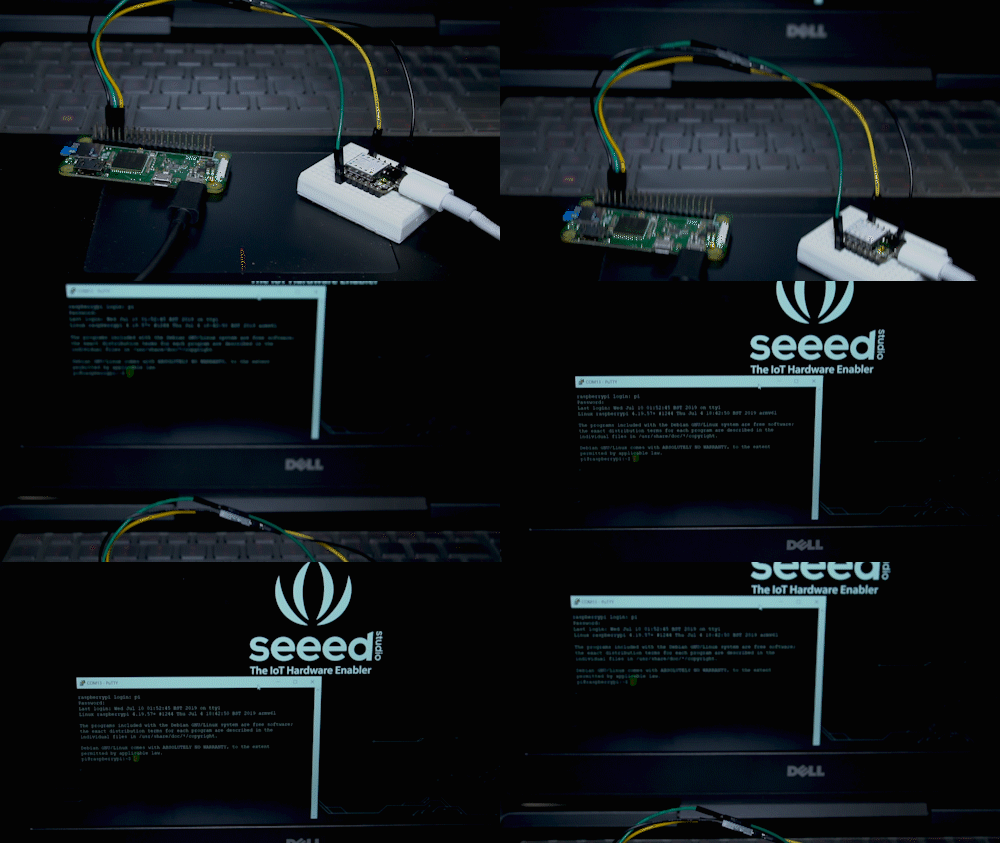
- Step 1. Raspberry PI’s TX is connected to Seeeduino XIAO’s RX
- Step 2. Raspberry PI’s RX is connected to Seeeduino XIAO’s TX
- Step 3. Raspberry PI’s GND is connected to Seeeduino XIAO’s GND
- Step 4. Connect Seeeduino XIAO to PC via a Type-C cable.
- Step 5. The raspberry pi is connected to a power supply.
Software
Find the config.txt file on the TF card where the Raspberry Pi official system is installed, and add a sentence at the end:
enable_uart=1Configuring Seeeduino XIAO
- Step 1. Open Arduino IDE and add Seeeduino XIAO by following the link here.
- Step 2. Copy the following code to Arduino IDE and upload the code into Seeeduino XIAO.
uint32_t baud;
uint32_t old_baud;
void setup() {

  // put your setup code here, to run once:
  SerialUSB.begin(115200);
  baud = SerialUSB.baud();
  old_baud = baud;
  Serial1.begin(baud);
  while (!Serial);
  while (!SerialUSB);
}

void loop() {
  // put your main code here, to run repeatedly:
  baud = SerialUSB.baud();
  if (baud != old_baud) {
    Serial1.begin(baud);
    while (!Serial);
    old_baud = baud;
    //     SerialUSB.println(baud);
  }
  if (SerialUSB.available() > 0)
  {
    char c = SerialUSB.read();
    Serial1.write(c);
  }
  if (Serial1.available() > 0) {
    char c = Serial1.read();
    SerialUSB.write(c);
  }
}
Configuring Putty
- Step 1. Download and install Putty by following this link
- Step 2. Set the serial port baud rate to 115200 ( This is the default serial port baud rate. It can be communicated correctly if it is consistent with the serial port baud rate of the Raspberry Pi.)
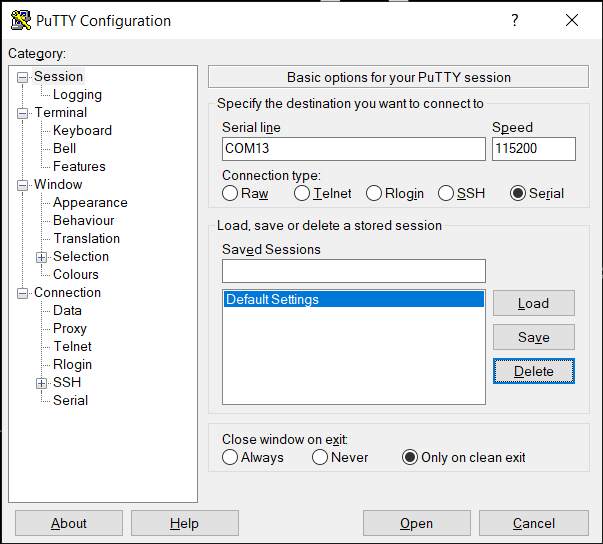
Step 3. Then you will see the startup information in the terminal window.

Now you have access to Raspberry Pi through Seeeduino XIAO!
