Wio Terminal:A Look Back to Last Week #3 – ArduPy Quickstart Guide, Network Connectivity Updates, New Factory Firmware, and Upgraded Enclosure Design
The first batch of Wio Terminal has shipped! Have you received the notification mail from us?
We are also happy to announce that Wio Terminal is officially compliant with TELEC certification now! Great news for our lovely customers in Japan: )
Can’ t wait to receive yours? Well, it might take a few days for delivery, so let’s sit down and check what happened last week first!
In this post, we will take a quick look at:
- What is ArduPy and How to get started with ArduPy using Visual Studio Code IDE
- A New Factory Firmware to Speed Up the Testing Process
- Upgraded Enclosures: Built-in Magnet and Mounting Hole for Easy Project Setup
- Updates for Wio Terminal’s Network Connectivity

What is ArduPy and How to Get Started with ArduPy using Visual Studio Code IDE
ArduPy is a combination of Arduino and MicroPython. MicroPython uses the universal Arduino API to control the hardware so that it can be compatible with new platforms quickly. With the help of the aip package manager we provided, you can transform your favorite Arduino library into a MicroPython library. Through ArduPy, you can use Python to verify your ideas, learn python programming as well as micro-controller programming in a more efficient way.
For more reference. please visit the official ArduPy Github Page. Don’t forget to check our wiki and learn how to easily get started with it using Visual Studio Code IDE!
A New Factory Firmware to Speed Up the Testing Process
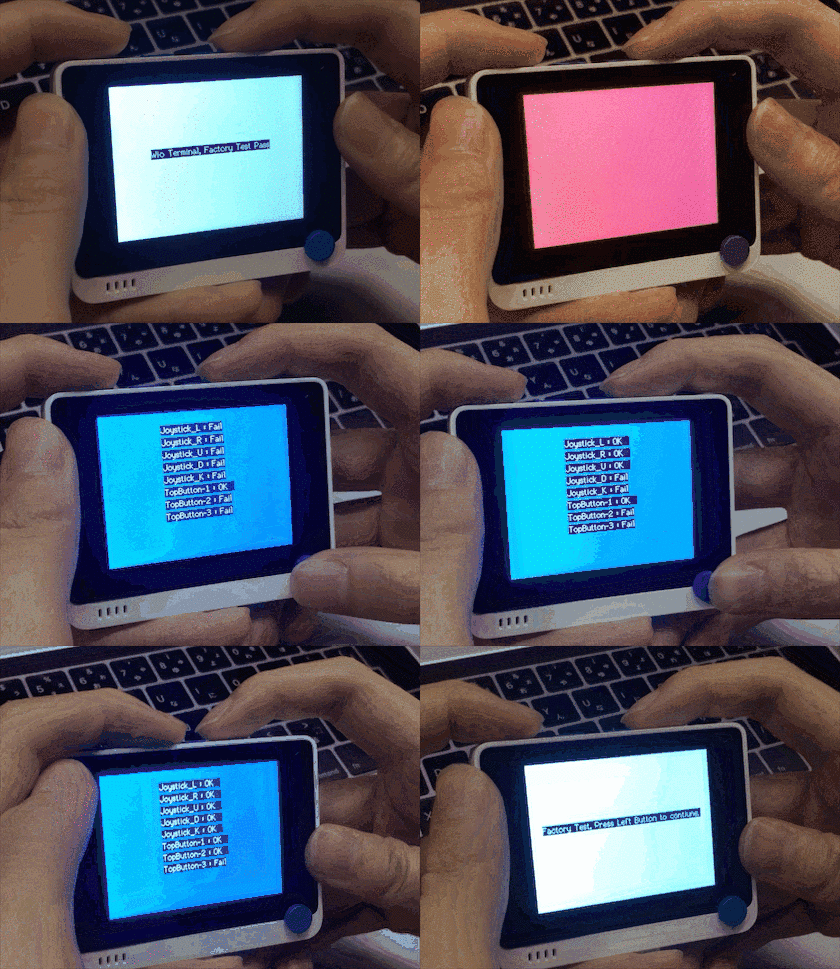
To speed up the factory test and make sure each pc of Wio Terminal works well, we designed a new factory firmware. It enables the operator to test the function of every button in a more standard and efficient way.
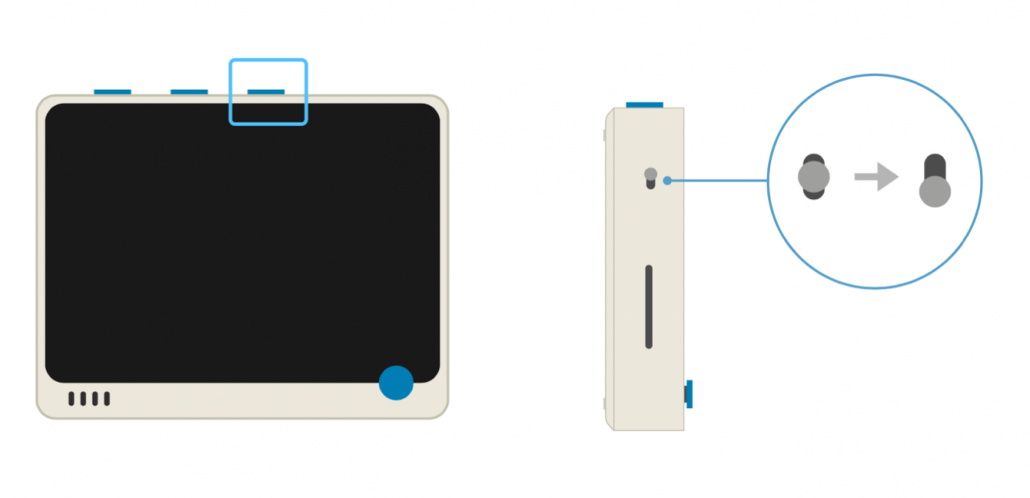
To activate the factory test, you need to long-press the right button and slide the switch at the same time after powering up the Wio Terminal. Have a try once you receive your Wio Terminal!


Upgraded Enclosures: Built-in Magnet and Mounting Hole for Easy Project Setup
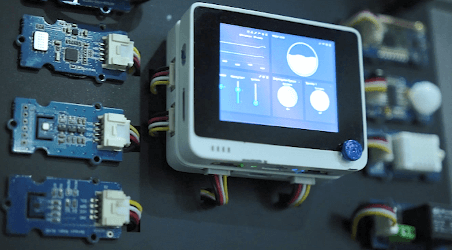
We optimized the design of the enclosures, making it more convenient for you to set up your IoT project! Four tiny but strong magnets are put into the enclosure, with the help of which you can easily attract your Wio Terminal to a blackboard or an iron door as a monitor or dashboard. We also prepared two mounting holes on the back of the Wio Terminal, so it can be fixed into any place you like, simply using a screwdriver!


Updates for Wio Terminal’s Network Connectivity

We shared 3 tutorials last week about Wio Terminal’ s network connectivity: how to update the latest firmware for the Wireless Core Realtek RTL8720 on Wio Terminal, how to configure Wi-Fi connectivity, and how to obtain data from the internet and display on its LCD screen. You can implement the Demo to other API such as grabbing weather information, Youtube Stats and etc. The possibilities are endless!
We are super excited to receive feedback from the community next week and are wondering what awesome projects we will see! Join our discussion at Forum and don’t be hesitated to ask any questions or share your ideas!