Wio Terminal Update: The Latest Status of Manufacturing, New Factory Firmware to Speed Up the Testing Process, Built-in Magnet and Mounting Hole for Easy Project Setup
During this challenging period, our team has worked hard to optimize the schedule and accelerate the production of Wio Terminal (Check our previous posts about the NPI(new product introduction) meeting of Wio Terminal and the manufacturing process of the first batch of Engineer Samples). However, we are still experiencing delays in shipping this product. We sincerely apologize for all the customers who are waiting for receiving the Wio Terminal.
We will arrange the shipment as soon as possible once we finished production, and will keep you updated as well. Thank you so much for your patience and understanding.
To speed up the testing process during manufacturing, we designed a new factory firmware. There are also some upgrades of the enclosure to make Wio Terminal a more user-friendly device. Let’s have a look!
A New Factory Firmware to Speed Up the Testing Process
We are trying our best to coordinate the delayed production, and have checked every procedure to see if we can make any optimization. In fact, we DID find one!
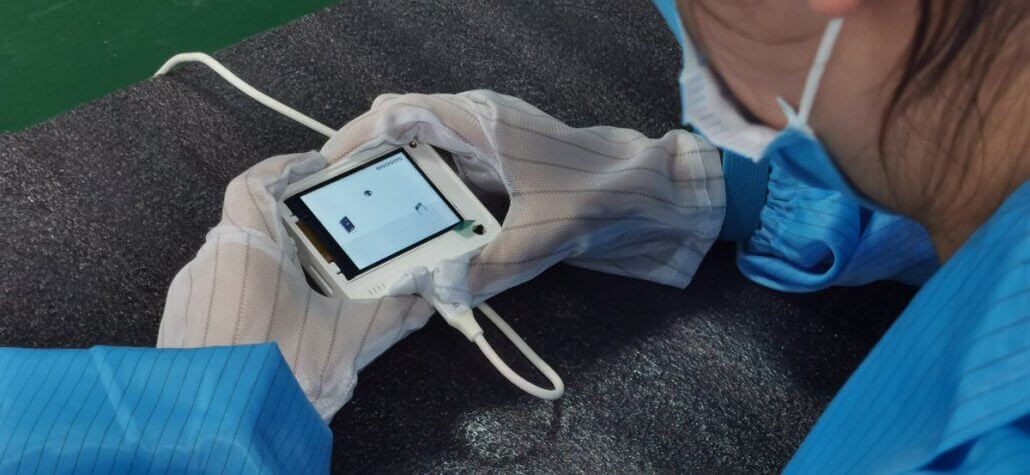
The final step of the manufacturing includes a functional test. As you can see in the picture, the operator needs to check every button of the Wio Terminal manually. The factory firmware of Wio Terminal is a retro game, and the operator can run the functional test by controlling the character jumping or shooting fireballs. This process might look joyful, but not efficient enough, since the initial setting of the game is random, and some bottoms might remain untested and need to be checked separately.
To speed up the factory test and make sure each pc of Wio Terminal works well, we have designed a new factory firmware. It enables the operator to test the function of every button in a more standard and efficient way.
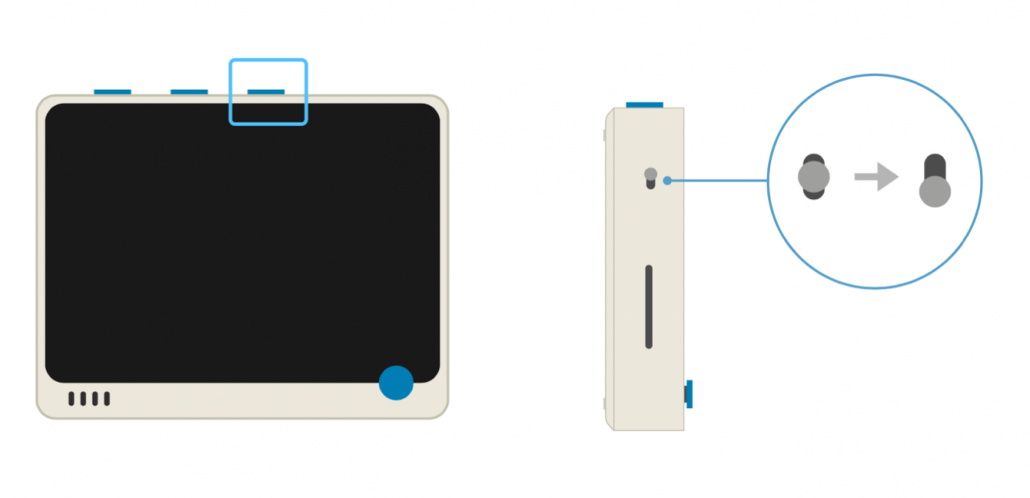
As the pictures shown below, after powering up the Wio Terminal, you need to long-press the right button and slide the switch at the same time, and the factory test will be activated.
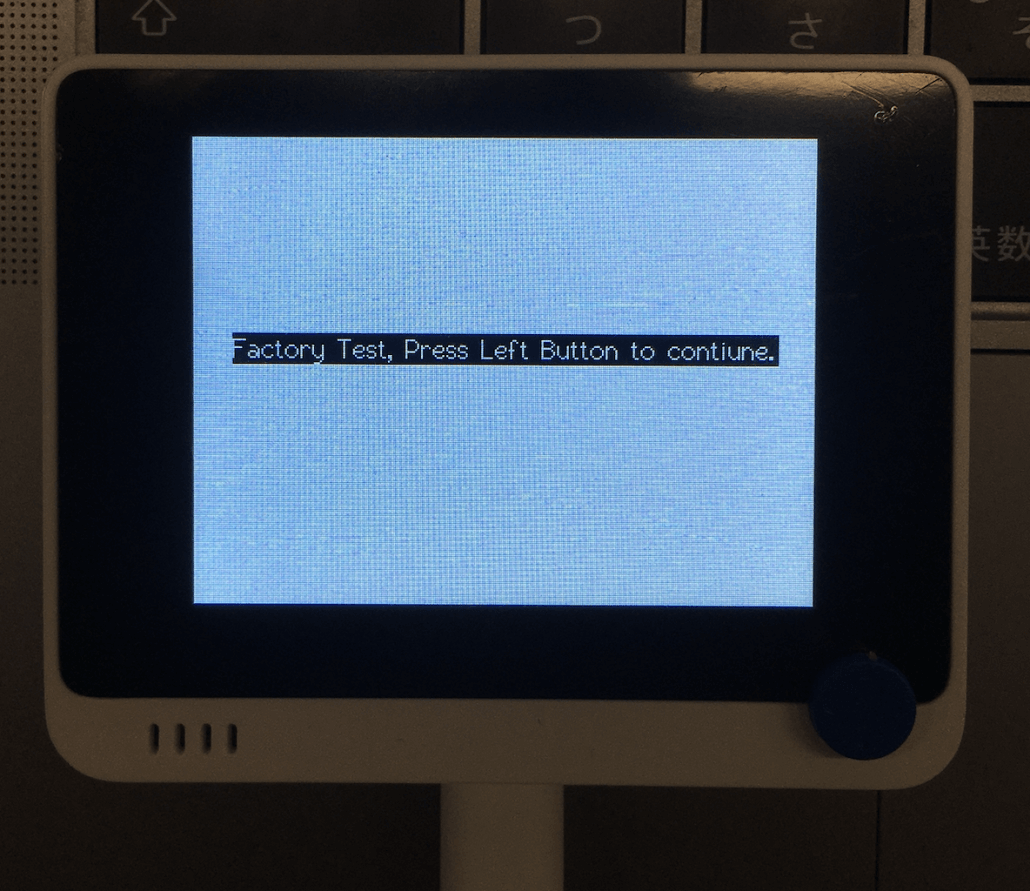
After that, press the left button again to continue the factory test.
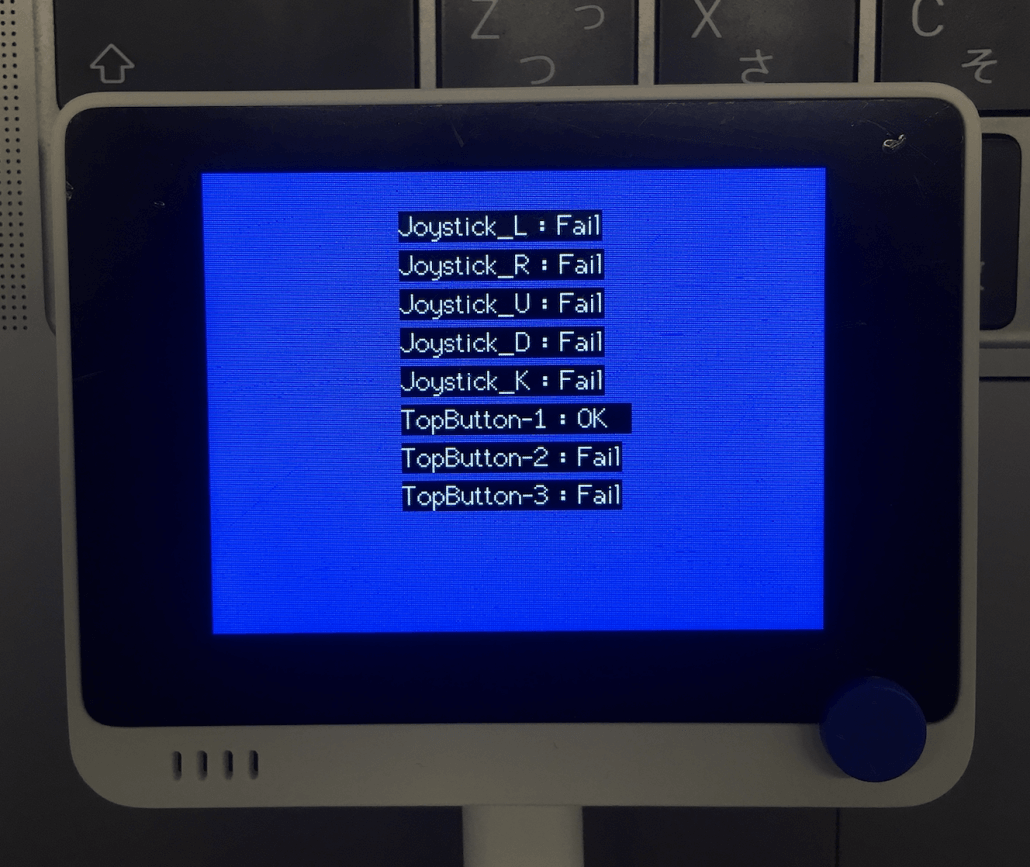
By pressing the left button, the LCD screen will change colors and continue to the testing procedure of the joystick and three top buttons.
Let’s take a look at the GIF to gain a better understanding of the whole process!
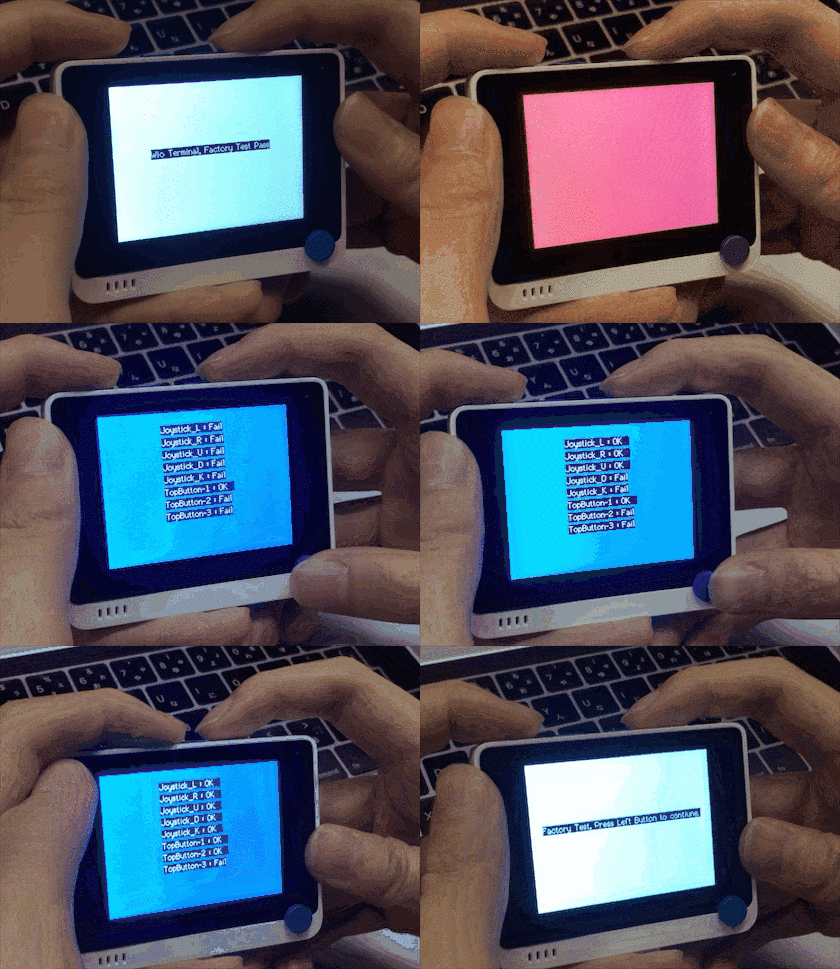
We have updated the factory firmware and we hope it will help speed up the production. Saving even 1s for one pc will make a great difference!
Built-in Magnet and Mounting Hole for Easy Project Setup
Today we would also like to share an update of the design of the enclosure. Four magnets are put into the enclosure. They are tiny but strong enough to attract metals. With the help of the built-in Magnets, you can easily attract your Wio Terminal to a blackboard or an iron door as a monitor or dashboard for your IoT project.

But what if I need to fix it at some materials that cannot attract magnets? We also prepared two mounting holes on the back of the Wio Terminal, so it can be fixed into any place you like, simply using a screwdriver!
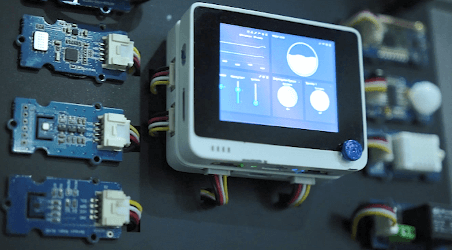
Imagine that you use Wio Terminal to make a smart home automation system: Decorate at your doorway, it displays the current temperature and humidity of your house, and open the air conditioners and lights automatically once you come back home. Your friends will consider it as some fancy new product you bought, not a DIY project!
We will keep updating more information about Wio Terminal at our blog and are trying our best to accelerate the delivery of this product. Stay tuned with us and we are open to all suggestions from the community!