How to use Arduino OLED I2C Display with SSD1306 / SSD1315
The SSD1306 is a popular choice when it comes to picking an OLED 128×64 I2C display to use alongside an Arduino. However, there are other options in the OLED family as well. In today’s post, we’ll be introducing the Arduino OLED display options available here at Seeed and providing a simple tutorial on how to get started with using an OLED I2C Display Module!

Lets get started with a quick introduction to the SSD1306!
Introduction to the SSD1306 OLED Display Chip
The SSD1306 is a 128×64 dot single chip driver with a controller that’s used for graphic display systems. It’s commonly integrated into OLED display modules like the one seen above for Arduino, Raspberry Pi, or other microcontroller usages.
With embedded colour contrast and brightness control, alongside display RAM, oscillator, the SSD1306 is a chip that not only consumes minimal power, but also does not require many external components for functionality!
Other features include:
- Internal Charge Pump Regulator
- RAM Write Synchronisation Signal
- Programmable Frame Rate with Multiplexing Ratio
- On-chip Oscillator
- Wide Operating Temperatures (-40ºC to 85ºC)
Note: The features and specifications may differ based on the design of the display modules which are integrated with the SSD1306.
Interested to find out more about this chip? Read more in the SSD1306 Datasheet and its relevant libraries!
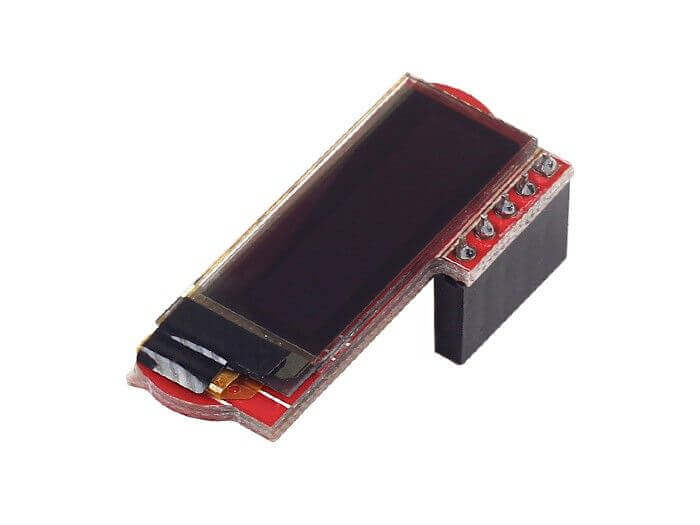
Alternative OLED Display Modules at Seeed
Here at Seeed, we only carry an SSD1306 OLED Display Module for the Raspberry Pi, which can be easily paired with a Raspberry Pi through it’s GPIO pins. If you’re looking for an OLED Display for your Arduino projects, however, don’t worry as we carry other similar options that are worth checking out!
Grove – OLED Display 0.96″ (SSD1315)
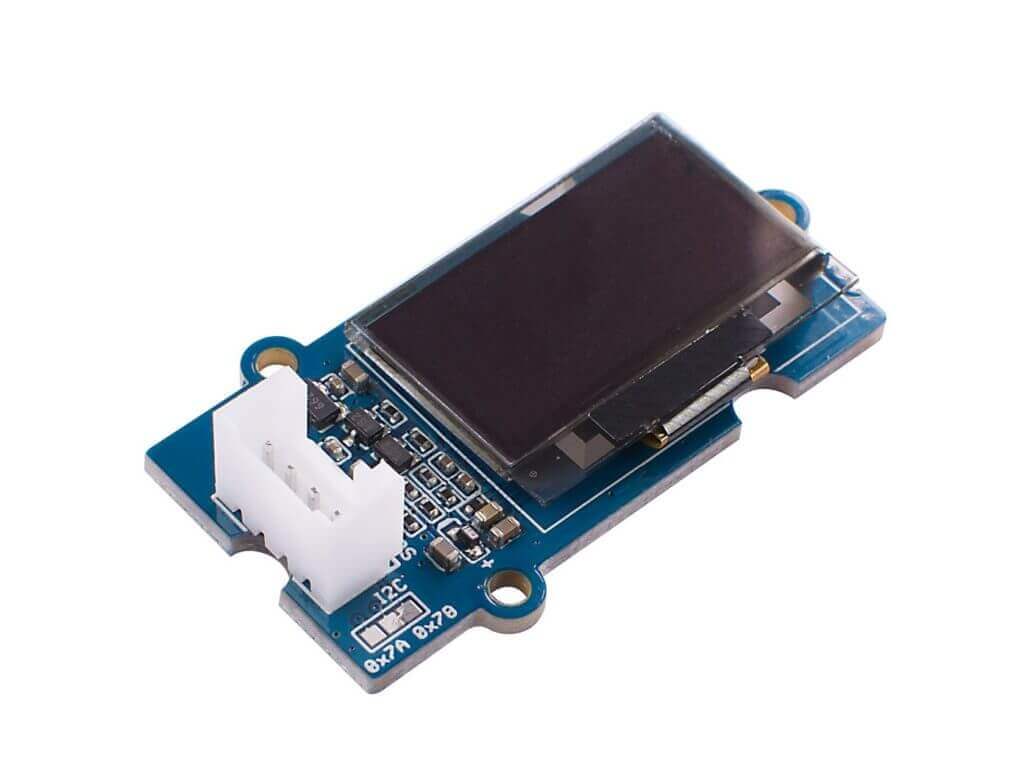
If you’re looking for the closest alternative to the SSD1306, we have here the Grove – OLED Display 0.96″ that uses the SSD1315 chip. Updated from the older module that used the older SSD1308 chip, this new OLED display module features improved performance at just a quarter the price of its predecessor.
Here are some features offered by this OLED display module:
- 3.3V / 5V Compatible
- Configurable I2C address
- Low Power Consumption
- Monochrome (White) 128×64 Pixels
- High Contrast & Brightness
- Wide Operating Temperatures (-40℃ to 85℃)
To learn more about the Grove – OLED Display 0.96″, visit its product page here!
Note: You can still pair this OLED display with the SSD1306 sample Arduino code but it may only work intermittently. Because of this, we’ve provided our very own tutorial with sample code, which you will find later in this article!
Grove – OLED Display 1.12” V2
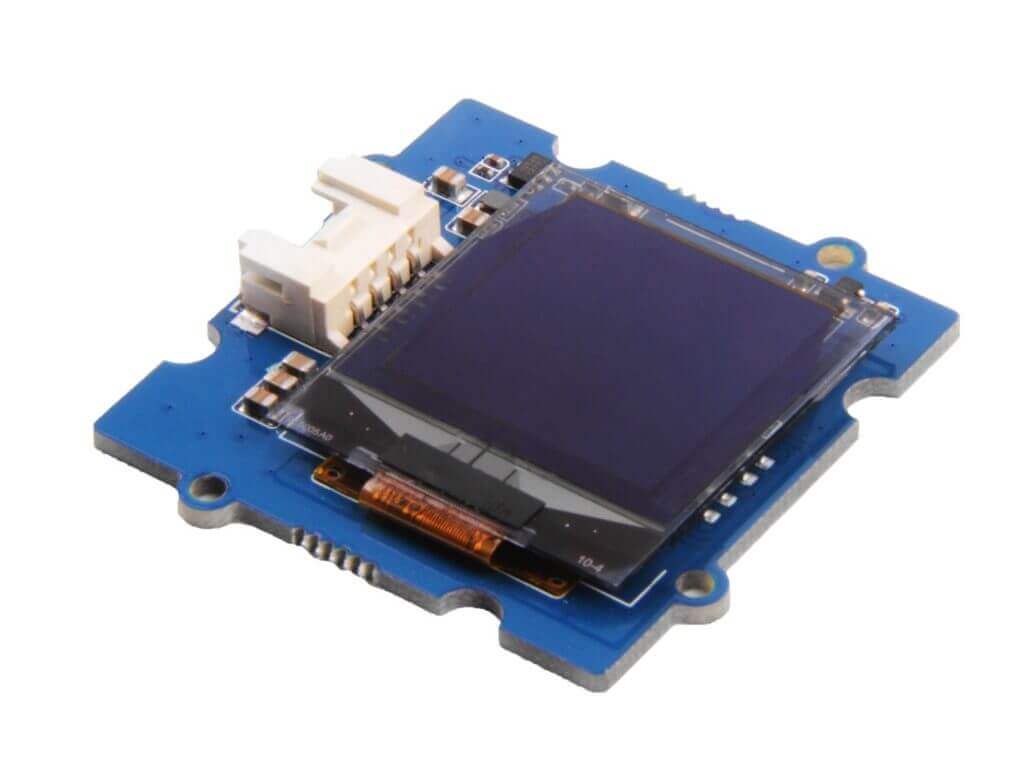
Looking for something small with a higher resolution and pixel speed? Well, look no further. The Grove – OLED Display 1.12″ V2 is the one for you! With increased I2C bus speeds of up to 200kHz, this OLED display module allows you to take advantage of extremely quick pixels speeds for high refresh display purposes.
The Grove – OLED Display 1.12″ V2 is based on the SH1107G chip, which like the SSD1306, requires no backlight usage. As a result, you’ll be able to enjoy high contrast and brightness while keeping power consumption to a minimum!
Here are some features offered by this OLED display module:
- 128×128 Resolution in Grayscale
- Grove Compatible I2C Interface
- High Maximum I2C Bus Speed of 200kHz
To find out more, check out its product page here!
OLED I2C Display Tutorial with Arduino
We’ve provided our OLED I2C Display modules for your selection but now its time to learn how to actually use them with an Arduino! For today’s simple tutorial to help you get started, we’ll be using the Grove – OLED Display 0.96″ (SSD1315)!
Note: The Grove – OLED Display 0.96″ is also supported on other platforms like the Raspberry Pi, Beaglebone, and LinkIt ONE. For each of their tutorials, please refer to our Wiki page here!
Required Materials
To follow along with today’s tutorial, you’ll need the following items!
Seeeduino is Seeed’s very own Arduino board, designed with relative benefits over the original. If you do not wish to purchase a Seeeduino, this tutorial is still applicable for the following Arduino boards: Arduino UNO, Arduino Mega, Arduino Leonardo, Arduino 101, Arduino Due
You can also use any Grove-compatible Arduino system that has I2C interface capabilities, such as the Wio Terminal, or the Seeeduino XIAO with its Grove Shield or Expansion Board.
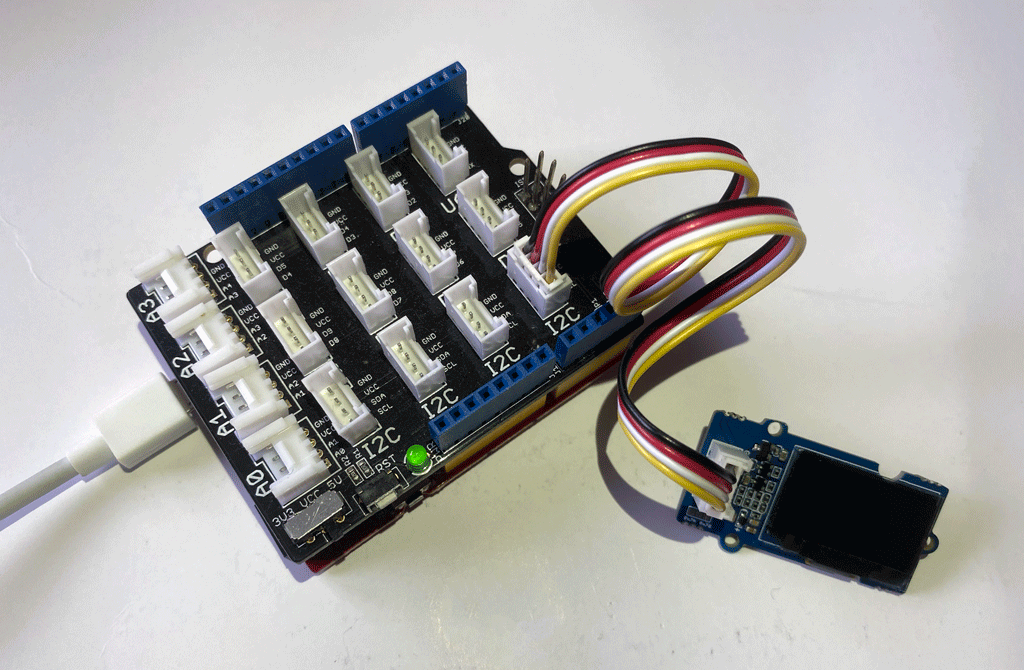
Hardware Assembly
Step 1: Plug Grove-Base Shield into Seeeduino
Step 2: Plug the Grove OLED Display 0.96″ into any I2C port on your device.
Step 3: Connect your device to PC via a USB cable.
If you are using the Seeeduino V4.2 with its Grove Base Shield, you should have something like this:
Software Configuration with Arduino Code and Library
Step 1. Navigate to Sketch -> Include Library -> Manage Libraries… . Search for and Install U8g2 library in the Library Manager.
Step 2: Open the Arduino IDE and create a new file, then copy the following code into the new file.
#include <Arduino.h>
#include <U8g2lib.h>

#ifdef U8X8_HAVE_HW_SPI
#include <SPI.h>
#endif
#ifdef U8X8_HAVE_HW_I2C
#include <Wire.h>
#endif


U8G2_SSD1306_128X64_NONAME_F_HW_I2C u8g2(U8G2_R0, /* clock=*/ SCL, /* data=*/ SDA, /* reset=*/ U8X8_PIN_NONE);  // High speed I2C

// U8G2_SSD1306_128X64_NONAME_F_SW_I2C u8g2(U8G2_R0, /* clock=*/ SCL, /* data=*/ SDA, /* reset=*/ U8X8_PIN_NONE);    //Low spped I2C

void setup(void) {
  u8g2.begin();
}

void loop(void) {
  u8g2.clearBuffer();                   // clear the internal memory
  u8g2.setFont(u8g2_font_ncenB08_tr);   // choose a suitable font
  u8g2.drawStr(0,10,"Hello World!");    // write something to the internal memory
  u8g2.sendBuffer();                    // transfer internal memory to the display
  delay(1000);
}
Step 3: Upload the code to your Arduino device. If you’re unsure on how to upload the code, kindly check here.
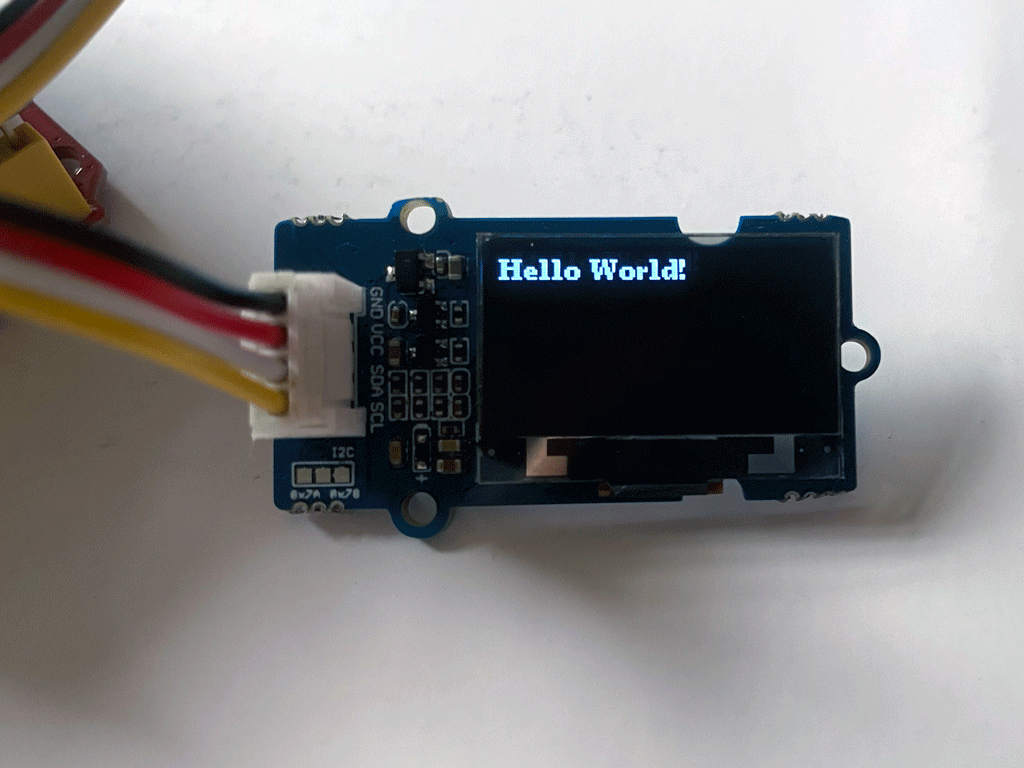
And that’s all for this tutorial! You should now see “Hello World” on the screen, like below.
Going Further with Graphics Libraries
OLED Displays aren’t just useful for displaying text – you can also display shapes and even produce animations by refreshing the screen quickly! To do these, we will usually employ the help of graphics libraries, like U8g2.
U8g2 is a monochrome graphics library for embedded devices. U8g2 supports monochrome OLEDs and LCDs, which includes the SSD1315. The U8g2 also conveniently includes U8x8 library:
U8g2
- Includes all graphics procedures (line/box/circle draw).
- Supports many fonts. (Almost) no restriction on the font height.
- Requires some memory in the microcontroller to render the display.
U8x8
- Text output only (character) device.
- Only fonts allowed with fit into a 8×8 pixel grid.
- Writes directly to the display. No buffer in the microcontroller required.
For more details, kindly visit the U8g2 Library Wiki as well as the U8g2 API Reference page.
Summary
That’s all for today’s guide on SSD1306, alongside other OLED Displays and how you can use it with any Arduino platform. With this, I hope that you get a basic understanding of how you can get started with using OLED I2C Displays for your next Arduino project!
If you’re looking for modules that provide easy Arduino interfacing, do consider our recommendations!