Soil Moisture Sensor – Getting Started with Arduino
Whether you’re a professional in the agricultural industry, are into gardening, or even if you simply love plants, a soil moisture sensor will be an important part of your arsenal. Fortunately, here at Seeed, we offer just that! Simple and easy to use with any Arduino board, you’ll no longer have to worry about building your agricultural projects.
Before we introduce our soil sensor and show you how it can be used with an Arduino, let us first take a look at what a soil moisture sensor is, how it works, its applications, and more!
What is a Soil Moisture Sensor and How Does it Work?
As its name suggests, a soil moisture sensor measures the volumetric water content of soil. There are two types of soil moisture sensors:
- One that measures moisture through the electrical properties of the soil: dielectric constant, resistance & ions, and
- the other which measures water potential through the use of gypsum blocks and tensiometers.
Today, we’ll be working with the first group of sensors. To understand more about the second type, this page may be helpful.
Why Soil Moisture Sensors?
All living things need water to survive. But for plants and agriculture, having just the right amount of water (not under over over-watering) is crucial. Since it is impossible to visually observe moisture levels in the soil with our naked eyes, soil moisture sensors play an important role to provide insights into your irrigation systems.

Soil Moisture Sensors also enable us to develop smart agricultural systems that respond to environmental conditions automatically. For example, we can use an Arduino microcontroller to receive the soil moisture readings, which can then automatically turn on sprinklers when moisture is insufficient.
Soil Moisture Sensor: Principle of Operation
A Soil Moisture Sensor can either use resistance or capacitance changes to measure the water content of the soil. To further understand both working principles, we’ll take a look at how each of them work.
Resistive Soil Moisture Sensor
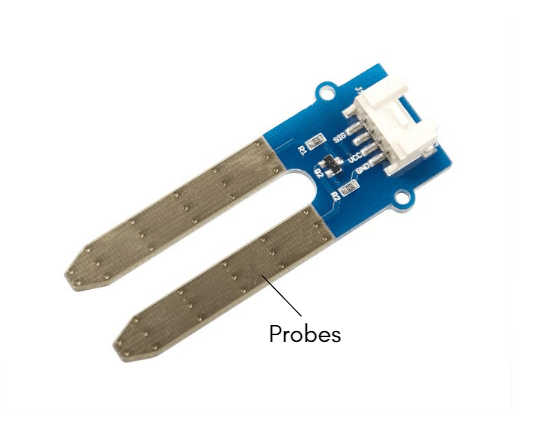
A resistive soil moisture sensor works by using the relationship between electrical resistance and water content to gauge the moisture levels of the soil. You’ll observe these sensors to possess two exposed probes that are inserted directly into the soil sample.
- A electrical current is sent from one probe to the other, which allows the sensor to measure the resistance of the soil between them.
- When the water content in the soil is high, it has a higher electrical conductivity (water is a good conductor of electricity!). Hence, a lower resistance reading is obtained which indicates high soil moisture.
- When the water content in the soil is low, it has poorer electrical conductivity. Hence, a higher resistance reading is obtained, which indicates low soil moisture.
Capacitive Soil Moisture Sensor
A capacitive soil moisture sensor works by measuring the change in capacitance. In simple terms, capacitance measures the amount of electrical charge that can be stored across an electrical potential. A capacitive soil moisture sensor is commonly built with a positive and negative plate, which are separated by a dielectric medium in the middle.

In this case, the soil is the dielectric medium and its capacitance changes with moisture content. By pairing the sensor with a timer circuit, we obtain an analog voltage that can be read with an Arduino board. This voltage in turn has a direct relationship with the soil moisture content – just what we need!
Resistive vs Capacitive – Which is Better?
Both sensors will give you readings of soil moisture levels in percentage volume (ratio of water to soil volume).
A common gripe of resistive soil moisture sensors are that they are susceptible to corrosion over time, since the electrical current sent between its probes can cause electrolysis. In contrast, the capacitive soil moisture sensor does not have exposed electrodes and is comparatively corrosion-free. However, they are in general more costly.
Choose the Capacitive Sensor if you need …
- Frequent Soil Moisture Readings
- Longer Maintenance / Replacement Cycles
Otherwise, choose the Resistive Sensor if you need …
- Infrequent Soil Moisture Readings – The corrosion will not be as severe
- Cost is a Concern
Soil Moisture Sensor Use Cases
Agriculture

Imagine managing acres of cropland without knowing when’s the right time or right amount of water to apply to your crops. Sounds disastrous? That’s exactly what a soil moisture sensor is used for – helping farmers know the exact soil moisture conditions of their fields and improving the overall management of crops during critical growth stages.
Household Gardening

Since soil moisture sensors are relatively cheap and accessible, they are a popular option even for hobbyists or home gardeners to check if their plants are receiving sufficient moisture.
Research and Forecasting

Beyond agriculture and plants, soil moisture sensors are used for research purposes. Collecting long-term soil moisture data can allow meteorologists and geologists to forecast or predict potential droughts, landslides, erosions, etc. Their analysis can then allow authorities to develop preventive measures before disasters strike.
Irrigation for Sporting Fields

Be it American football, soccer or golf, they are all played on sporting fields that require irrigation to maintain. Soil moisture sensors ensure that such fields are well taken care of while avoiding over-irrigation.
Buy Our Soil Moisture Sensors!
Seeed offers two Soil Moisture Sensors for your selection, both of which are affordable and easy to use with Arduino or Raspberry Pi, thanks to Grove!
Grove is a standardised and modular prototyping system that makes electronics hardware super easy without the need for complicated wiring or solder! All you need to get going with our Grove-based Soil Moisture Sensors is a Grove Base Shield to use alongside your Arduino device. It’s a simple and easy plug-and-play soil moisture system!
If what we’ve shared sounds good to you, here are our Soil Moisture Sensors for your consideration!
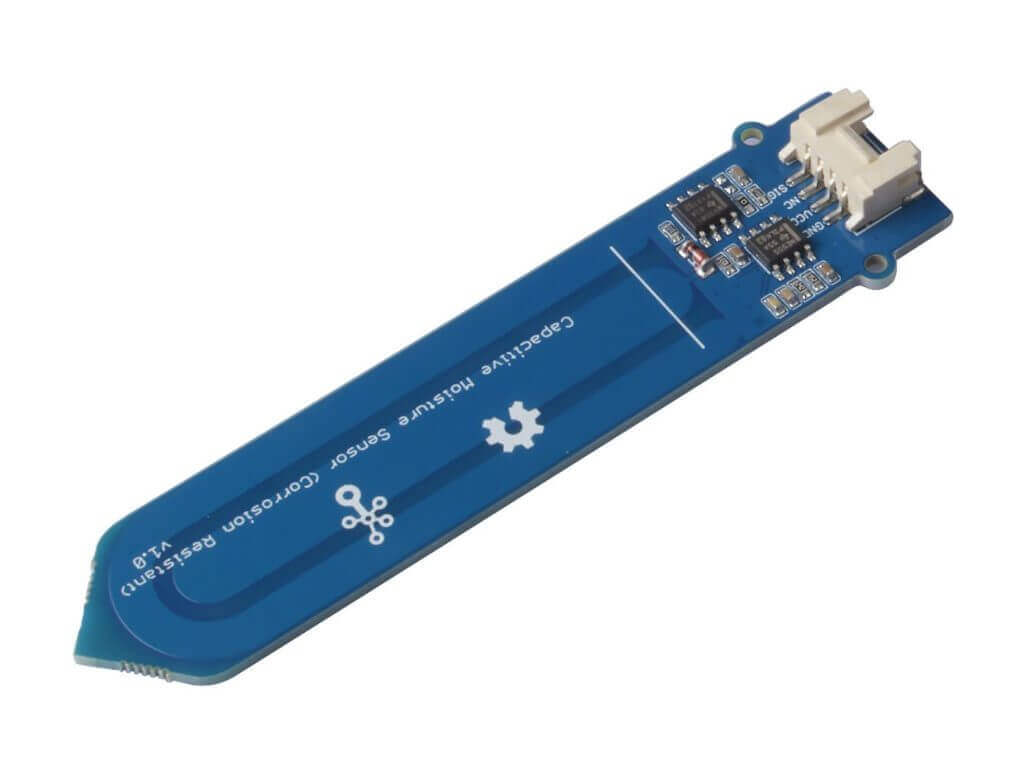
Grove – Capacitive Moisture Sensor
This is the Grove – Capacitive Moisture Sensor. As its name suggests, it measures soil moisture through capacitive changes, giving it several benefits over resistive ones!
- Since there’s no direct exposure of the metal electrodes, this moisture sensor is virtually corrosion-free, which is an important property considering the sensor’s operating environment.
- Apart from soil moisture detection, the sensor is also suitable for applications such as an automatic watering system.
- It operates on either 3.3V / 5V, making it easy to pair with any microcontroller.
Features of this Moisture Sensor Include:
- Capacitive Soil Moisture Sensing
- Corrosion-Resistant
- Built-in Amplifier
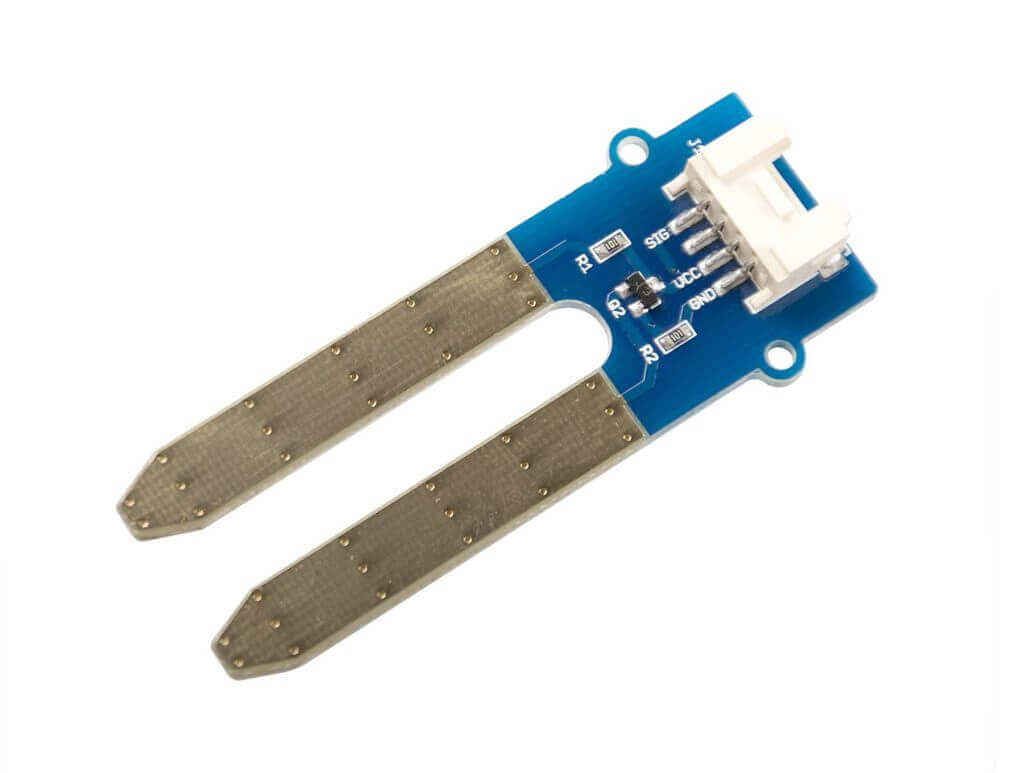
Grove – Moisture Sensor (Resistive Option)
For a cheaper alternative that does the job despite some tradeoffs, this Grove – Moisture Sensor is for you!
Although this soil moisture sensor uses the resistive working principle, which makes it susceptible to corrosion over time, it can still be utilised with great effectiveness in most of your soil sensing applications, such as:
- Home Gardening
- Prototyping Automatic Irrigation Systems on a Smaller Scale
- Any other applications where cost is a concern over durability
When using a resistive soil moisture sensor, take measurements only when necessary! That way, the degree and rate of electrolysis will be limited, which will in turn reduce the effect of corrosion on your sensor!
Getting Started with Arduino
Now that we’ve gone through everything about soil moisture sensors, let’s get started with a simple tutorial on how you can use the Grove – Capacitive Moisture Sensor with Arduino!
If you’re looking for the tutorial on the Grove – Moisture Sensor (Resistive), you can head to our wiki page here!
Required Materials
To follow along with today’s tutorial, you’ll need the following items!
Seeeduino is Seeed’s very own Arduino board, designed with relative benefits over the original. If you do not wish to purchase a Seeeduino, this tutorial is still applicable for the following Arduino boards: Arduino UNO, Arduino Mega, Arduino Leonardo, Arduino 101, Arduino Due.
You can also use any Grove-compatible Arduino system that has I2C interface capabilities, such as the Wio Terminal, or the Seeeduino XIAO with its Grove Shield or Expansion Board.
Note: If you’re using an Arduino UNO, use the DC power supply. Otherwise, the maximum ripple of VCC may exceed 100mV.
Hardware Setup

Step 1: Connect the Grove – Capacitive Moisture Sensor to port A0 of the Grove Base Shield or the Grove port on the Seeeduino. If you’re using another Grove compatible platform, simply plug it into their Analog Grove port.
Step 2: Plug the Grove Base Shield into Seeeduino Grove port.
Step 3: Insert the Grove – Capacitive Moisture Sensor into your soil sample, taking care not to cross the white line as shown below.

Step 4: Connect the Seeeduino (or Arduino device you are using) to your PC via USB.
In our example, a potted plant was used. Your setup should look similar to below after the above steps.

Software Configuration & Calibration
If this is your first time building a project with Arduino, we highly recommend that you go through our getting started with Arduino guide before moving on with this section!
Step 1: Copy the below code into a new sketch and upload it to your Arduino.
If you’re unsure on how to upload Arduino code, please check here.
// Code to Run Once
void setup() {
  // initialize serial communication at 9600 bits per second:
  Serial.begin(9600);
}

// Code to Keep Running
void loop() {
  // read the input on analog pin 0:
  int sensorValue = analogRead(A0);
  // print out the value you read:
  Serial.println(sensorValue);
  delay(100);        // delay in between reads for stability
}
Step 2: Open the Serial Monitor of Arduino IDE by clicking Tools -> Serial Monitor and set the baud rate to 9600. When everything goes well, you’ll see output like the example shown below.
For more information on the Arduino Serial Monitor, kindly refer to this guide.
678
663
631
615
615
624
616
618
620
616
605
This sensor qualitatively measures the humidity of the soil. When the humidity of the soil rises, the value of the output decreases; conversely, when the humidity decreases, the output value becomes higher. To give meaning to the numbers you see, it’s critical to first calibrate your sensor by obtaining benchmark sensor values with dry and watered soil!
Soil Moisture Sensor Projects
Of course, the capabilities of any sensor are only limited by our imagination! Hence, here are some other examples to stir your creative juices for using the soil moisture sensor in your electronics projects!
ESP8266 & Seeed Moisture Sensor Project

Are you using the ESP8266 Breakout Board instead of an Arduino? If so, then this project serves as a great tutorial for pairing it with the soil moisture sensor!
What do you need?
- NodeMCU ESP8266 Breakout Board
- Seeed Grove Starter kit plus for Intel Edison
- Mongoose OS
Interested to find out more? Check out the full tutorial by Team Mongoose OS: Toly on Hackster.io!
Plant Monitoring System using AWS IoT
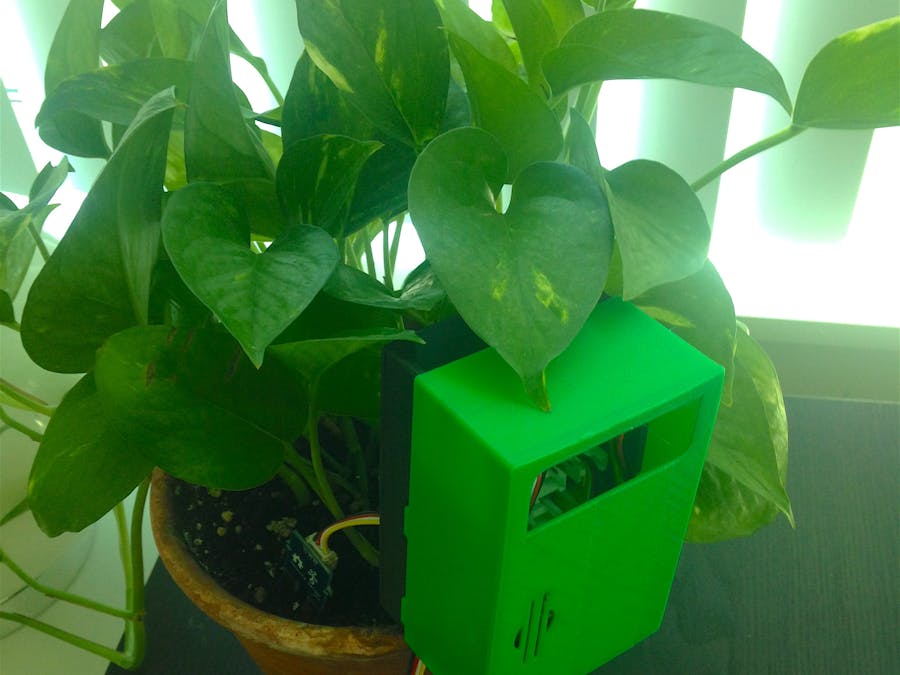
Worried about your plant and its moisture levels while you’re away on a vacation? With this plant monitoring system, you can track and easily monitor your plant through Amazon Web Services for IoT!
What do you need?
- Arduino Yun
- Seeed Grove Starter Kit Plus for Intel Edison
- Seeed Grove – Moisture Sensor
- 5mm LED: Red
- 330 Ohm Resistor
- Amazon Web Services AWS IoT
- dweet.io
- Arduino IDE
- Any Generic 3D Printer
Interested to find out more? Check out the full tutorial by CJA3D on Hackster.io!
Automatic Plant Watering System
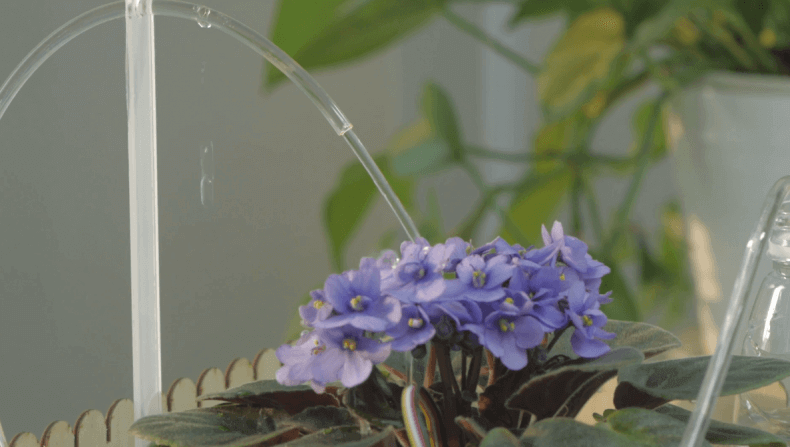
If you want to make your very own automatic plant watering system, this DIY project allows you to do so without any hardware programming, coding, or soldering! This project uses a Wio Link, a Wi-Fi development board to build connected IoT projects with Grove modules.
What do you need?
- Wio Link with Wio Link app
- Grove – Relay
- Grove – Moisture Sensor
- Water pump
- 12V DC Adapter (to drive the water pump)
Interested to find out more? Visit our full tutorial on Instructables!
Summary
That’s all for today on soil moisture sensors. I hope with today’s tutorial, you get a deeper understanding of what they are, how they work and how they can be used in our agricultural or gardening projects! Get started with building a soil sensor project with the Grove – Capacitive Soil Sensor today!
If you want a more complete package, the industrial-grade Soil Moisture & Temperature Sensor offers temperature readings in addition to soil moisture measurements!