Arduino & Ultrasonic Sensor Based Distance Measurement
Before we start, we need to review the physical principles firstly that we have learned in a middle school:
Sound velocity in the air at normal temperature and pressure: 340m/s
1. Ultrasonic Radar principle
Ultrasound is a sound wave with a frequency higher than 20,000 Hz, which is named because its lower frequency limit is approximately equal to the upper limit of human hearing. Because of its good directional, strong penetrating ability, easy to obtain more concentrated sound energy, and far-reaching characteristics in water, it is adopted by the sonar system. It propagates at 340 m/s in the air at 15 ° C at 1 standard atmosphere. However, when the sound wave encounters an obstacle during the propagation process, the reflection will also occur, so when we measure the time difference between the sound wave and the echo, we can estimate the distance the sound travels. At the same time, because the ultrasonic frequency is high and the wavelength is short, the diffraction is low and the restraint is good, so the energy attenuation is less, the distance of propagation is longer, and it is more suitable for long-distance measurement than the low-frequency sound.

Ultrasonic ranging principle
The measurement steps are:
- N MHz ultrasonic pulses are emitted, and the timing starts when the ultrasonic pulse is emitted and is recorded as t0.
- Start listening to the echo of the mHz ultrasonic pulse, listen to n and then end the timing, recorded as t1.
- Calculate the time difference t = t1 – t0, which is the time it takes for the ultrasonic wave to go back and forth
- Calculate the distance the ultrasonic wave travels s = v * (t1 – t0) / 2 (v is the speed of sound)
2. Ultrasonic distance sensor
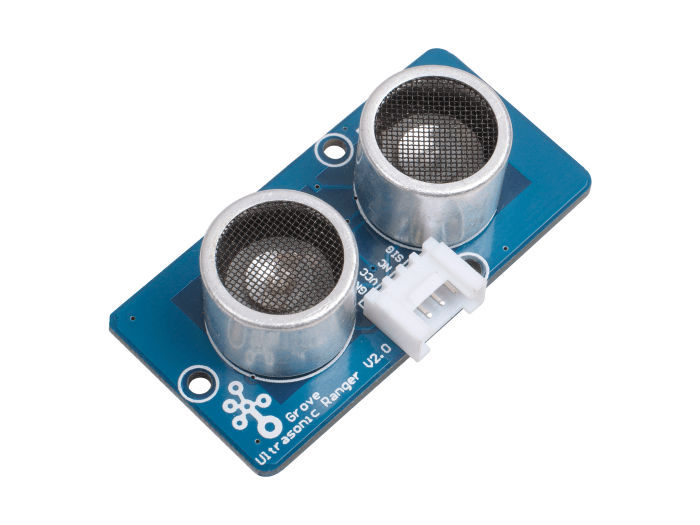
The more common ultrasonic ranging modules on the market today are the HC-SR04 series and the US-100 series, which can even be used in automotive reversing radars. Basically, this looks like this, there must be one or two cylinders of ultrasonic transceivers.
This ultrasonic module uses 40 kHz sound waves. The audible frequency of the human ear ranges from 20 to 20 kHz. The sound frequency of the module is more than twice the upper limit of the human ear. It completely affects the normal life of human beings.
GPIO is one of the most common control methods for the ultrasound.
The wiring method is as follows:
- Trigger, trigger input, default low level, input a high-level pulse that often exceeds 10μs to trigger the module to emit a set of ultrasonic pulses
- Echo, echo output, default low level after the module sends the ultrasonic pulse, the echo will output a high level, until the echo of all ultrasonic pulses is monitored (or the monitoring timeout), the low level will be output again.

The steps are as follows:
- Pull down after pulling the Trigger end for more than 10μs to trigger the module to transmit 8 times 40kHz ultrasonic pulses.
- Start listening to the Echo end, start timing when Echo output is high, and end timing when Echo outputs low level.
- Calculate the duration of the time, which is the time it takes for the sound wave to come and go.
- Calculate the path traveled by sound waves.
3. Arduino & Ultrasonic Sensor Based Distance Measurement
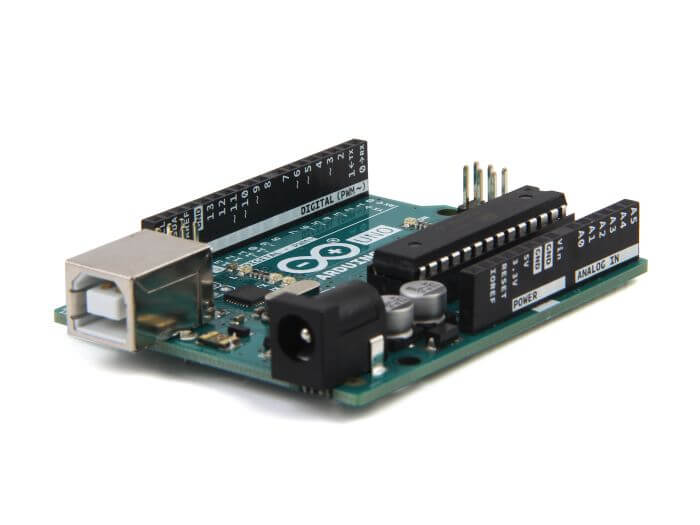
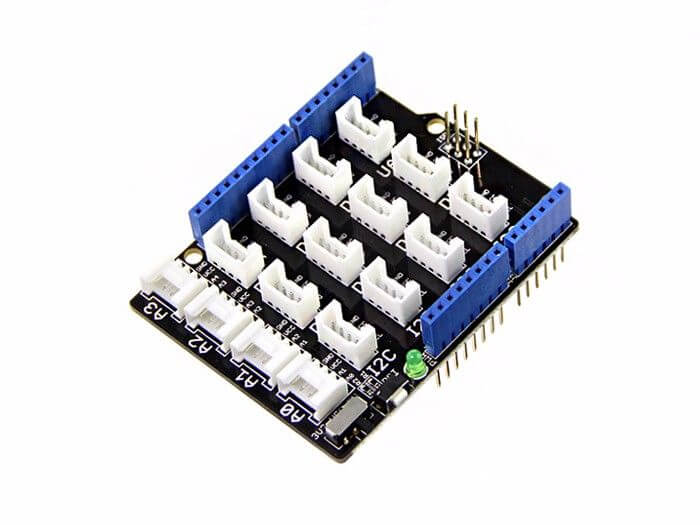
1.Prepare the below stuff:
2. Connect Ultrasonic Ranger to port D7 of Grove-Base Shield.
3. Plug Grove – Base Shield into ARDUINO.
4. Connect Aduino to PC via a USB cable.

5. Software
- Open Arduino IDE
- Select Sketch > Include Library > Manage Libraries

- Type “Grove Ultrasonic Ranger” in the search box and click “install”

- Copy the following code into the Arduino IDE
#include "Ultrasonic.h"

Ultrasonic ultrasonic(7);
void setup()
{
    Serial.begin(9600);
}
void loop()
{
    long RangeInInches;
    long RangeInCentimeters;

    Serial.println("The distance to obstacles in front is: ");
    RangeInInches = ultrasonic.MeasureInInches();
    Serial.print(RangeInInches);//0~157 inches
    Serial.println(" inch");
    delay(250);

    RangeInCentimeters = ultrasonic.MeasureInCentimeters(); // two measurements should keep an interval
    Serial.print(RangeInCentimeters);//0~400cm
    Serial.println(" cm");
    delay(250);
}- Select the board as Arduino UNO (Tools > Board > Arduino/Genuino UNO)
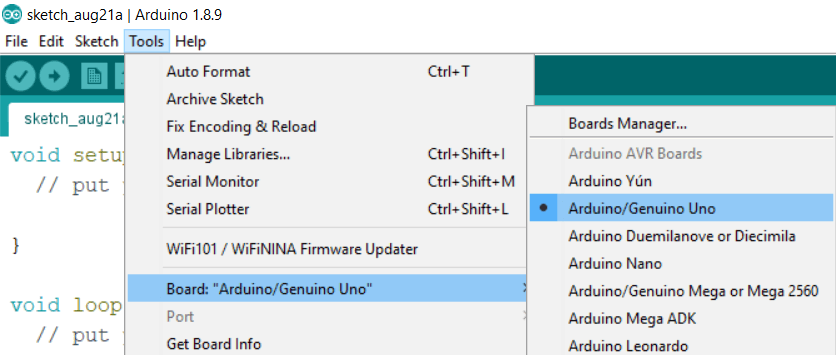
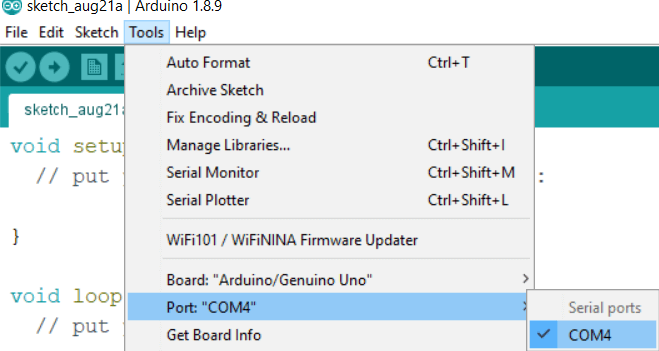
- Select the correct port
