New Year Lions – Another Attempt at KiCad & SVG2SZ PCB Art
Inside the walls of Seeed HQ, Seeeders scramble bits and bobs in the run-up to the new year break. But they are not preparing for the holidays, they’re preparing for the long-anticipated annual dinner which is not like any other company’s. In this special article, I share a snippet of Seeed culture with my attempt at being a maker with my lion creation.
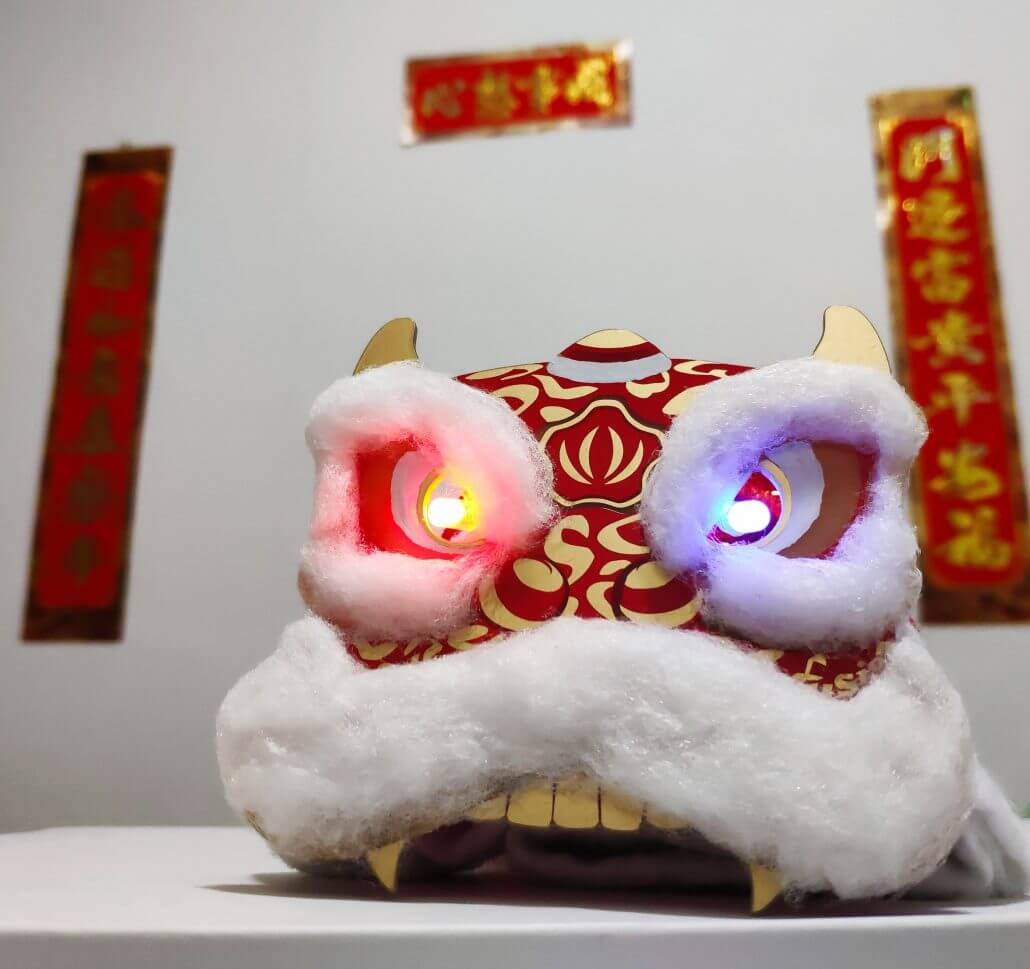
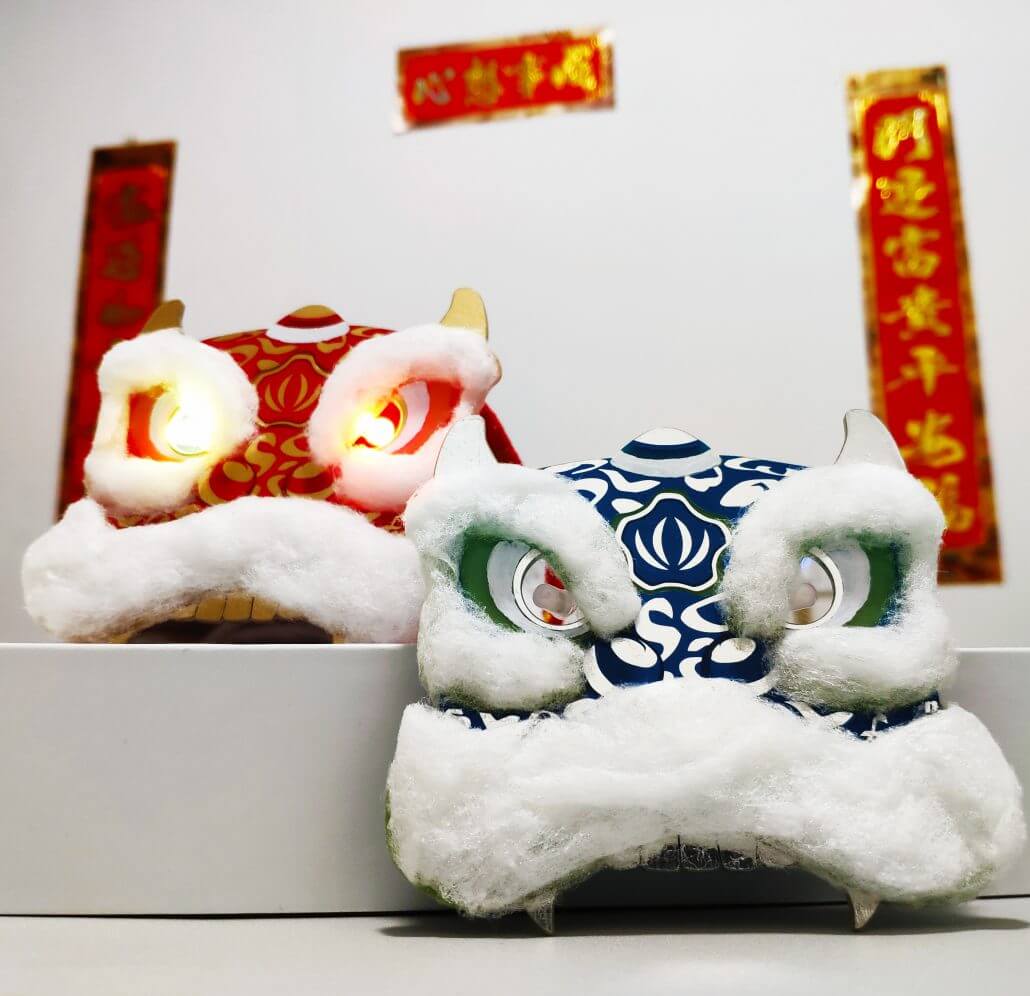
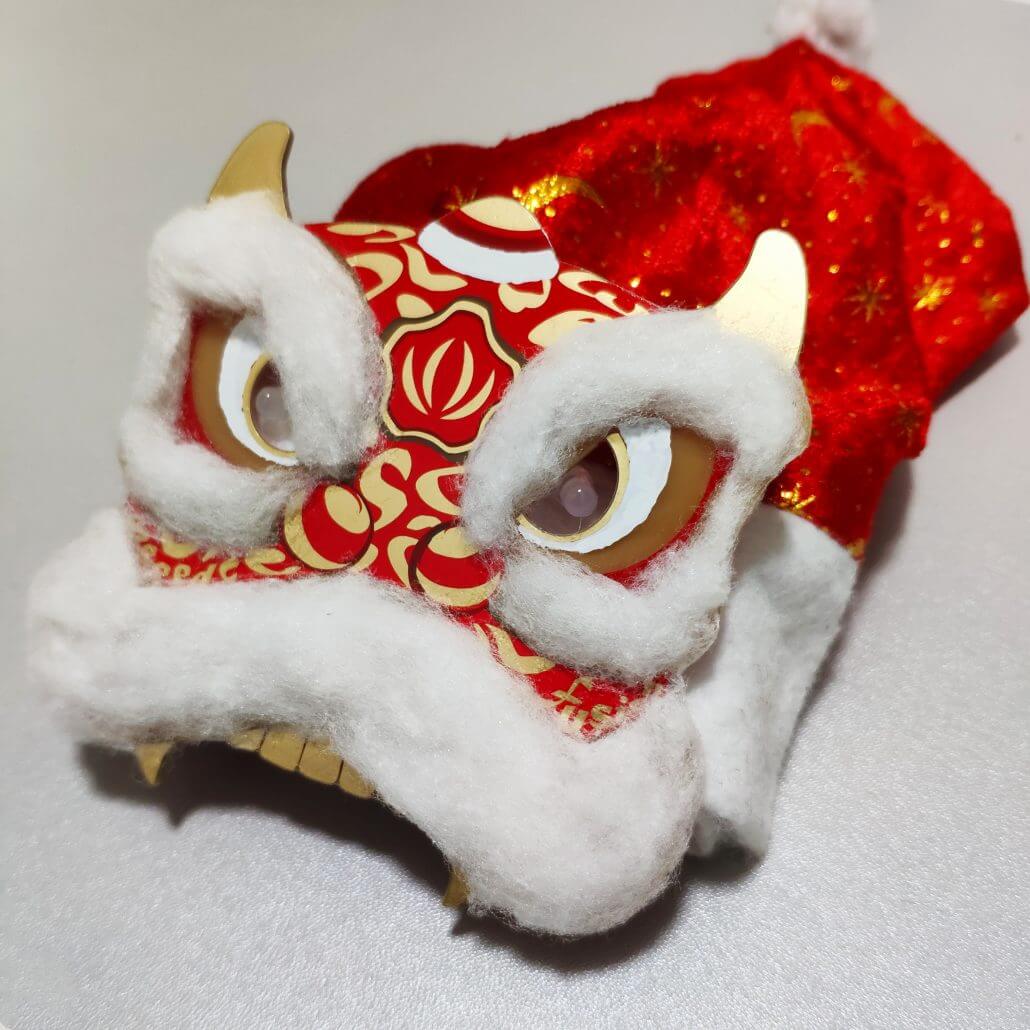
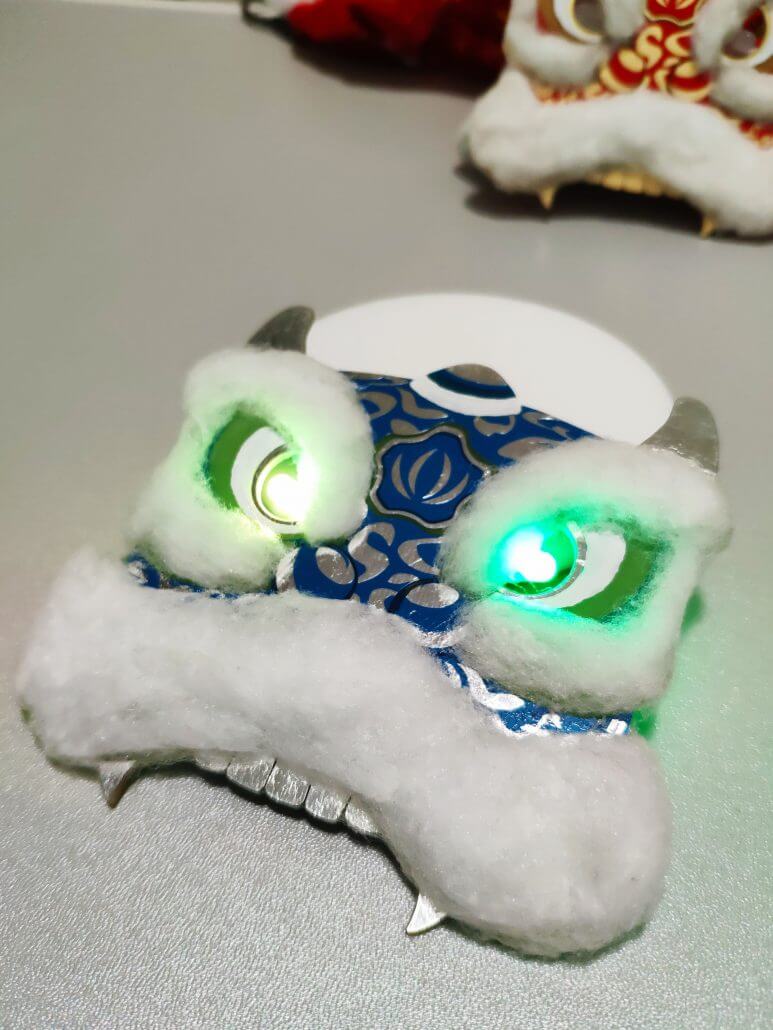
Meet Mac and Earl, together they make MacEarl – Maker. They are what I consider my debut project as a Maker. The heads are PCB boards designed using KiCad and the SVG2SZ plug-in, then decorated with cotton wool and a pair of rainbow LEDs. Mac’s body is actually an old Christmas hat that you can wear like a puppet with an Arduino nano controlling two WS2812 LED strips
Now, why all the fuss about the annual dinner? Maybe a little background is needed:
Seeed has held an old tradition whereby attendance to the annual dinner with all the scrumptious foods and lucky prize draw, required a DIY’ed blinky thing (literally: a light emitting device). Every year, everyone is encouraged to get into the maker spirit with LEDs, Grove modules and all sorts of –
Last year, I tried using some individual RGB LEDs to subtly light up a maker t-shirt. It failed miserably. So this year I was determined to succeed. Having practiced “drawing” PCBs using the KiCad plugin SVG2SZ, and being in the Seeed Fusion team for hardware
So my plan was to make a mini lion puppet with digital RGB LEDs pulsating along the body and RGB through-hole LEDs for the eyes attached to a PCB head.
If anything, this was a lesson in improvising and cramming things to a strict deadline. The final design looks a lot different to what I had originally imagined but all-in-all, I think it worked out a lot better in the end.
The deadline was steadily approaching and I spent whatever free time I had (and maybe a little office time) drawing up the design, first on paper and then in Inkscape. Having drawn a Christmas board before, I knew what I was doing and the what difficulties to expect.
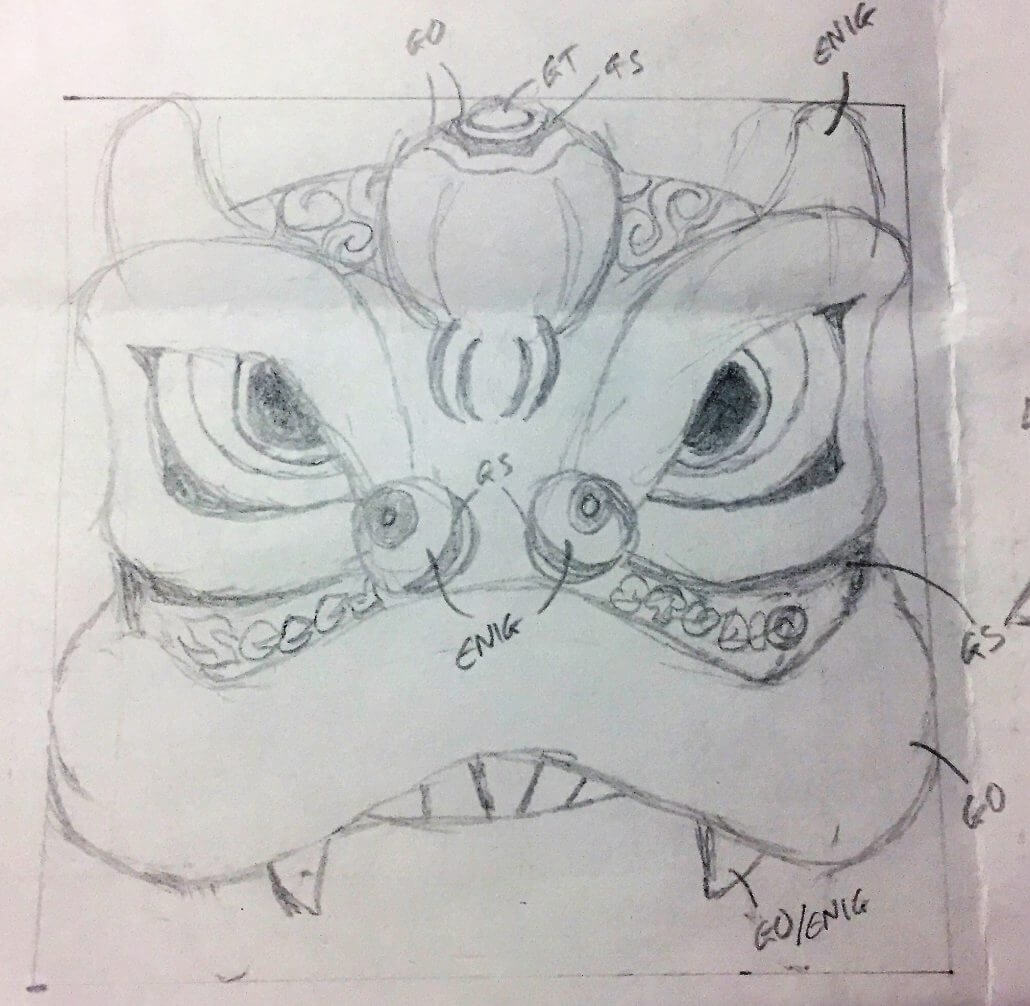
Original sketch 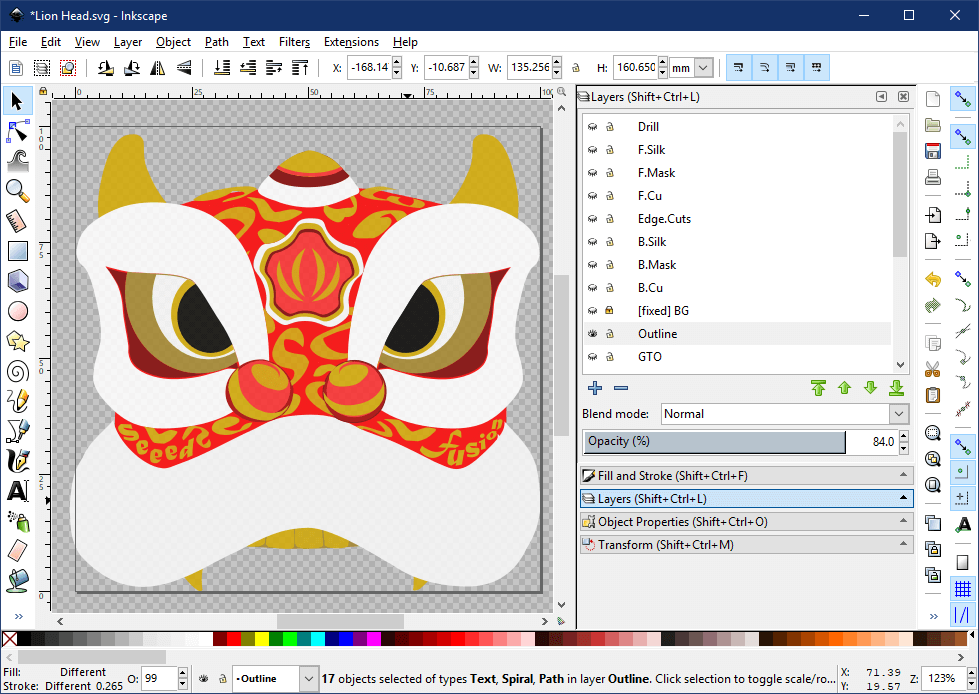
Inkscape design 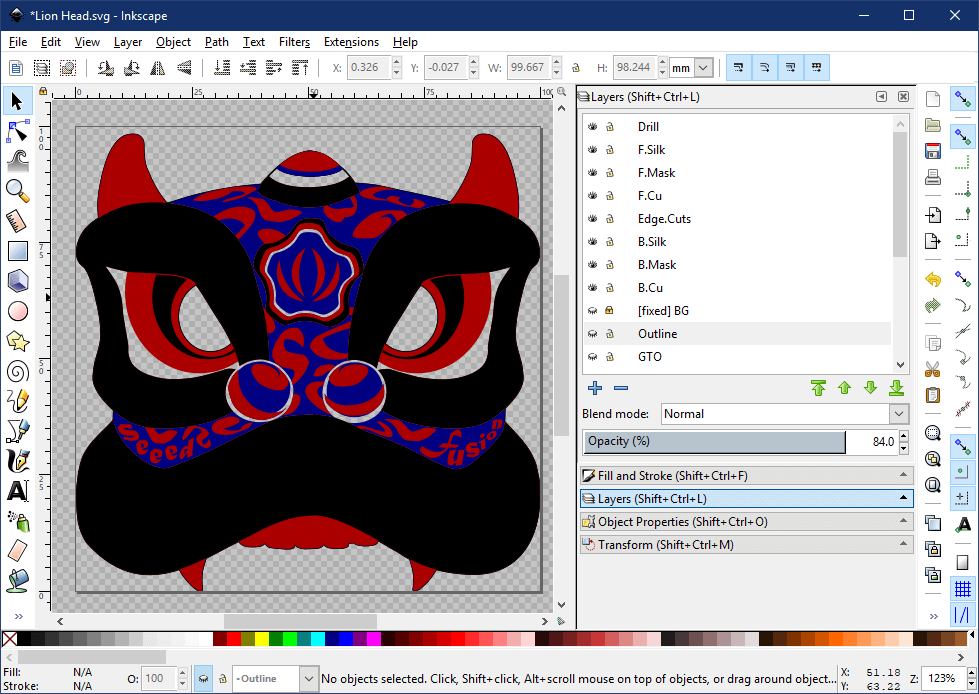
Gerber layers design 
I is Mac (Gerber viewer) 
I is Earl
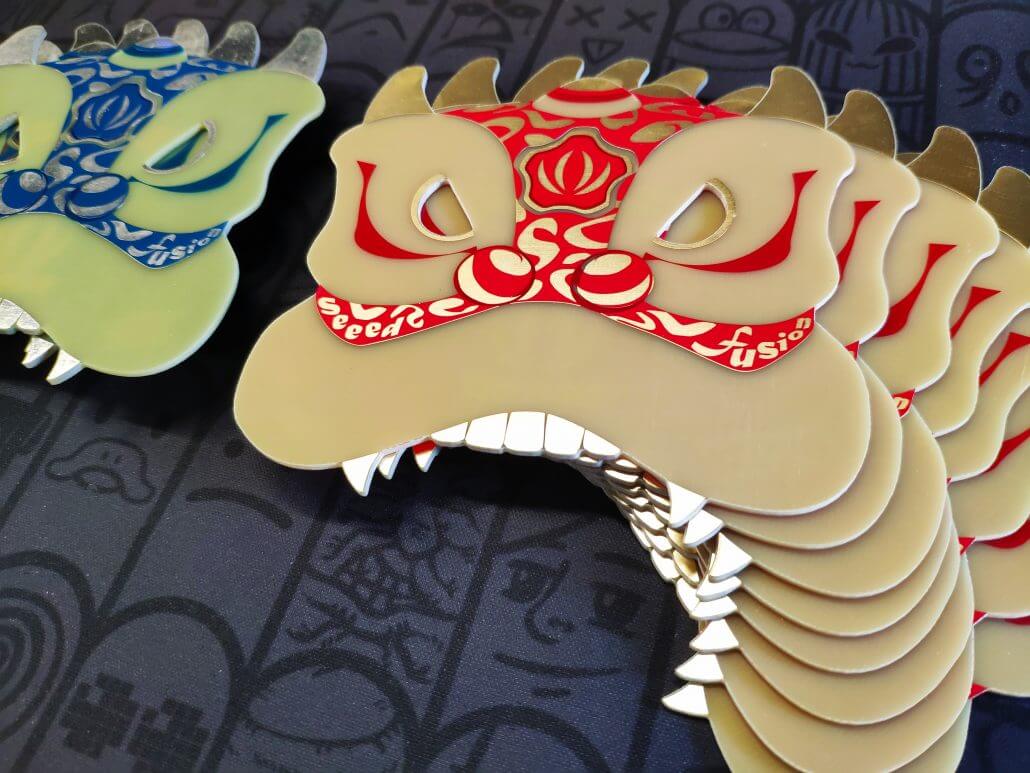
The upper head piece fills the 100 x 100 mm space allowed to qualify for the special price that many PCB manufacturers, including Seeed Fusion have, so you can have your own made for only a few dollars. The only catch for me was that, being themed for Chinese New Year, I absolutely had to have red solder mask and the gold ENIG finish, even if this finish costs many times more. Silver HASL just doesn’t cut it and I am sure you’ll agree that the red lion looks a lot better (sorry Earl).
So, with the design in Inkscape complete, it was just a case of converting it into a KiCad PCB file then exporting the Gerber files. A few tweaks, a final check in the Gerber viewer and then it was off to the factory.
Unfortunately, I was not careful enough as I somehow missed the front silkscreen layer and to my dismay when they came back, the
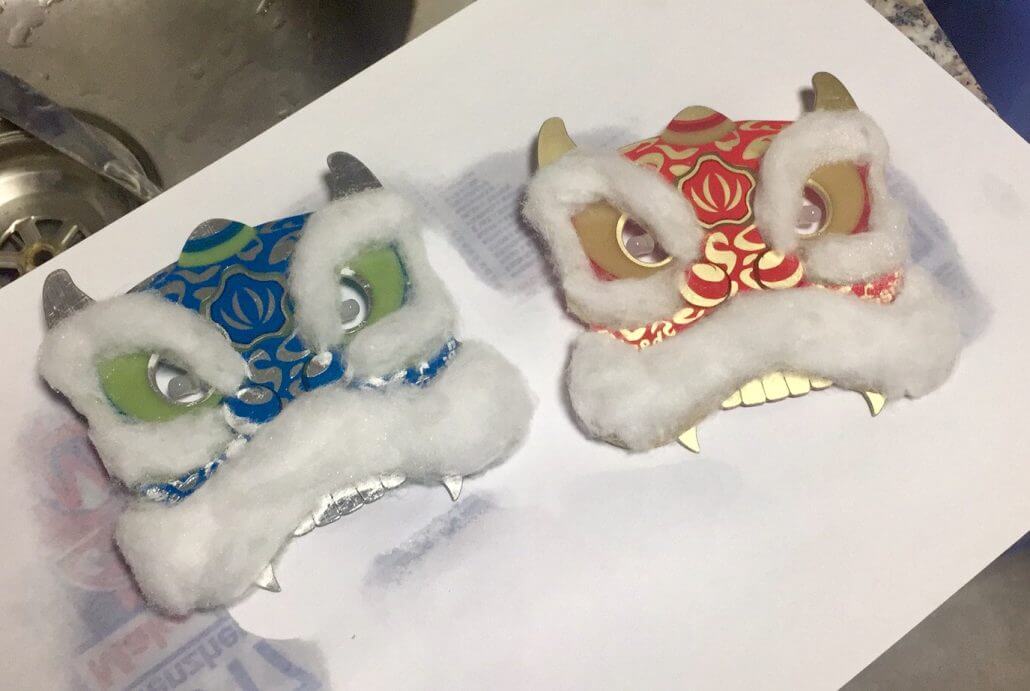
Cotton wool.
Yes, fluffy and found in nearly every household, cotton wool was the answer. I procured some cotton make-up pads and peeled them carefully into fine strips. Then I molded them to make the fluffy beard and excess eyebrow hair. A couple of layers of hairspray later and they were hard enough to retain their shape. With the LEDs already soldered, they were pretty much done. Good
Now for the puppet body. While the PCBs were away at the factory, I purchased some WS2812B LED strips and some Arduino nanos online and soldered two strips of 15 LEDs and a nano to a small piece of protoboard. But by the time I was finished, the event was only a day away and Mac had a face and guts but no skin!
I had originally planned to hand-cut some red and yellow felt and stitch a body together, but after an hour of test cut-outs and internal deliberation, I gave up on the idea. Cutting felt free-hand looks incredibly tacky, and several layers of the stuff make for a hard and rigid body – not something you want for a puppet. But what else could I use? With little time left I hunted around the apartment for anything red in color. Then I found the perfect solution. A Santa hat. Ok, it will look kind of weird and tacky but it’s thin, glossy and has gold embellishments on it! It was made for this purpose!
A few pins, glue gunning and a few snips here and there and Mac was ready to take on the world!
There is a cut on the bottom to allow your arm to fit inside and the rim of the Christmas hat serves as the sleeve so your fingers can stick out in the front and make the Mac dance. The Arduino perf board is fitted snugly in the tail and there is a small cut for the cable to the power bank. I am particularly fond of the pulsating “Fire2012” sequence from the FastLED library. It gives it a slightly ominous and lifelike feel.
Below is also what the boards should have looked like (courtesy of some correctional fluid) had I not forgotten the silkscreen layer. But looking at it now, the fluffy version is definitely heaps better.
Earl version 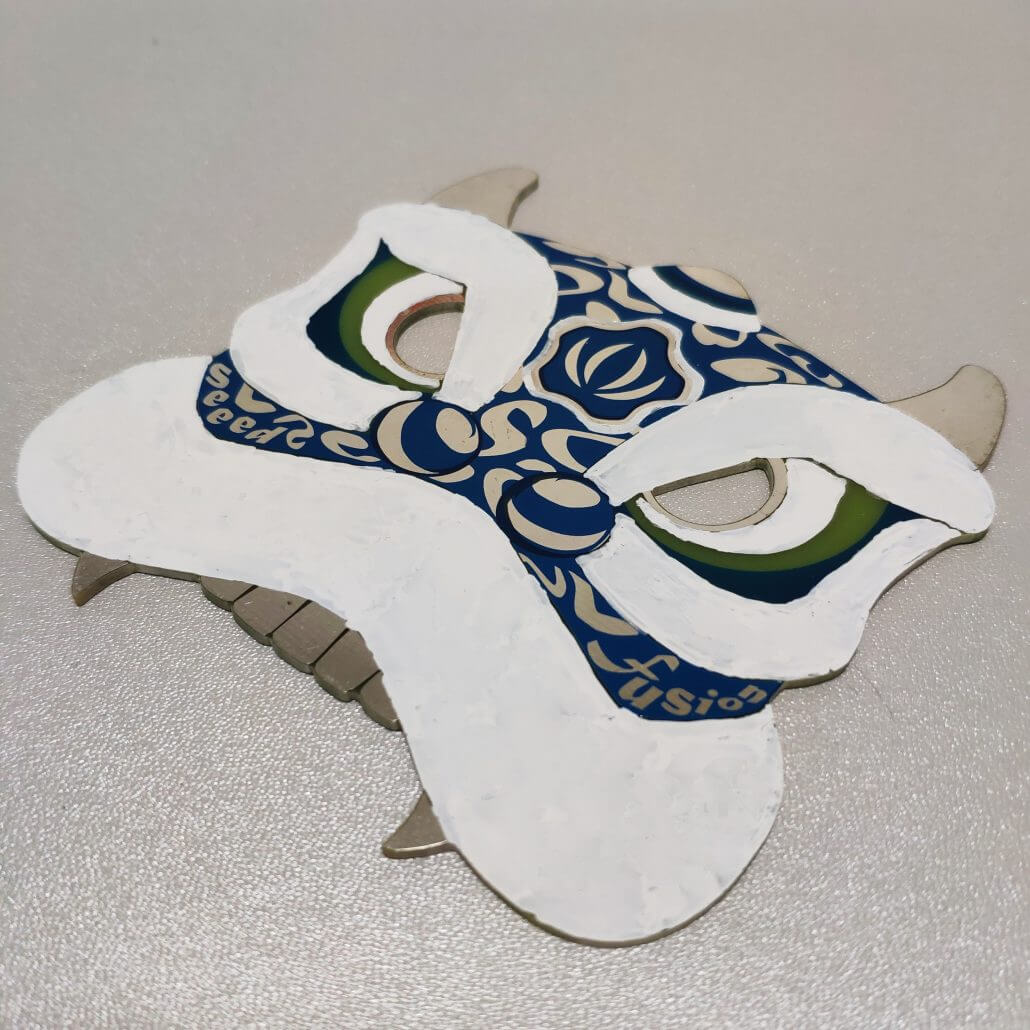
This is what it would have looked like if it had silkscreen
So yes, we made it down the catwalk next to a guy with a giant red-eyed troll head and showed our stuff. No prizes but heck it was fun. And it’s just one of the great things about working here. Check out some of the other creations that made it down the catwalk.
I hope you enjoyed reading about my little mishap-filled adventure with PCB art, electronics, and general arts and crafts. Want to know how to use KiCad and Inkscape to make PCB art? Check out my guide based on my
Revised Gerber files (with silkscreen) will be available to download for free on the Seeed Fusion Gallery soon!